Copilot CLI is GitHub’s command line tool that helps you build and manage code.
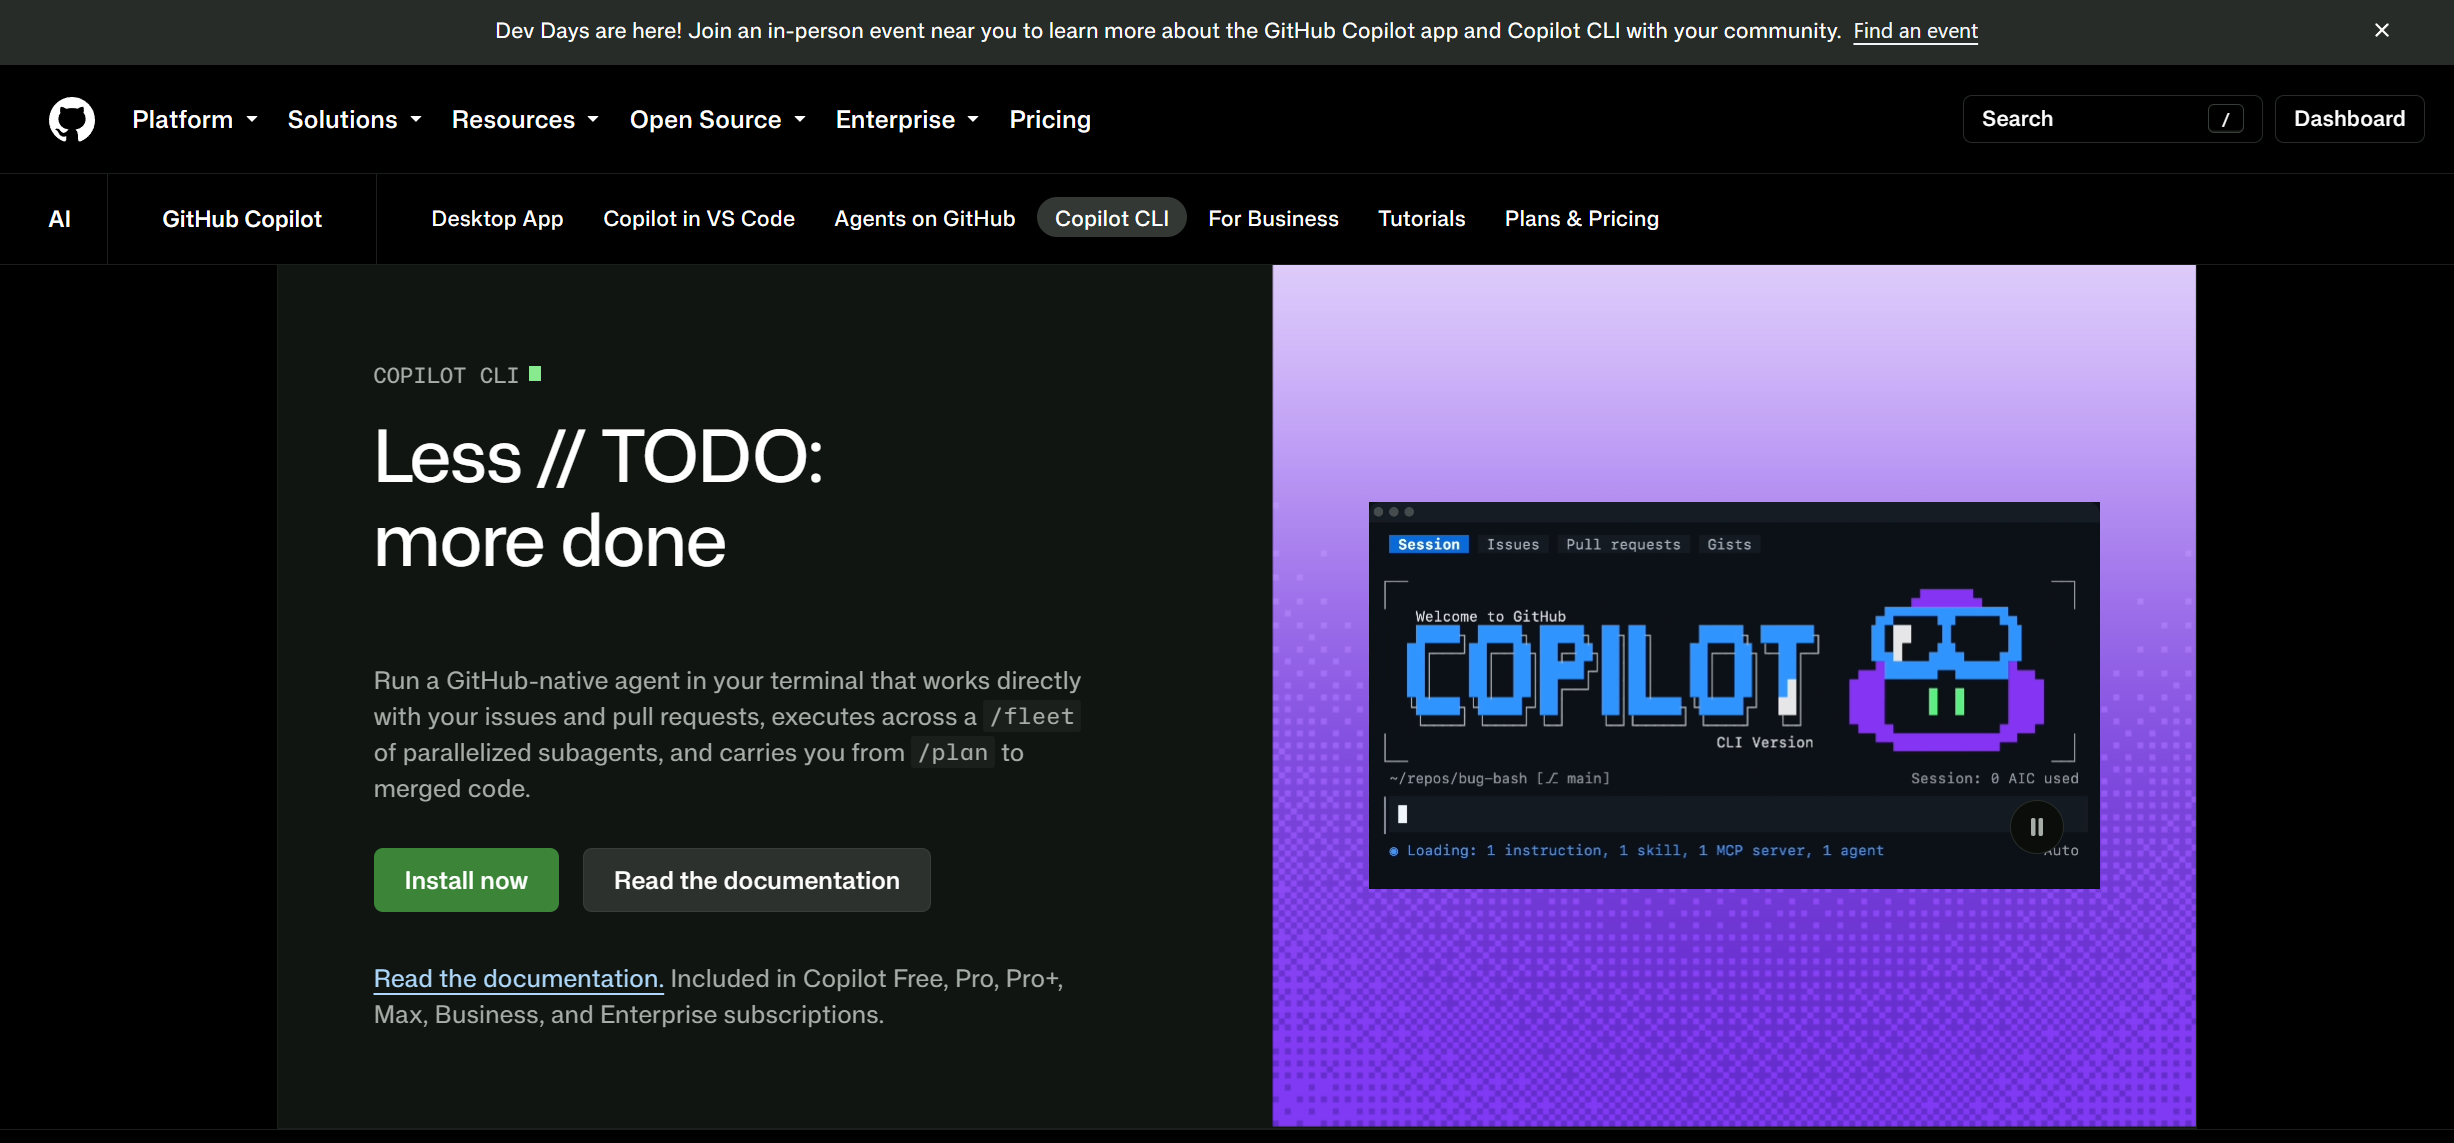
To install Copilot CLI, go to https://github.com/features/copilot/cli: and the Install Now button:
Depending on your OS and installation, you can use one of the options below:
- Cross-platform (npm) (Node.js 22+).
npm install -g @github/copilot - Windows (WinGet)
winget install GitHub.Copilot - macOS/Linux (Homebrew)
brew install --cask copilot-cli
If you run into an error like below – “Not Found – GET https://registry.npmjs.org/@github%2fcopilot-cli – Not found” it’s possible you do not have the right versions of Node or NPM. Upgrade those and try again:

Successful run should look like:

Now in PowerShell run:
copilot
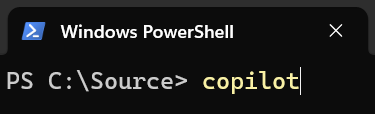
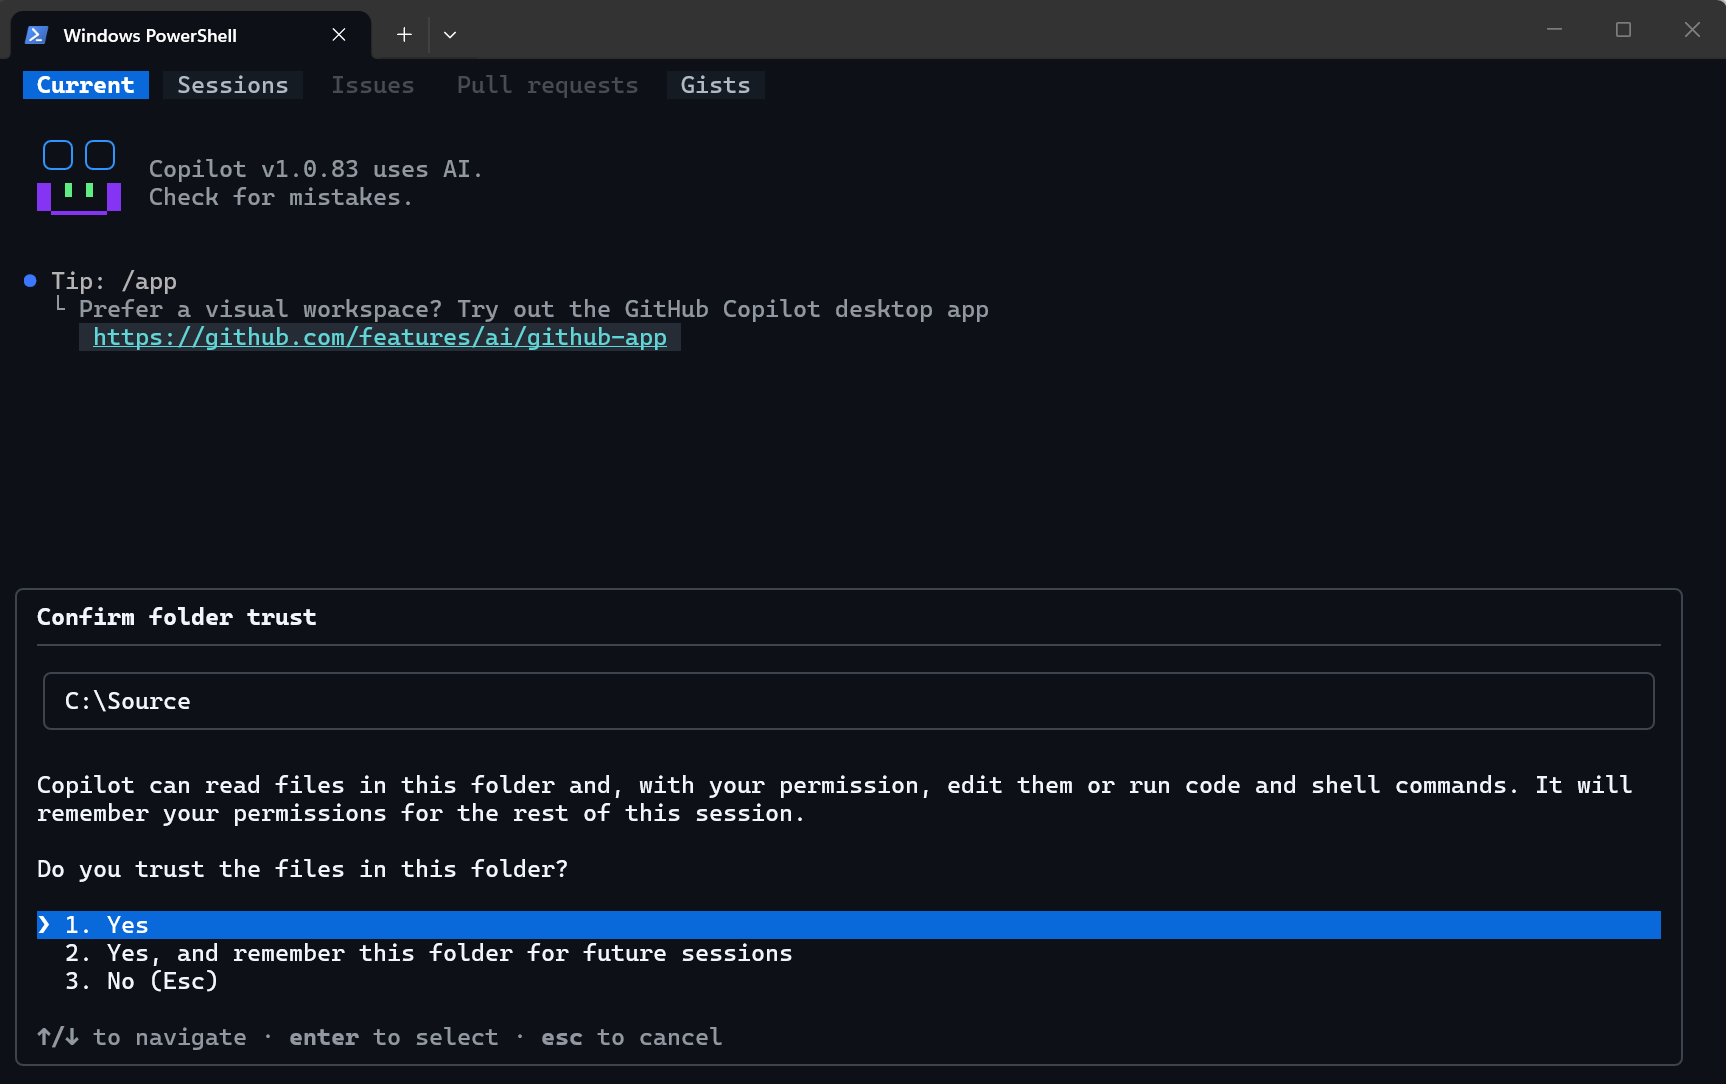
This will launch the CLI:
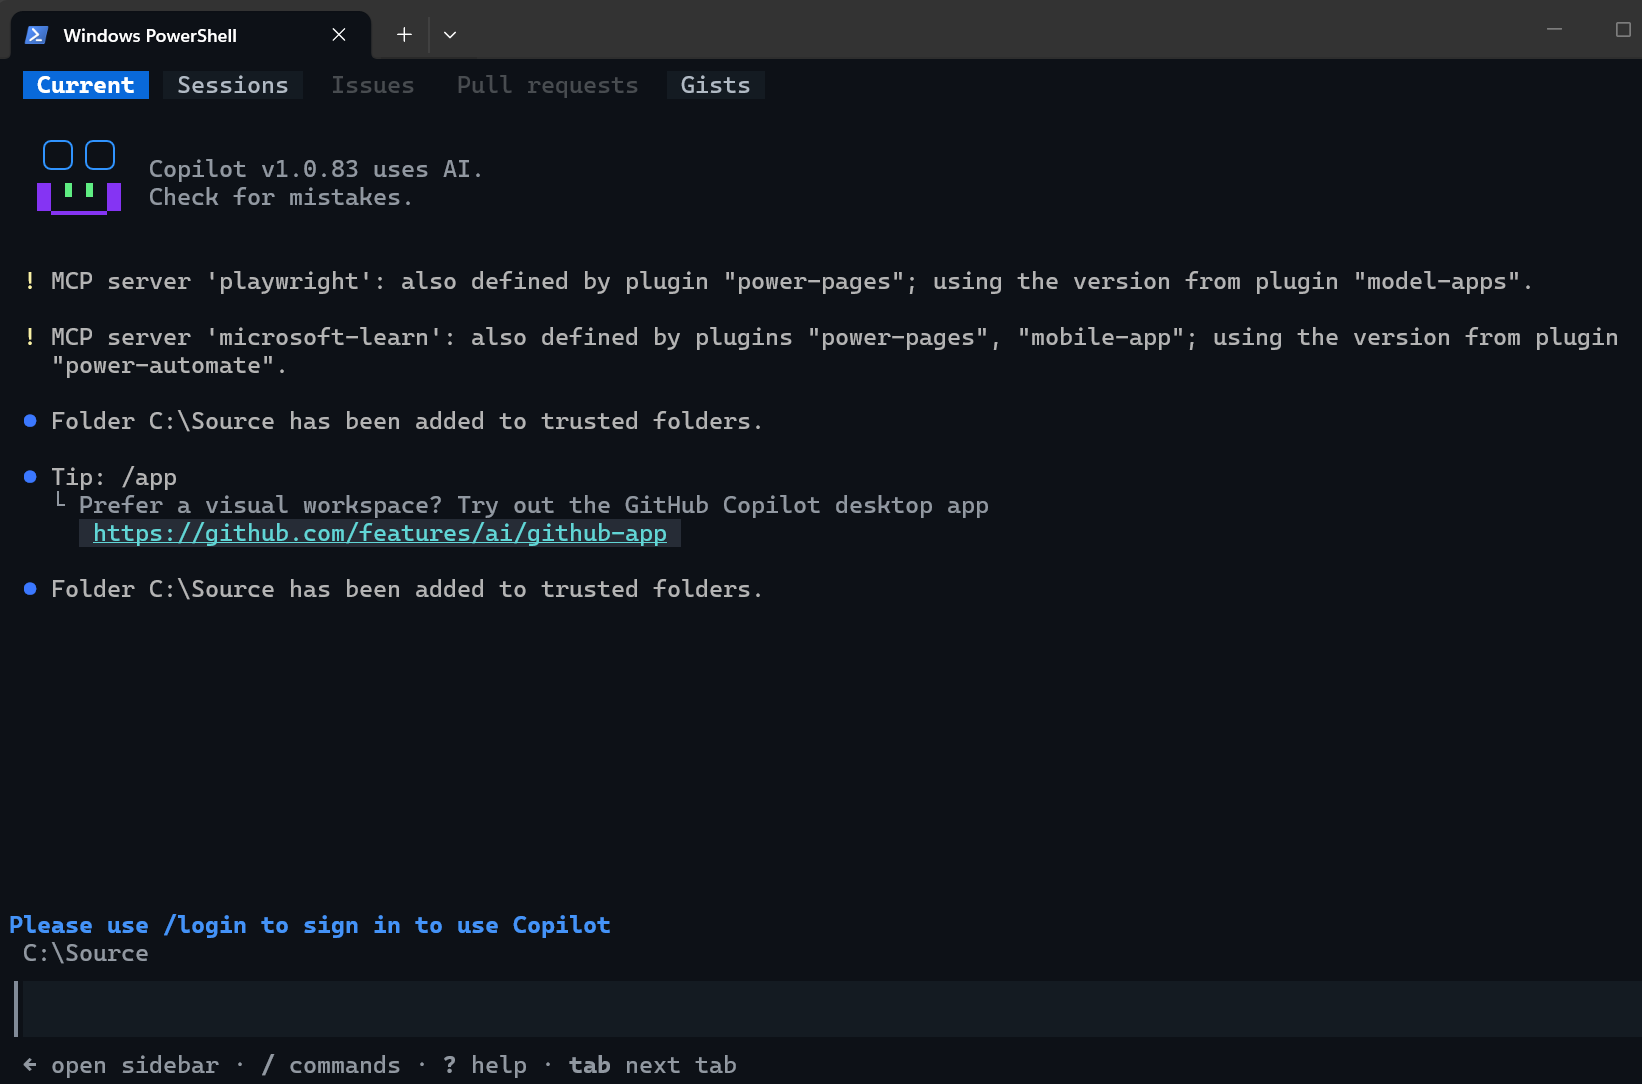
Type /login to login to GitHub:
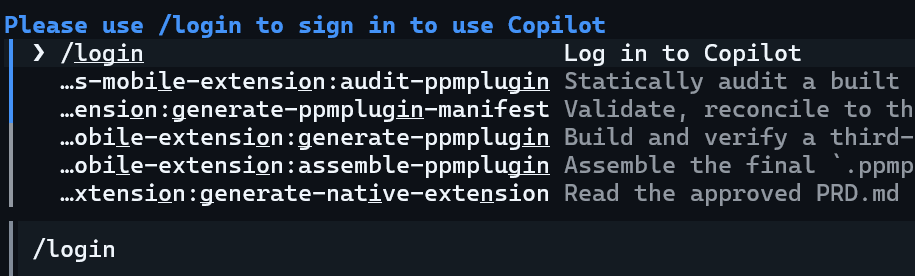
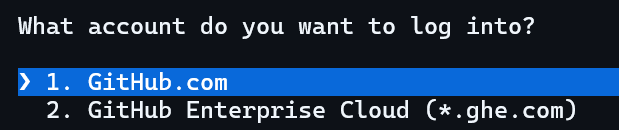
Note the permissions. It took a little while for the Authorize github button to become available for me, fyi:
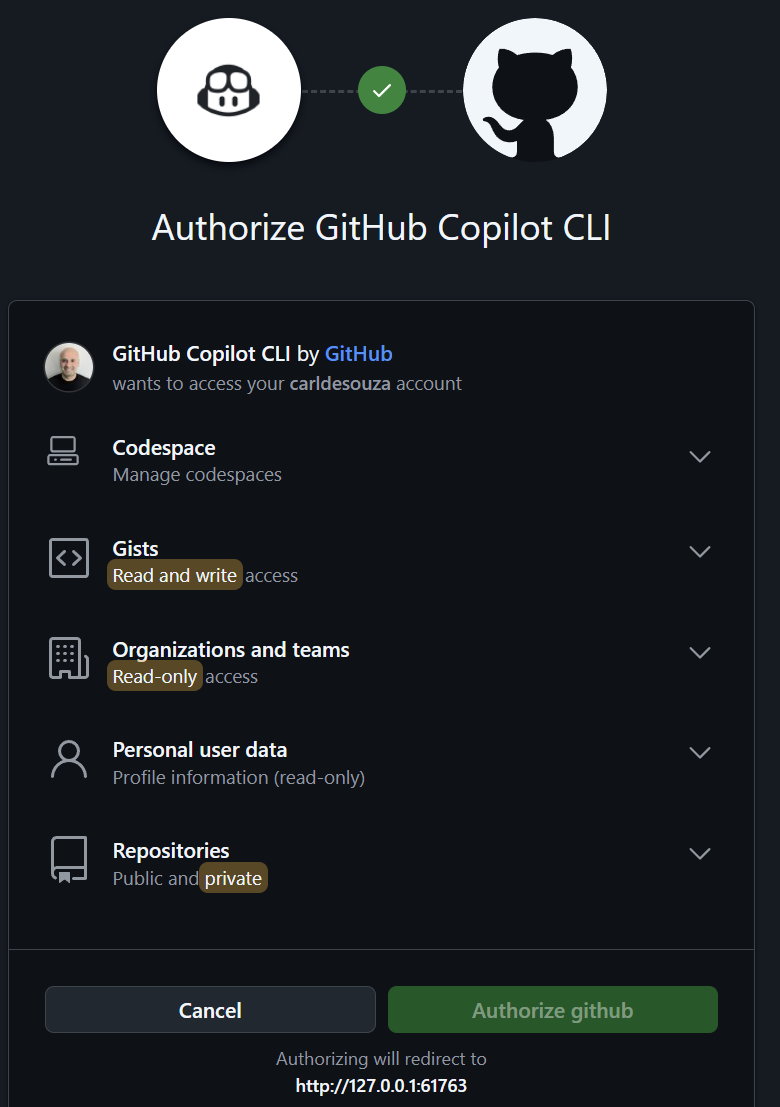
Once authorized you should be able to return back to the CLI to see you connected successfully.
Pressing “/” in the command bar brings a list of the available commands you can run:
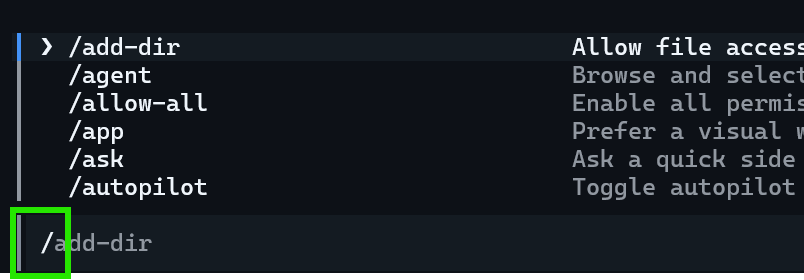
For example, you can run:
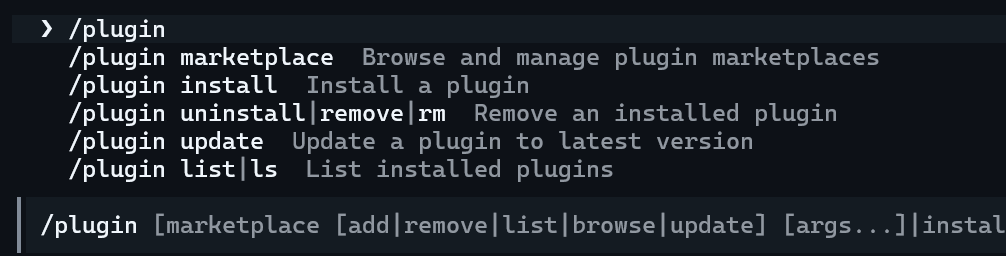
/plugin
To see a list of the plugins available:
You can also:
- Add skills
- View agents with /agent
- Use hooks to extend the CLI behavior
- Add an MCP Server
- Manage your context window with /usage /context /compact

Explore AI, agents & Microsoft technology.
I share practical ideas, tutorials, and videos about AI, AI agents, Microsoft technologies, and the Power Platform.
Subscribe on YouTube →