To install the Dynamics CRM SDK, go through these steps.
First, download the relevant SDK version. Here we will install for Dynamics CRM 2013.
http://www.microsoft.com/en-gb/download/details.aspx?id=40321
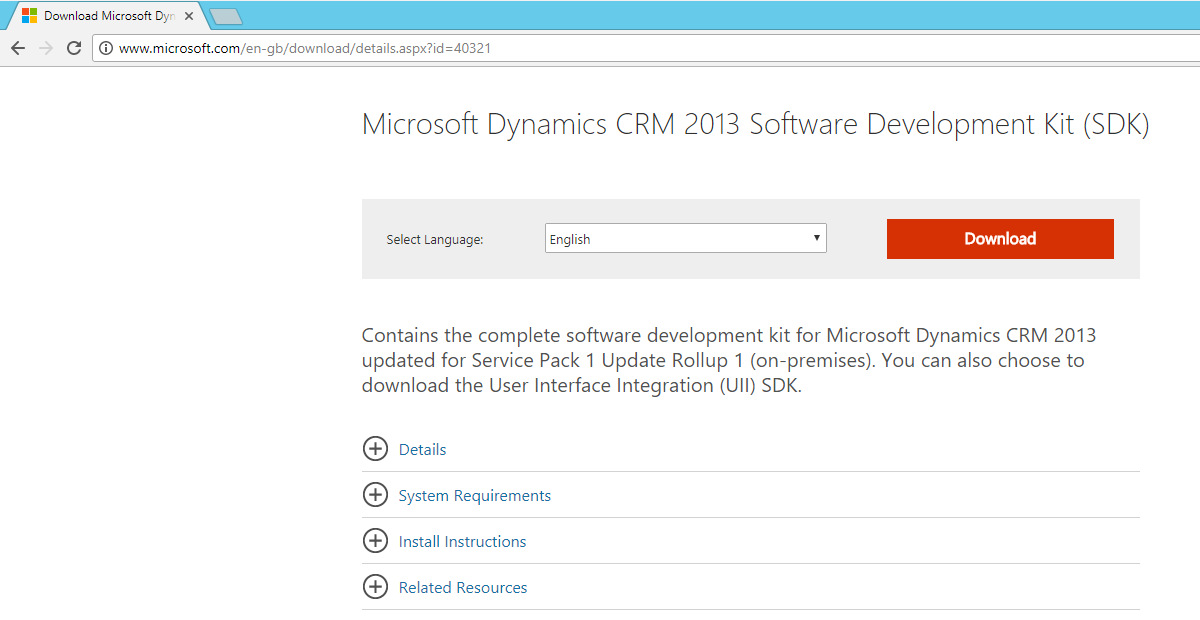
Select to download:
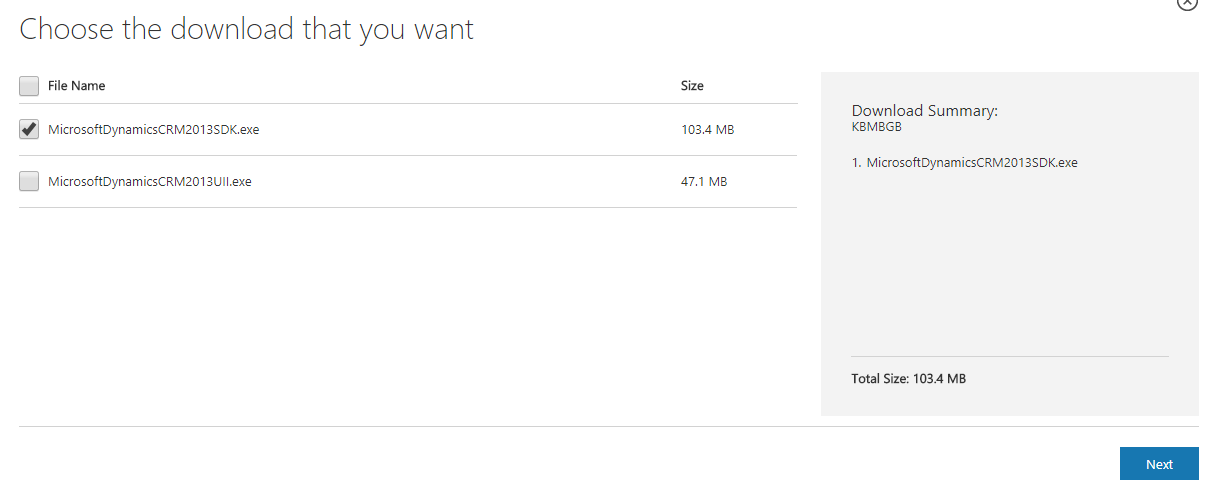
Run the downloaded exe:

Click to accept:
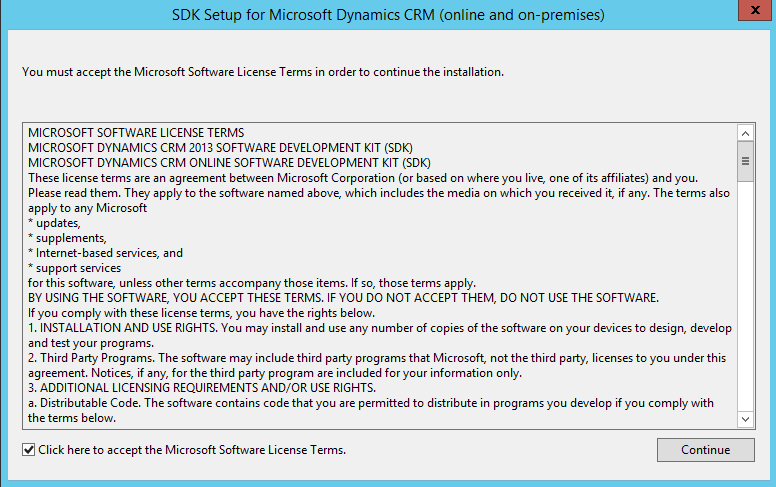
Select a location to extract the files. The SDK files will then be extracted:
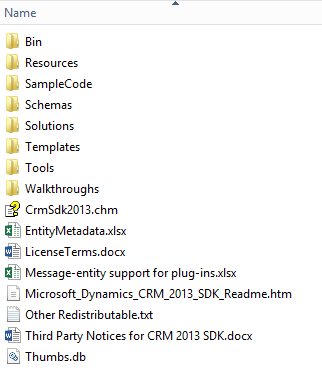
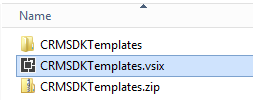
From here, you can browse to the Templates folder to install the SDK Templates for Visual Studio. Run the VSIX file:
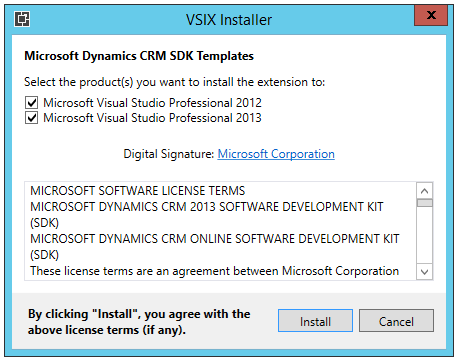
Select the Visual Studio versions to install:
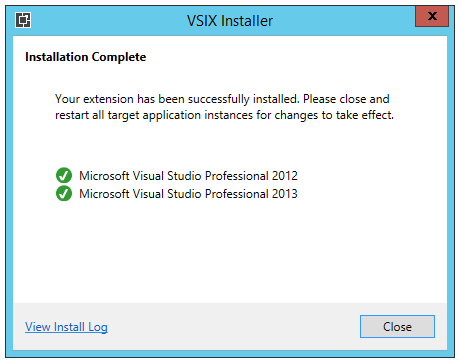
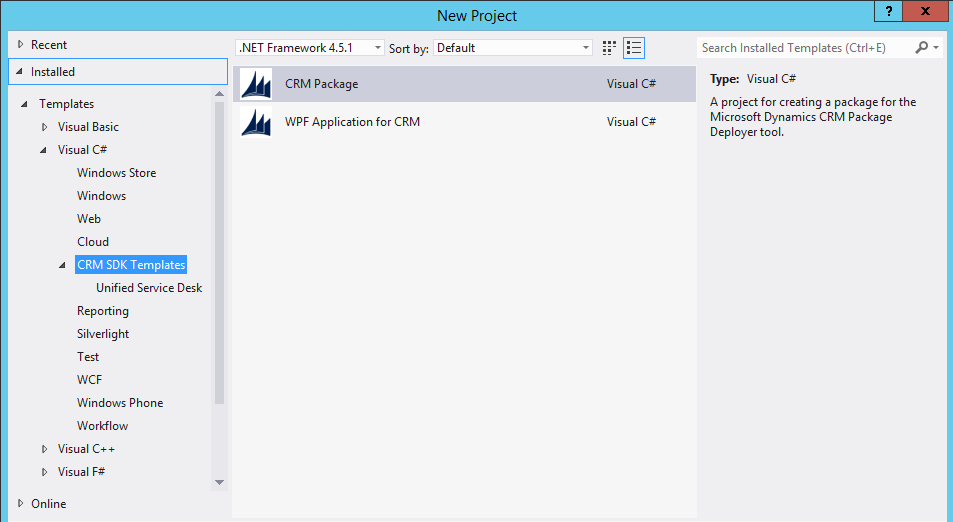
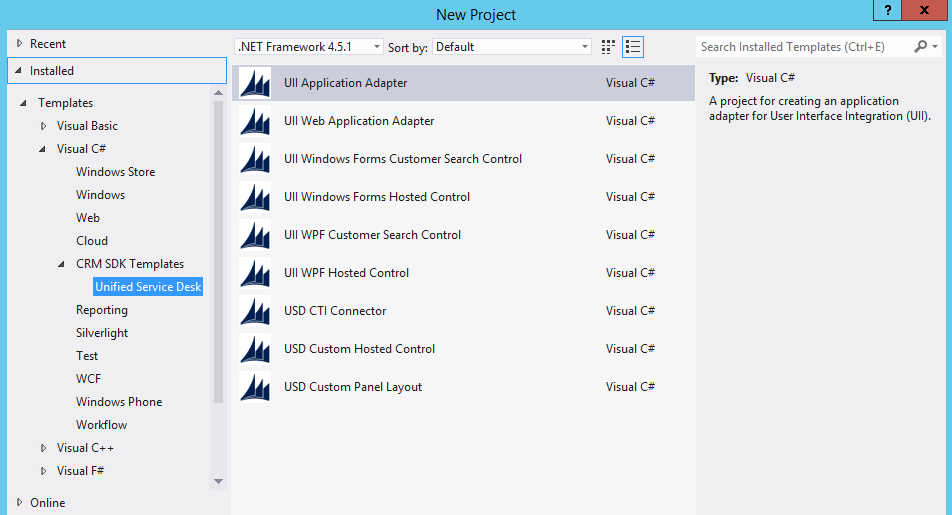
Now in Visual Studio, create a new project. You will see new CRM SDK Templates available:
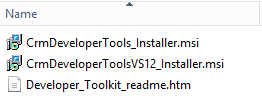
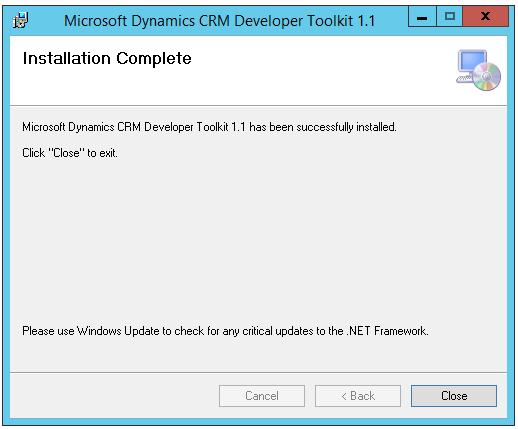
To install Developer Tools, go to SDK\Tools\DeveloperToolkit. Run the msi:
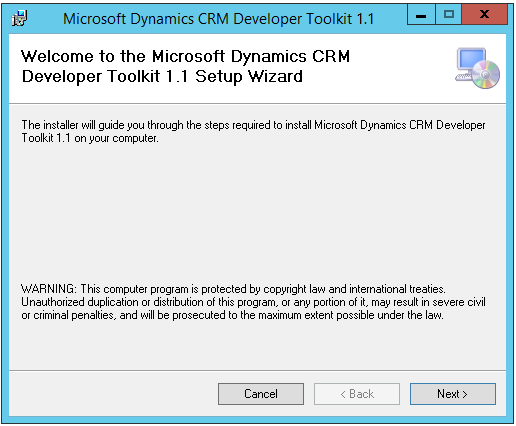
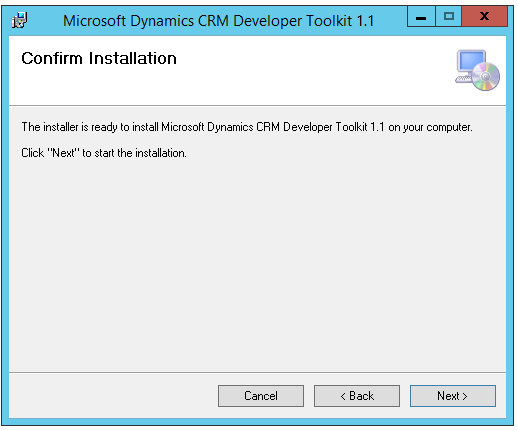
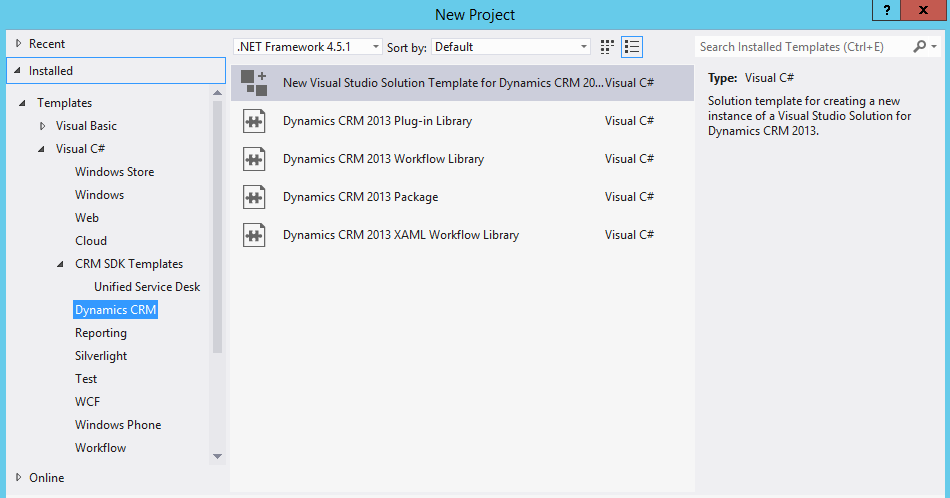
Now, go to Visual Studio. Create a new project. You will see a new “Dynamics CRM” section:
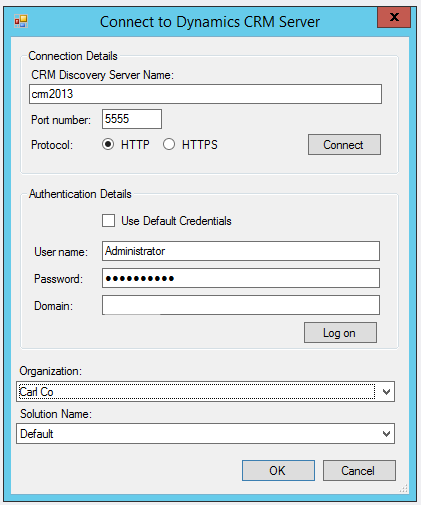
Click to create a new solution and you will see the Connect to Dynamics CRM window:
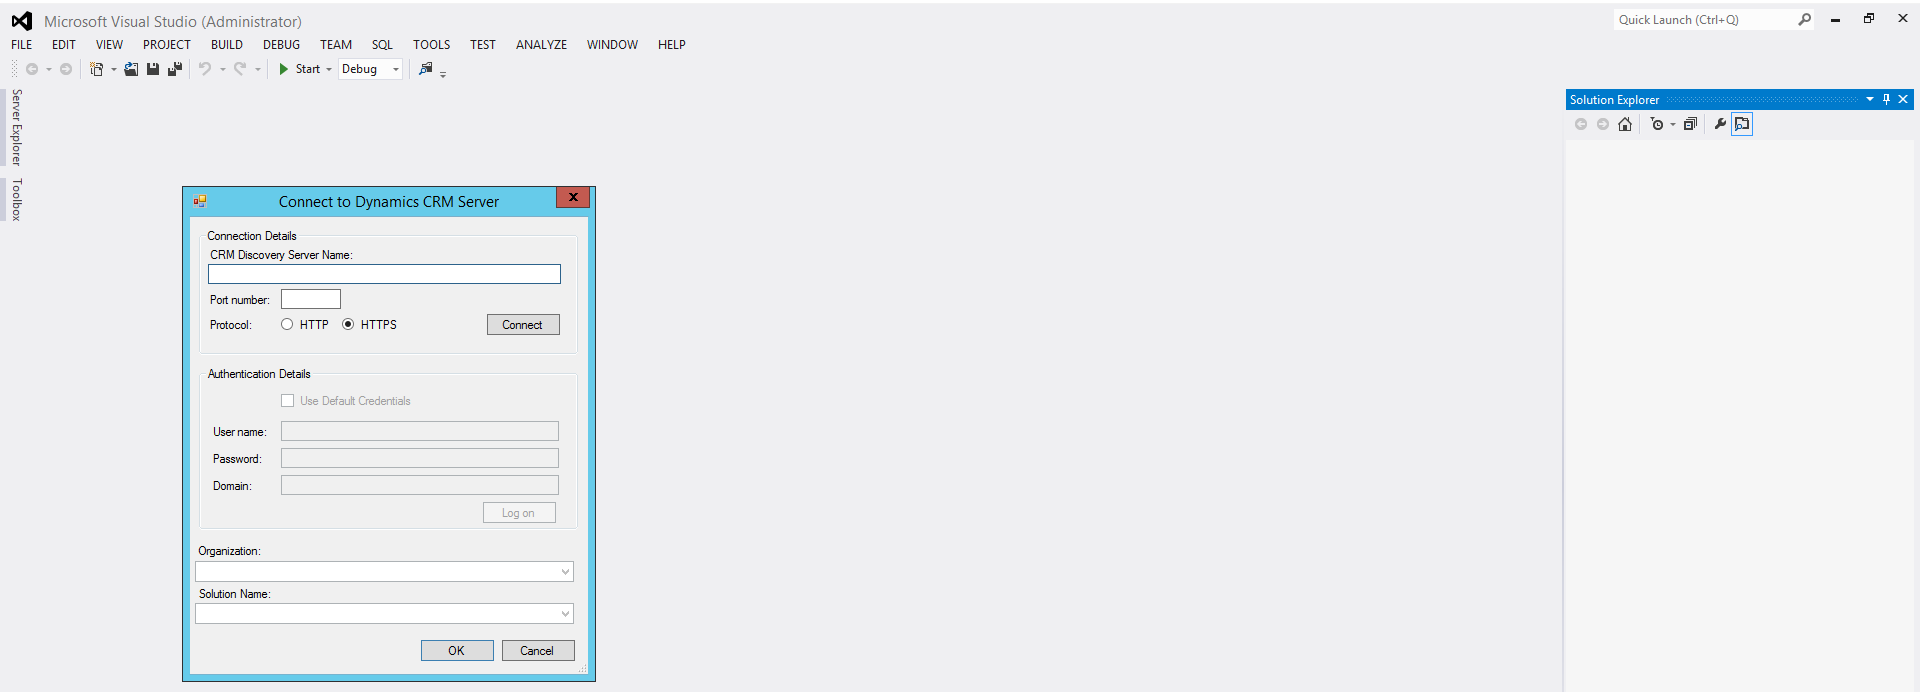
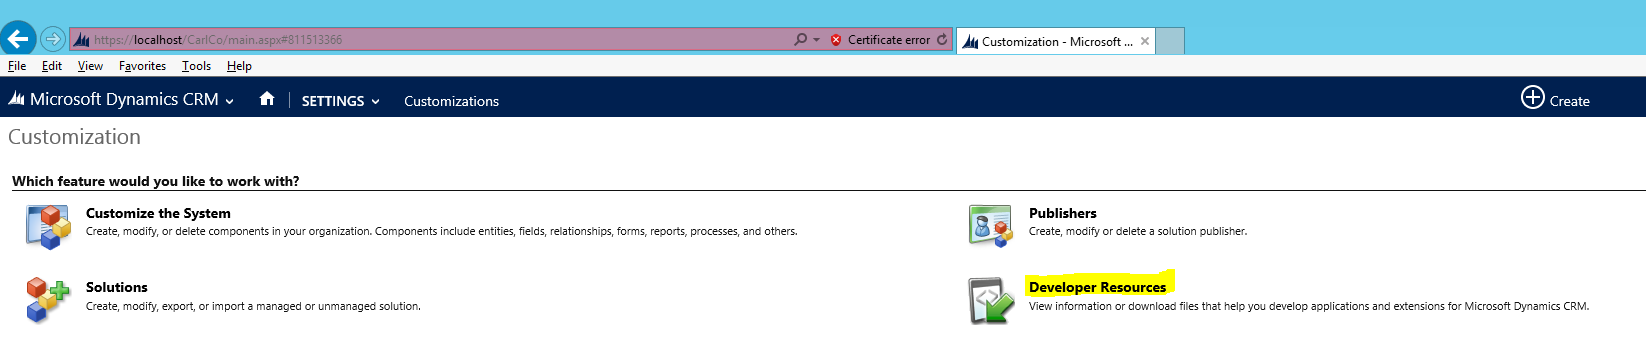
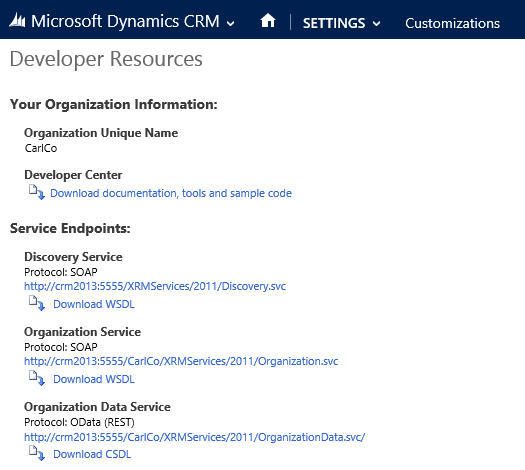
Enter the URL of your discovery service. To find this, in CRM go to:
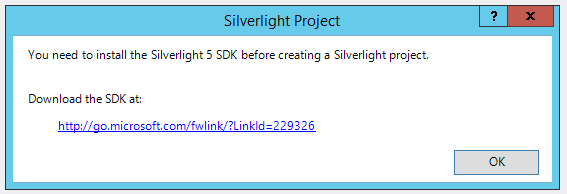
You may see this message:
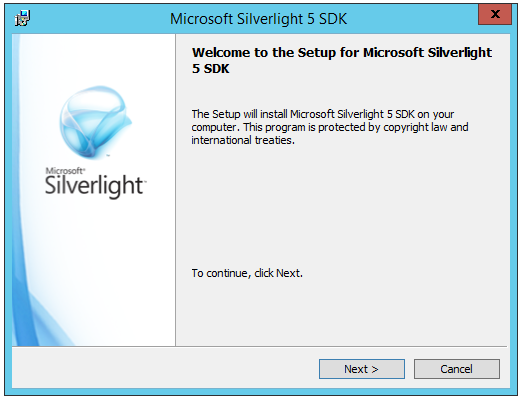
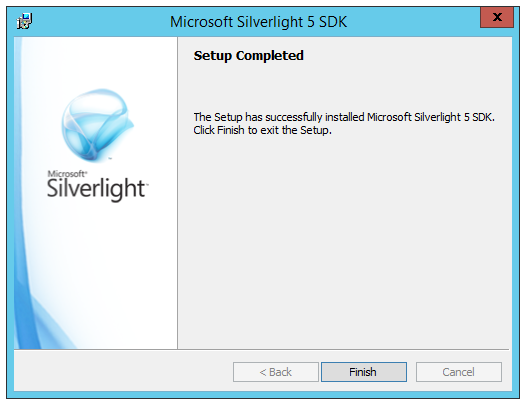
Run the installer:
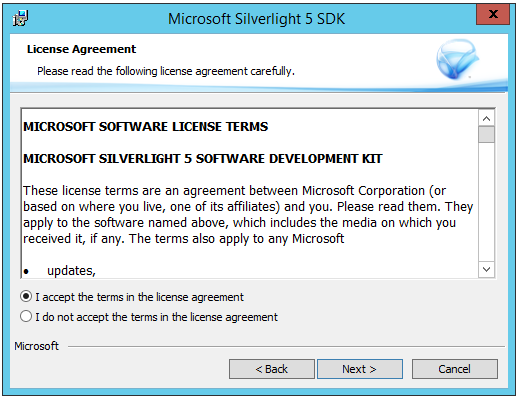
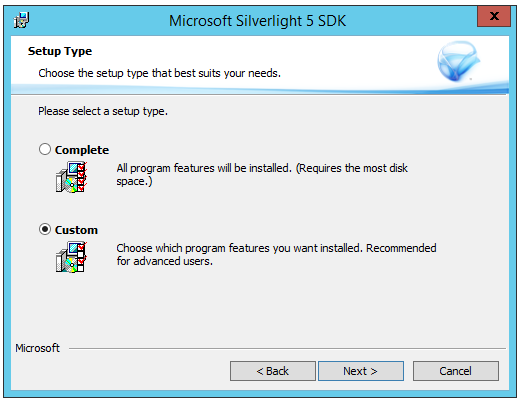
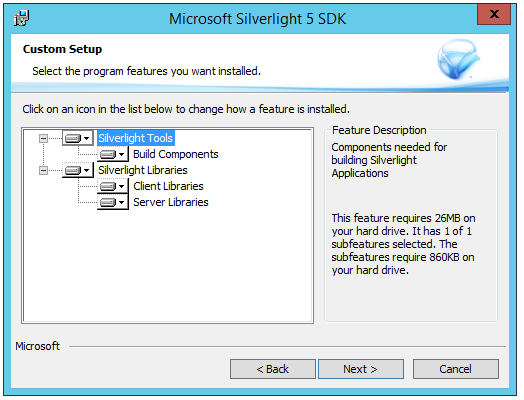
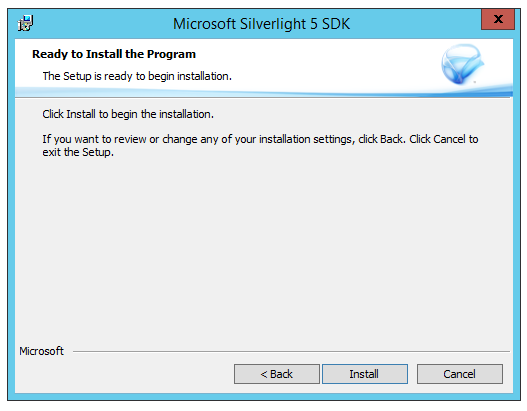
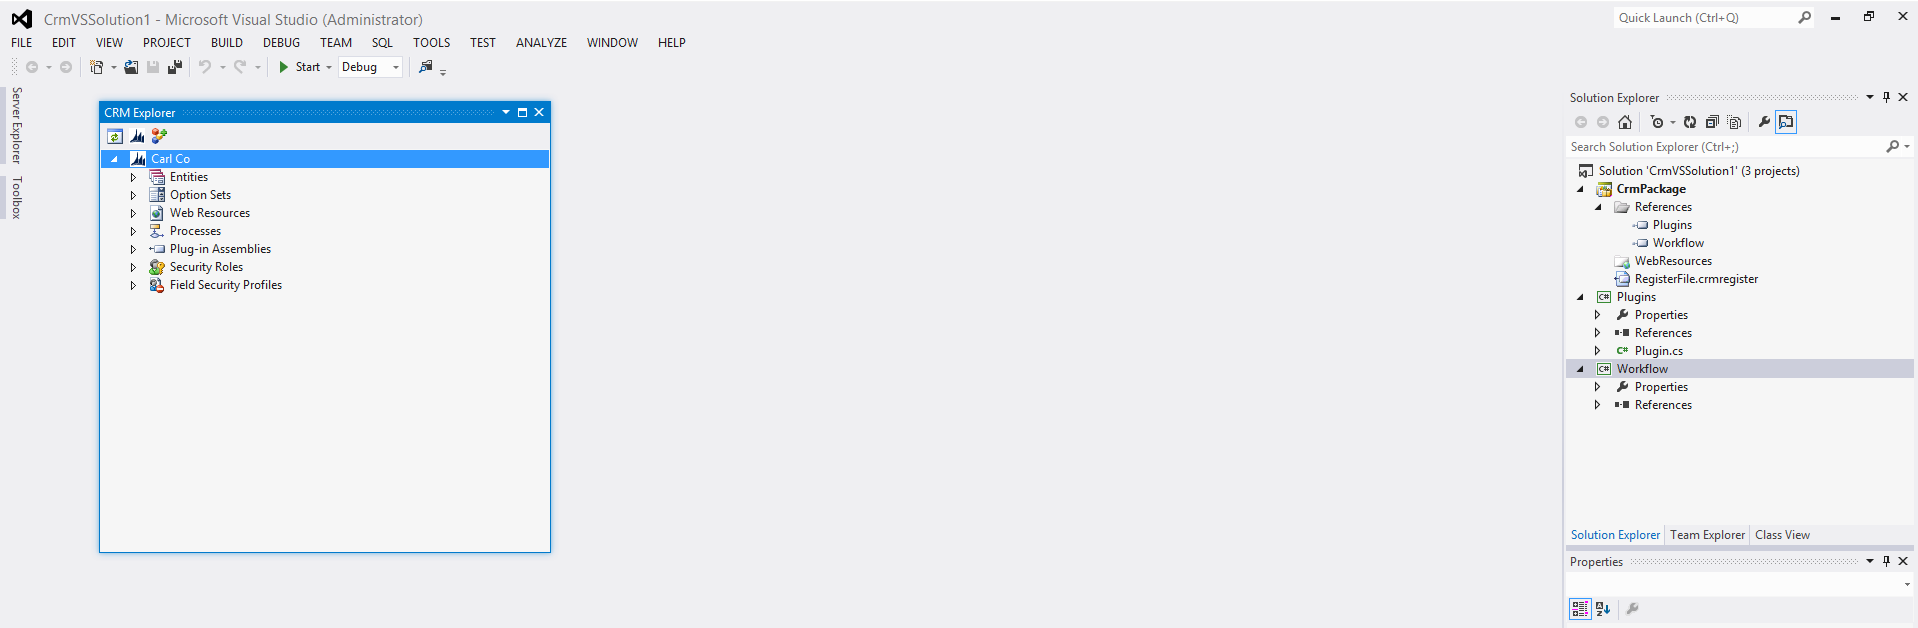
You can now use the toolkit:
You can read more about the Developer Toolkit here.

Explore AI, agents & Microsoft technology.
I share practical ideas, tutorials, and videos about AI, AI agents, Microsoft technologies, and the Power Platform.
Subscribe on YouTube →