To create a schedule, go to Settings->North52 Schedule:
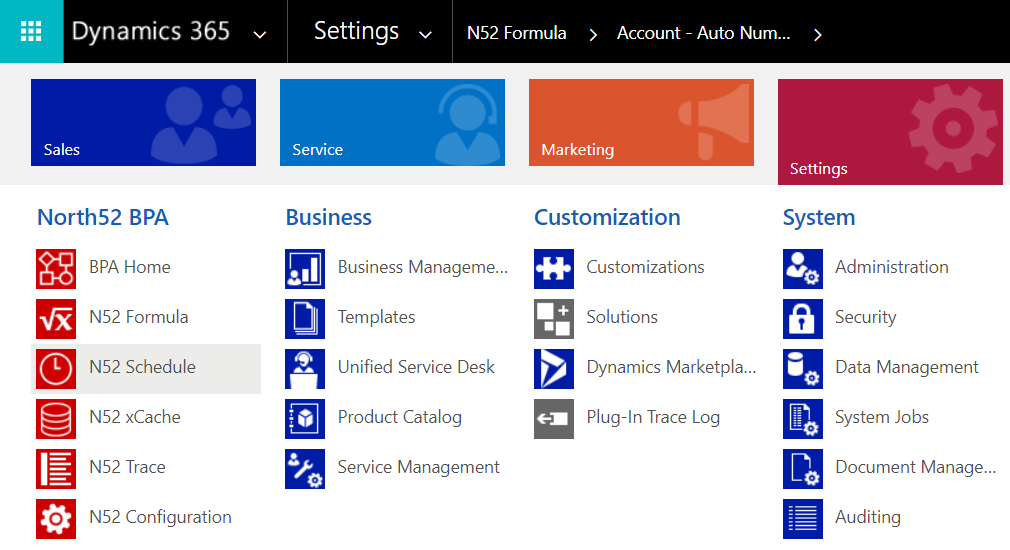
If you go through the Home menu, you will see the following options:

We will schedule a workflow we have previously built that sends reminder emails if the due date of a task is met.
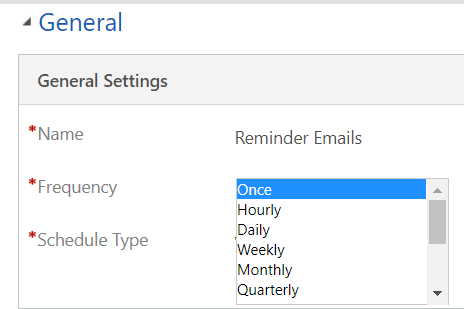
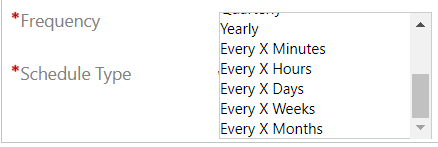
Click on Workflow and then New. You will see the different frequencies that can be set:

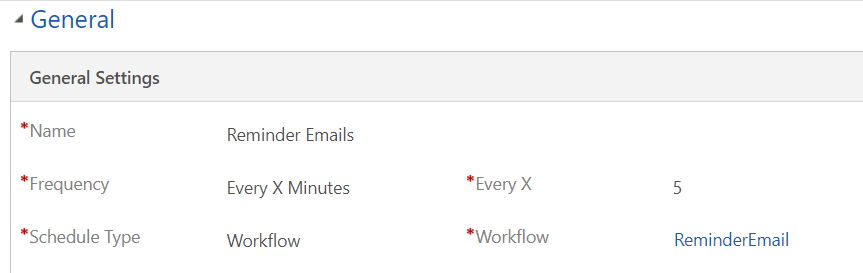
For the purpose of the demo, I will set the workflow to run every 5 minutes:
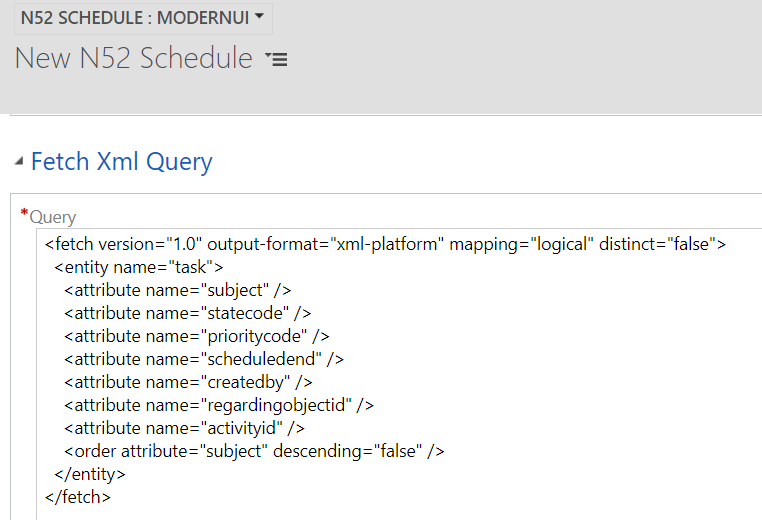
Now enter the FetchXML that will contain the records this workflow will run on. We can get this from Advanced Find:
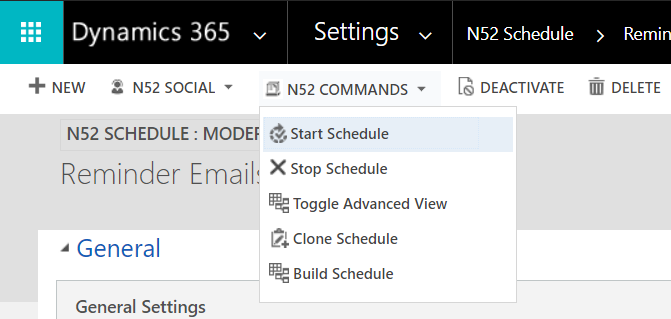
Now, activate the schedule:

And finally, start the schedule:
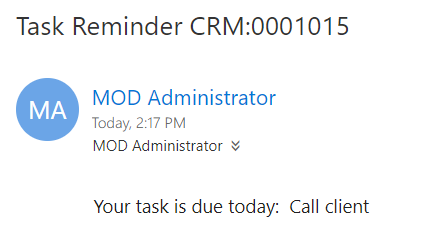
The workflow will then run and send emails:
I AM SPENDING MORE TIME THESE DAYS CREATING YOUTUBE VIDEOS TO HELP PEOPLE LEARN THE MICROSOFT POWER PLATFORM.
IF YOU WOULD LIKE TO SEE HOW I BUILD APPS, OR FIND SOMETHING USEFUL READING MY BLOG, I WOULD REALLY APPRECIATE YOU SUBSCRIBING TO MY YOUTUBE CHANNEL.
THANK YOU, AND LET'S KEEP LEARNING TOGETHER.
CARL


great work, helps alot