Here I will go through an example of creating a Dynamics CRM plugin. In this example, I will create a plugin to set the opportunity description after the opportunity has been created.
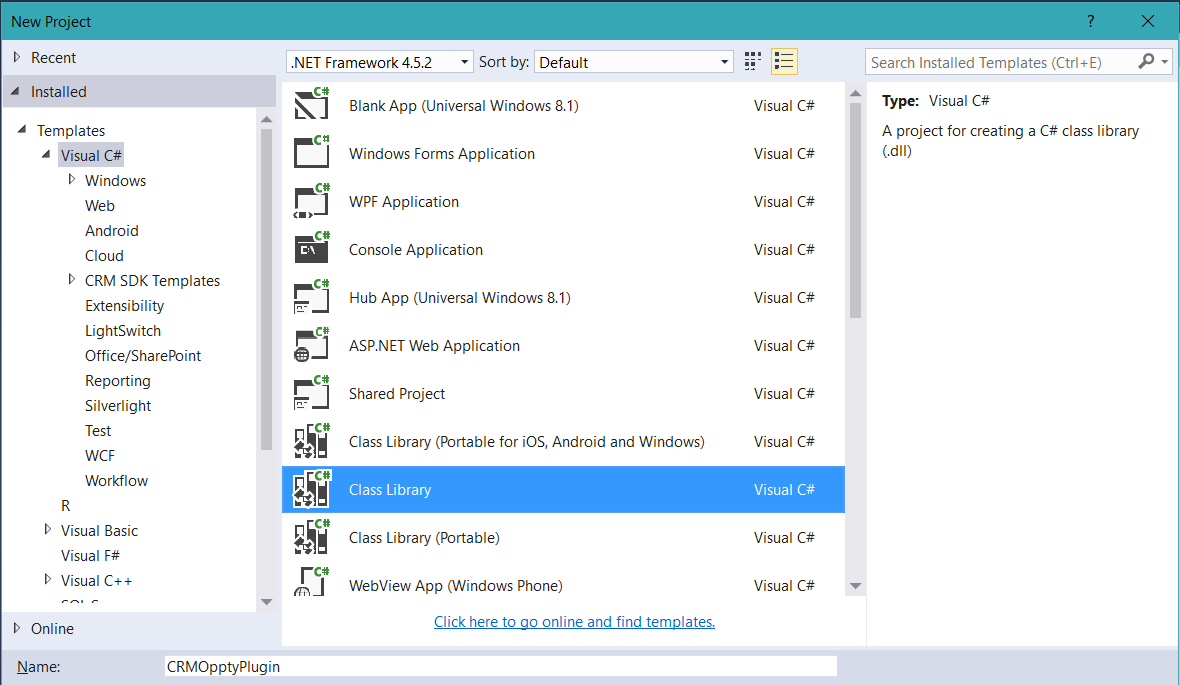
First create a new project in Visual Studio.
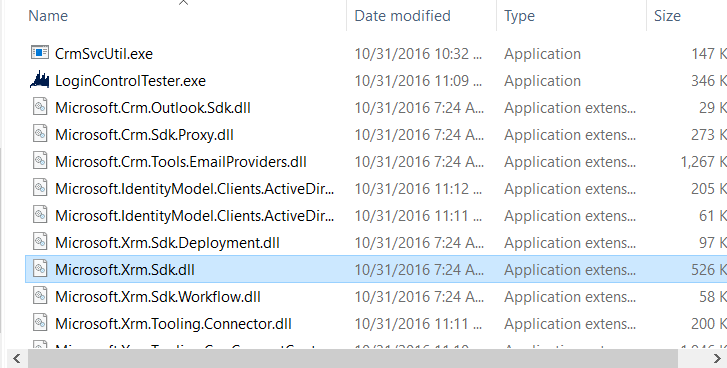
Next, add references.
Add the Microsoft.Xrm.Sdk.dll which is found in the CRM SDK at CRM SDK 2016\SDK\Bin folder:
Or using NuGet the Microsoft.CrmSdk.CoreAssemblies:

In the code, add Using and rename the class:
using Microsoft.Xrm.Sdk;
using Microsoft.Xrm.Sdk.Query;

Add code to extend IPlugin. This is how the registration tool will know this is a plugin.
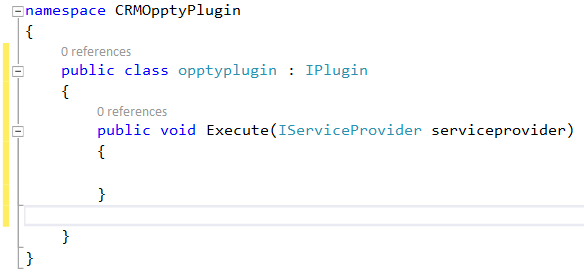
Note – add the Execute function before compiling, or you will get an error Class does not implement interface member IPlugin.Execute(IServiceProvider).
Add the code. We will do a simple plugin, where the description of an opportunity is updated when the opportunity is created.
public void Execute(IServiceProvider serviceProvider)
{
// Obtain the execution context from the service provider.
Microsoft.Xrm.Sdk.IPluginExecutionContext context = (Microsoft.Xrm.Sdk.IPluginExecutionContext)
serviceProvider.GetService(typeof(Microsoft.Xrm.Sdk.IPluginExecutionContext));

// The InputParameters collection contains all the data passed in the message request.
if (context.InputParameters.Contains("Target") &&
context.InputParameters["Target"] is Entity)
{
// Obtain the target entity from the input parameters.
Entity entity = (Entity)context.InputParameters["Target"];

if (entity.LogicalName == "opportunity")
{
 if (entity.Attributes.Contains("description") == false)
 {
   entity.Attributes.Add("description", "Here is the new description");
 }
 else
 {
   throw new InvalidPluginExecutionException("The description can only be set by the system.");
 }
}
}
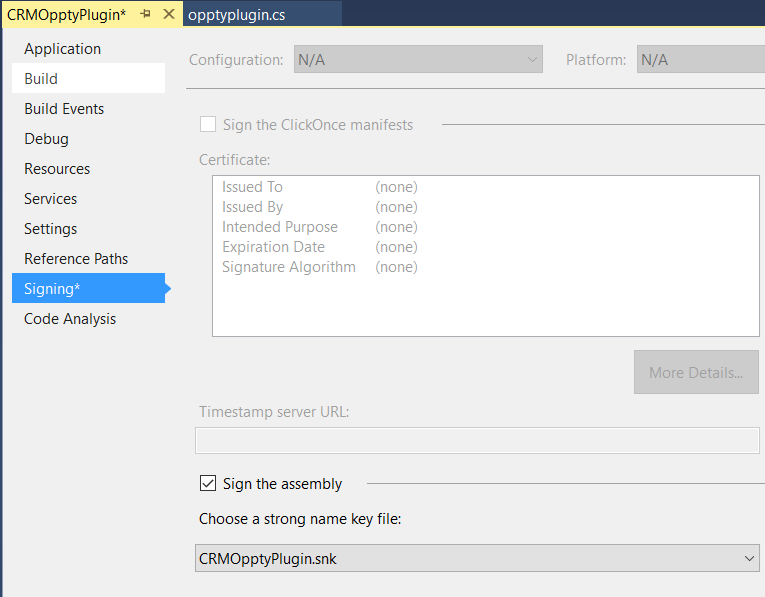
Give the assembly a strong name. Go to the properties of the project and select Signing. Create a new strong name key file:
Build the solution.
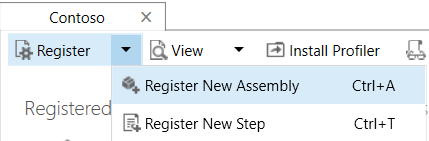
Deploy the solution. Open the Plugin Registration Tool located in the CRM SDK and select Register New Assembly:
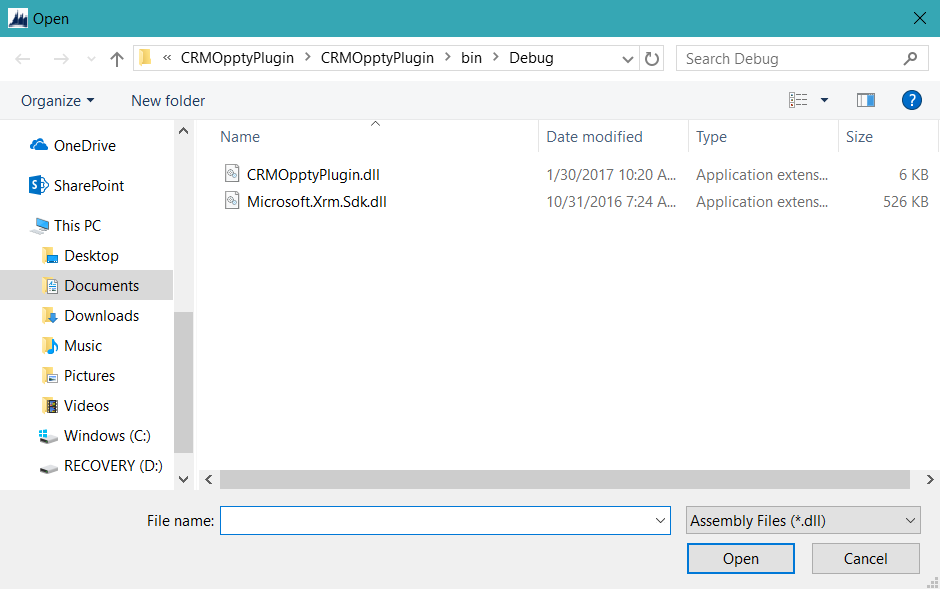
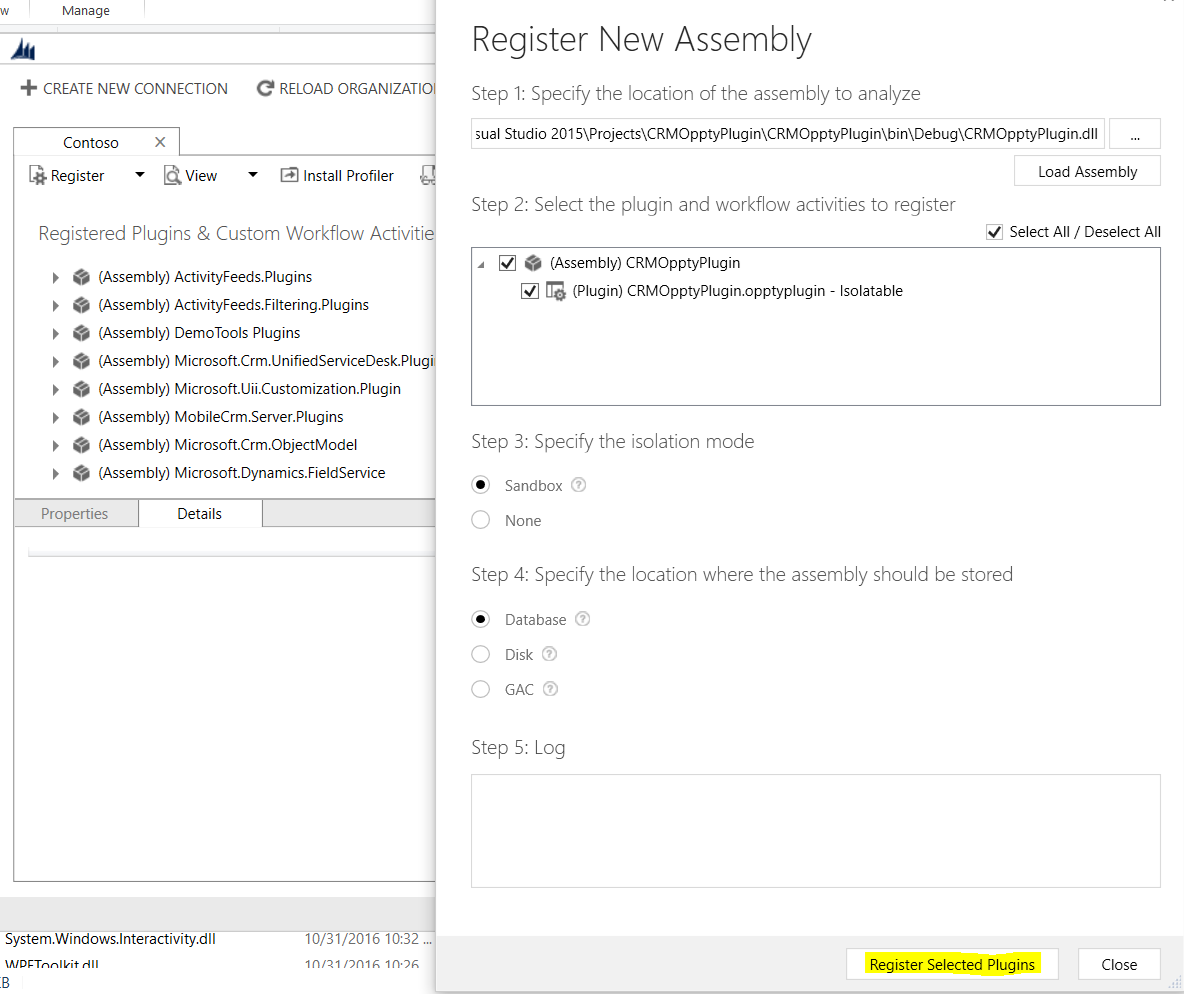
Select the dll from the project debug folder and press Register Selected Plugins:
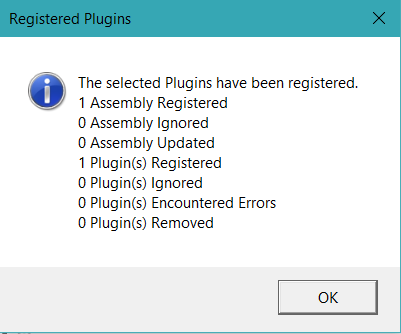
You will get the message:
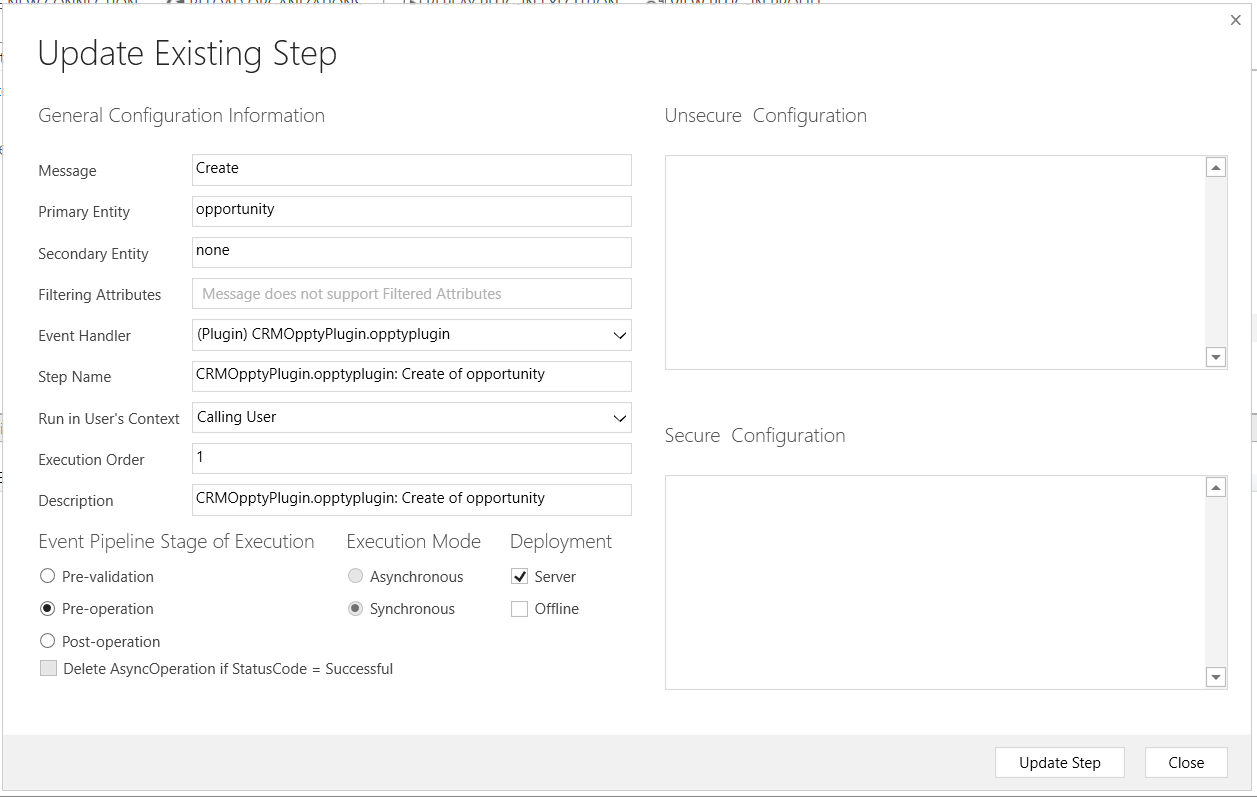
Right click the assembly and click Register New Step:

Enter the message as “Create” and the Primary Entity as “opportunity”. Change the Event Pipeline Stage of Execution to “Pre-operation”:
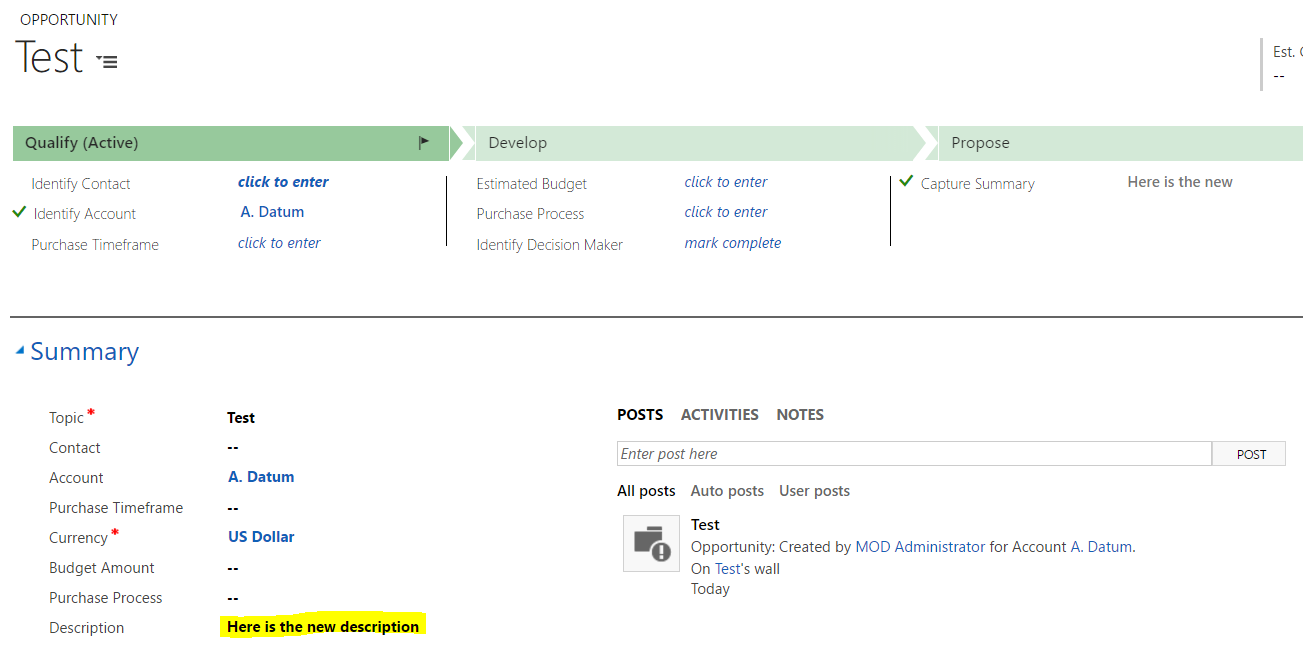
To test the plugin, enter a new Opportunity and click Save. Once the saving is complete, on the description will be updated (without having to manually refresh):
Troubleshooting
You may run into compile issues when compiling the plugin project. For example:
The type or namespace name ‘Xrm’ does not exist in the namespace ‘Microsoft’ (are you missing an assembly reference?)
To resolve this, change the .NET version of the project until you find the correct one in which the project builds successfully.
I AM SPENDING MORE TIME THESE DAYS CREATING YOUTUBE VIDEOS TO HELP PEOPLE LEARN THE MICROSOFT POWER PLATFORM.
IF YOU WOULD LIKE TO SEE HOW I BUILD APPS, OR FIND SOMETHING USEFUL READING MY BLOG, I WOULD REALLY APPRECIATE YOU SUBSCRIBING TO MY YOUTUBE CHANNEL.
THANK YOU, AND LET'S KEEP LEARNING TOGETHER.
CARL


[…] https://carldesouza.com/creating-dynamics-crm-plugin-from-scratch […]
[…] https://carldesouza.com/creating-dynamics-crm-plugin-from-scratch/ […]
write a plugin to copy some data of contact to another entity on deletion.
The steps were very helpful to setup CRM