In our previous post, we installed the PowerApps CLI and created a PowerApps custom component. In this post, we will go through the Microsoft sample here, where we add code to a PCF project, build the project, create a solution and deploy it to our PowerApps / Dynamics 365 environment to use on a field.
First, let’s create a directory LinearComponents to add our control code. We will use the same directory structure as our previous post, with PCF being the root directory for our custom components.
Then in cmd prompt at that directory, type:
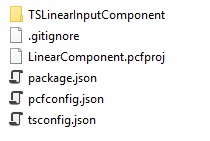
pac pcf init --namespace SampleNamespace --name TSLinearInputComponent --template field
You will see:

This installs the files into the directory:
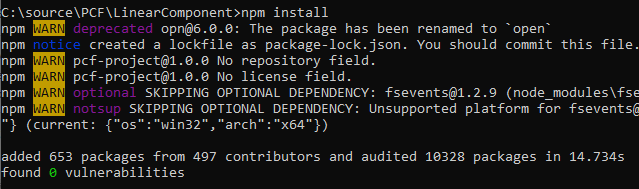
Then run below to update the dependencies:
npm install
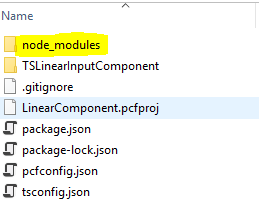
We now have the node modules directory created with the dependencies:
Open the directory in VS Code with:
code .
![]()
Now we have our basic project set up. Let’s overwrite the original code with our custom component code.
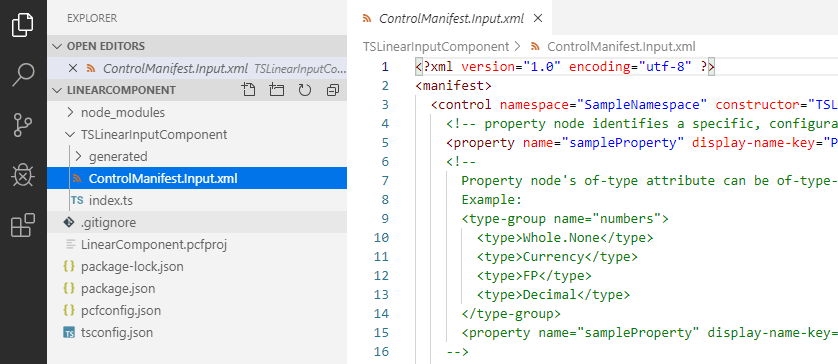
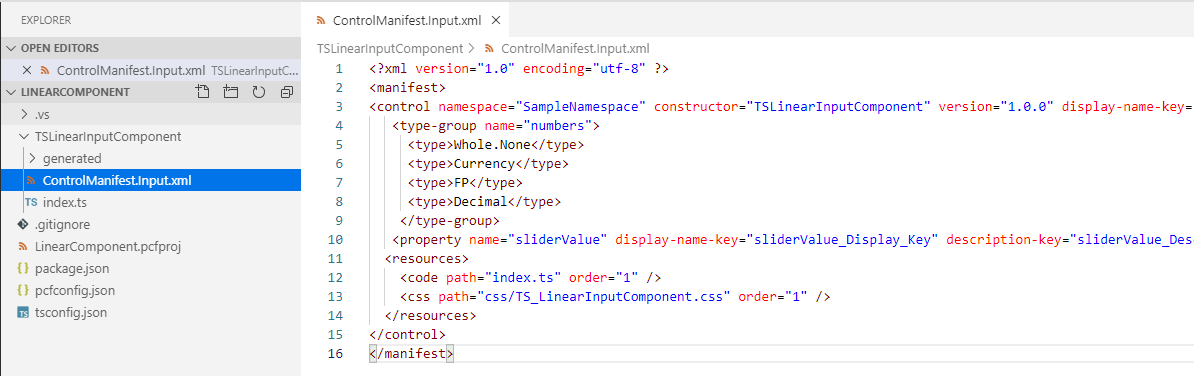
Overwrite the ControlManifest.Input.xml file with:
<?xml version="1.0" encoding="utf-8" ?>
<manifest>
<control namespace="SampleNamespace" constructor="TSLinearInputComponent" version="1.0.0" display-name-key="Linear Input Component" description-key="Allows you to enter the numeric values using the visual slider." control-type="standard">
<type-group name="numbers">
<type>Whole.None</type>
<type>Currency</type>
<type>FP</type>
<type>Decimal</type>
</type-group>
<property name="sliderValue" display-name-key="sliderValue_Display_Key" description-key="sliderValue_Desc_Key" of-type-group="numbers" usage="bound" required="true" />
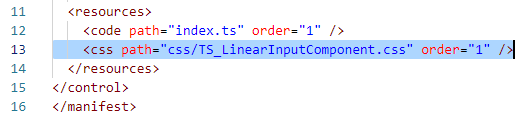
<resources>
<code path="index.ts" order="1" />
<css path="css/TS_LinearInputComponent.css" order="1" />
</resources>
</control>
</manifest>And save the file:
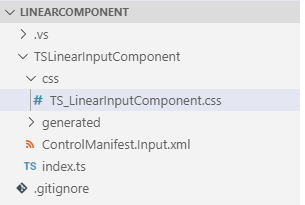
Next, create a new folder called css by right-clicking, and then a new file in the new folder called TS_LinearInputComponent.css:
Next, go to the link https://docs.microsoft.com/en-us/powerapps/developer/component-framework/implementing-controls-using-typescript#adding-style-to-the-code-component and select Copy from 3:
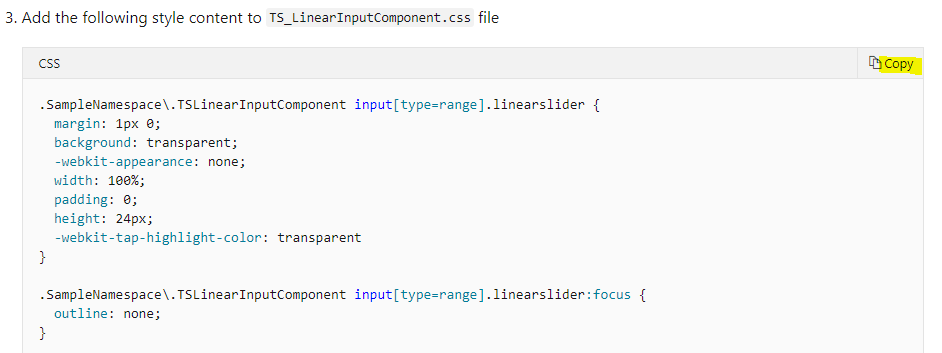
Paste it into the new TS_LinearInputComponent.css file:
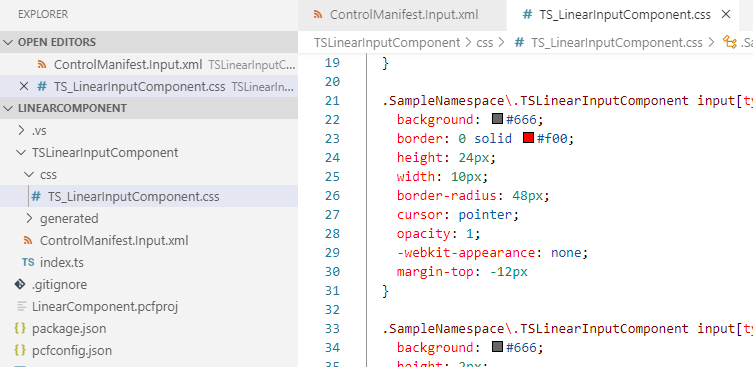
Note we already have a reference to this file in the ControlManifest.Input.xml file:
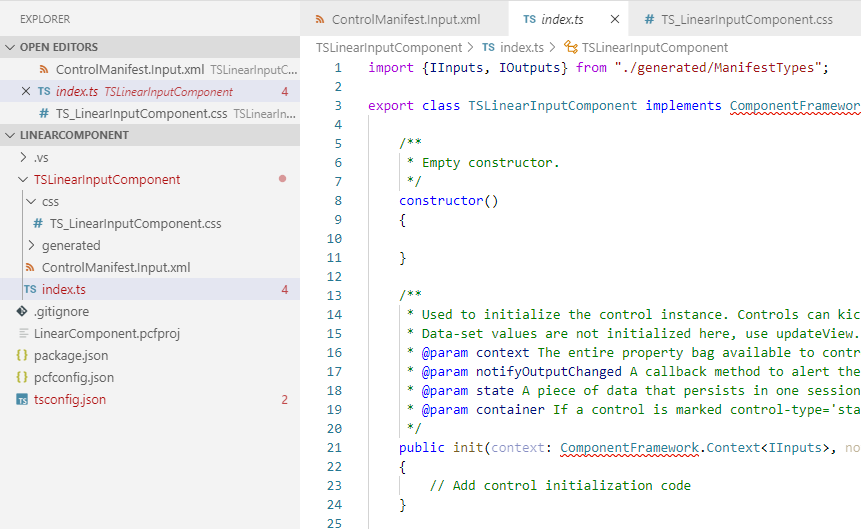
Now the logic. Open the file index.ts:
We will overwrite the code. Go to https://docs.microsoft.com/en-us/powerapps/developer/component-framework/implementing-controls-using-typescript and scroll down to Implementing component logic.
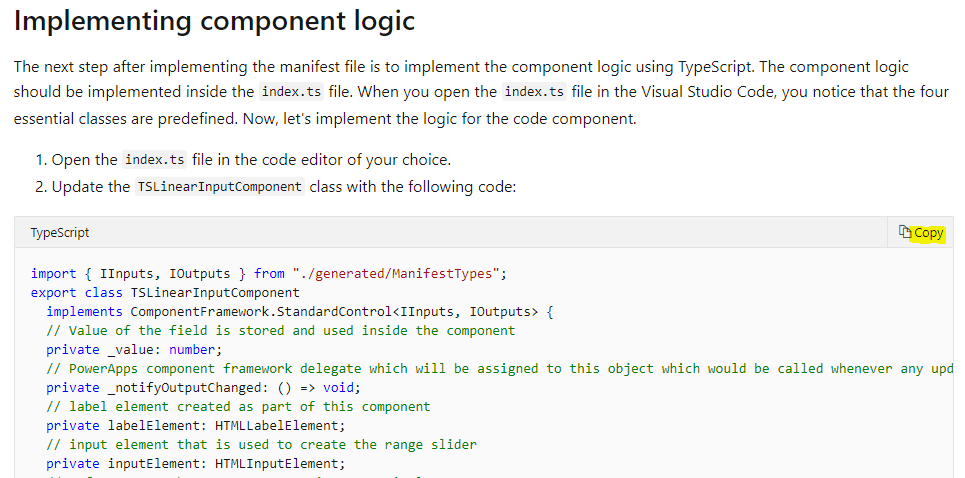
Paste it over the code in index.ts:
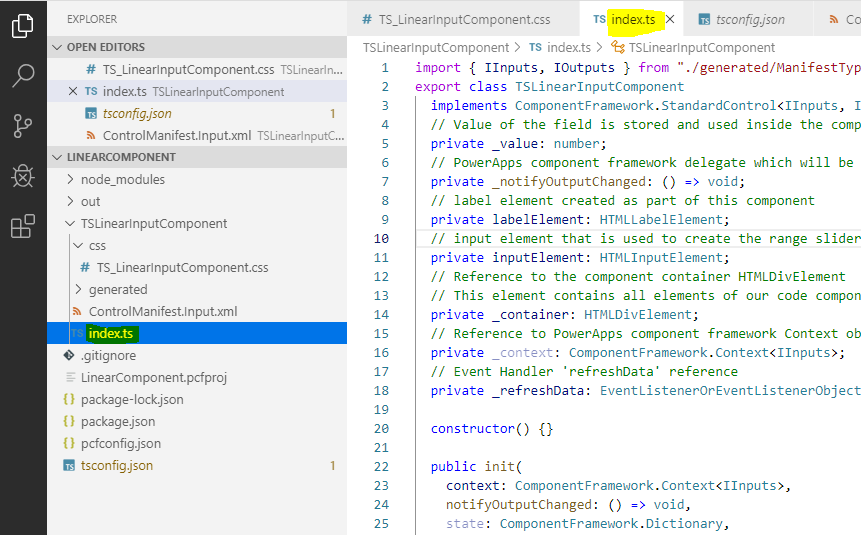
Save all files.
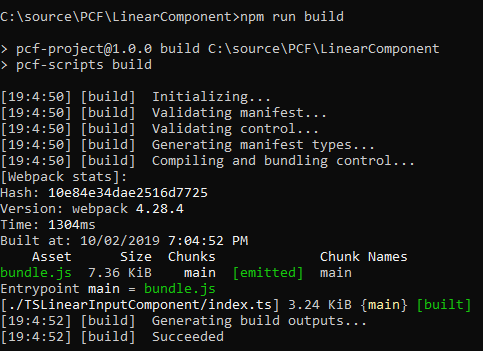
Now let’s build:
npm run build
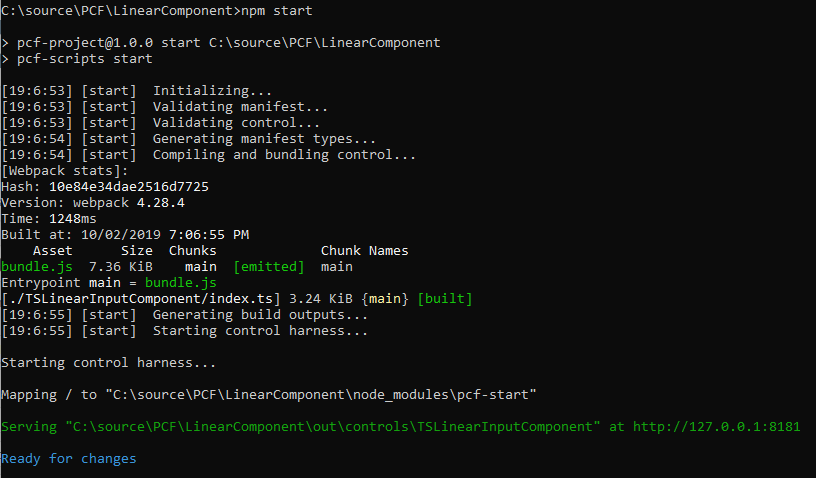
And go into debug with the command:
npm start
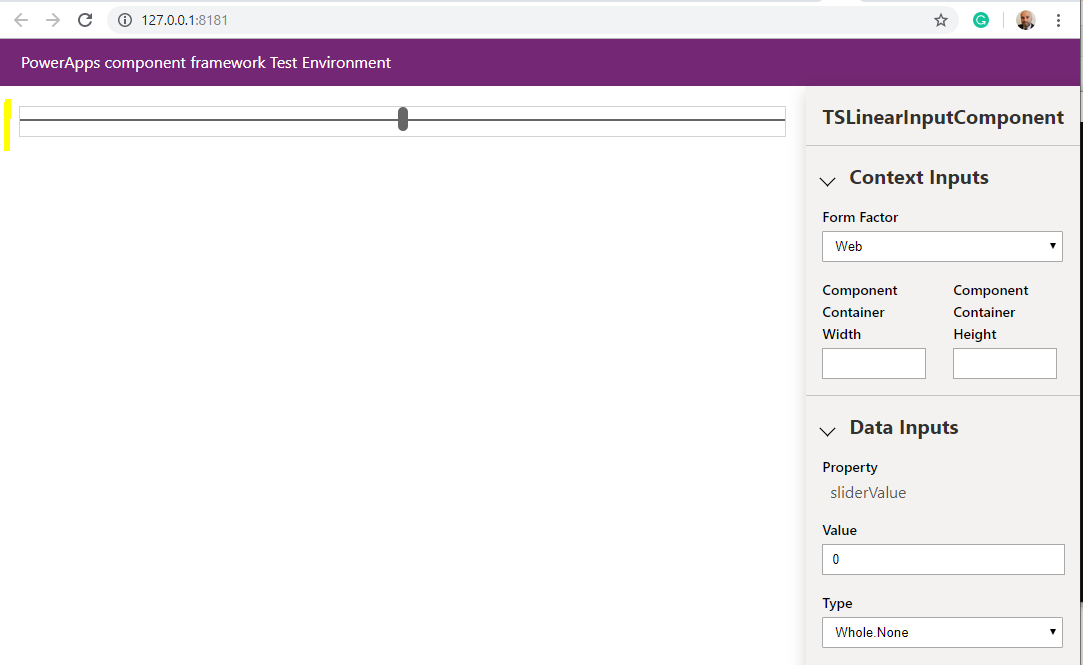
This opens the web browser to the PowerApps component framework Test Environment. showing the slider control:
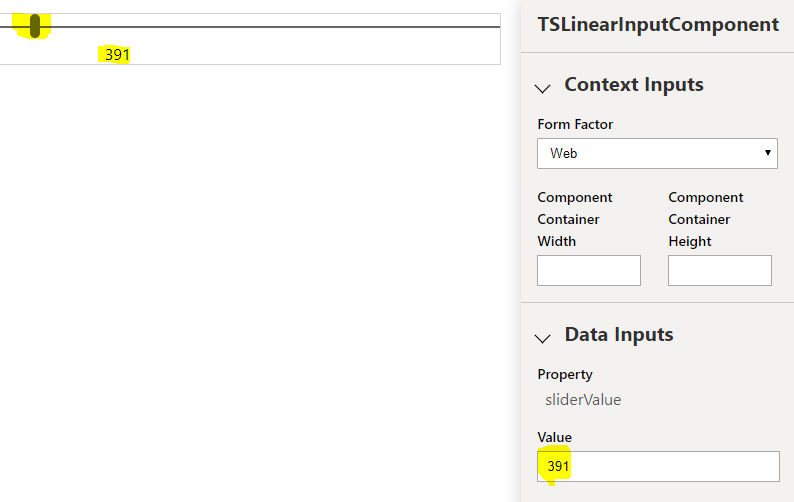
Moving the slider changes the value:
Let’s package and deploy this new control.
Create a new folder called Solutions in the LinearComponent directory and run the command:
pac solution init --publisher-name developer --publisher-prefix dev

This creates the files:

Next, we need to add a reference to where the component is. Run the command below, replacing my directory (c:\source\PCF\) with where yours is located
pac solution add-reference --path c:\source\PCF\LinearComponent
![]()
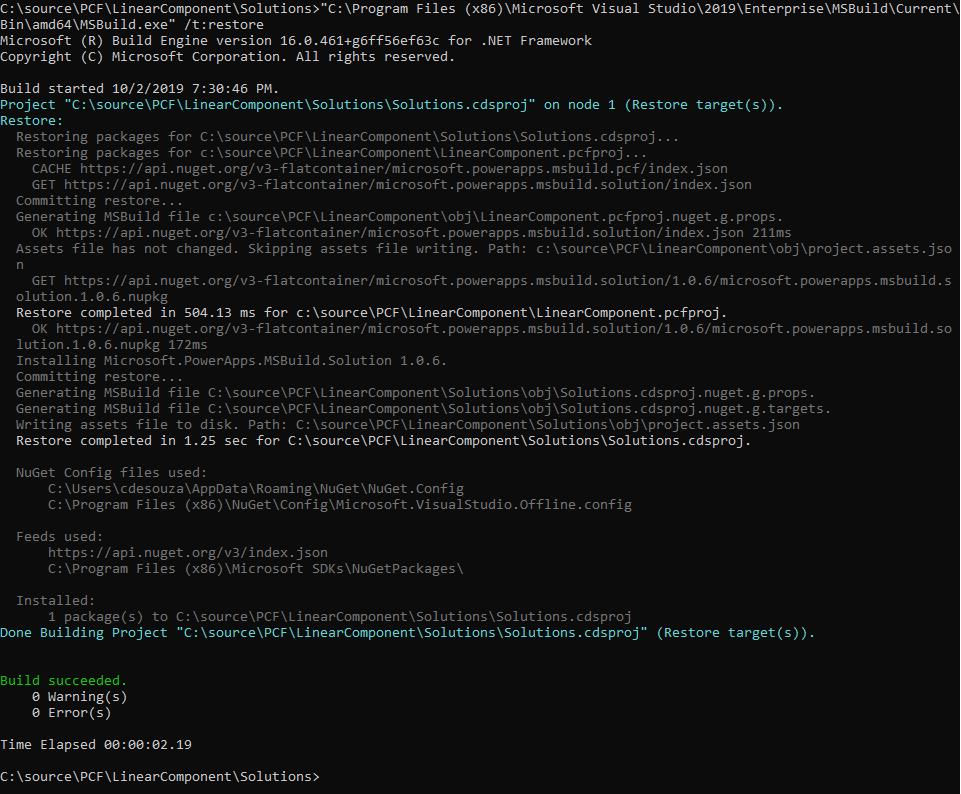
Now run below in the Solutions directory:
msbuild /t:restore
If you find msbuild does not exist, you can find it in your Visual Studio directory, e.g. C:\Program Files (x86)\Microsoft Visual Studio\2019\Enterprise\MSBuild\Current\Bin\amd64\MSBuild.exe:
Note – you may have issues using the MSBuild located in Program Files or the .NET Framework directory, in which case use the Visual Studio directory.
Also see here if you are having issues running this in PowerShell.
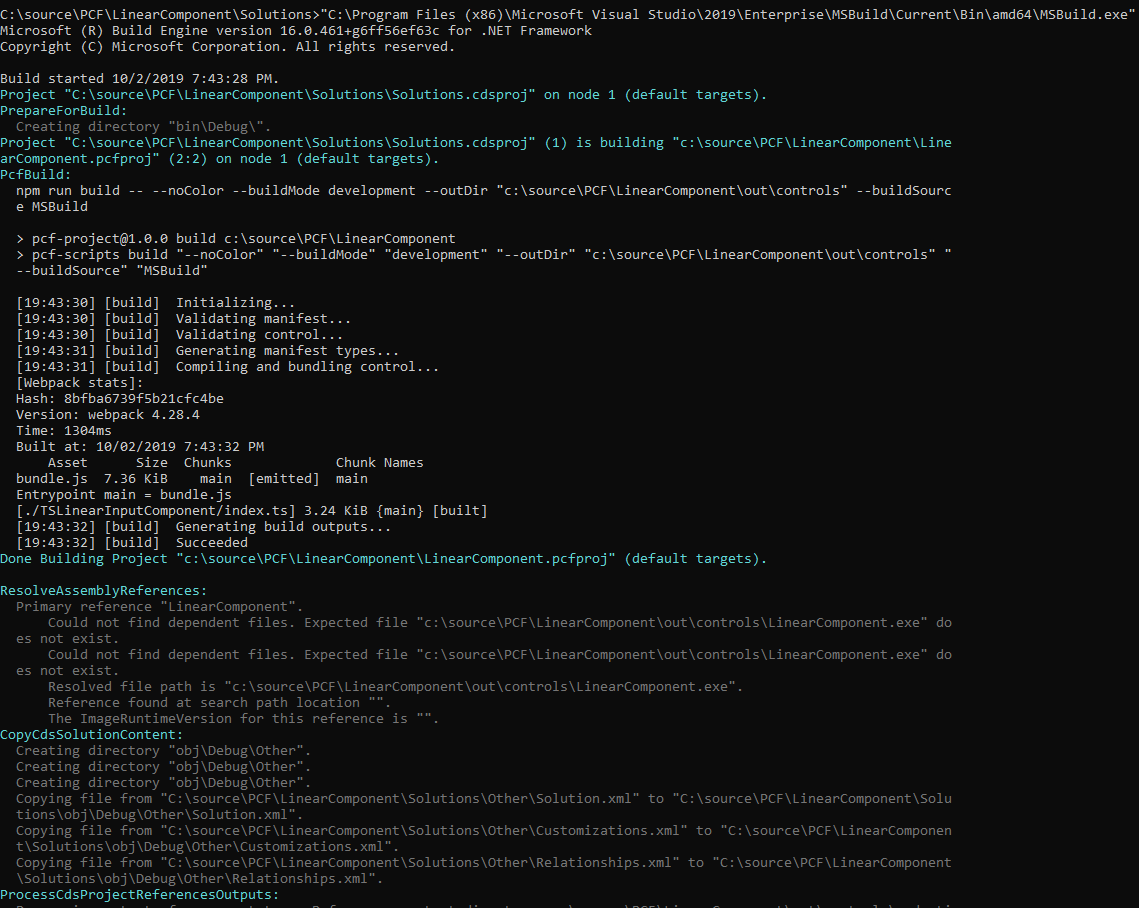
Now run:
msbuild
Note if you run into issues, please see https://carldesouza.com/issue-with-running-msbuild-on-powerapps-component-framework-pcf-controls/:
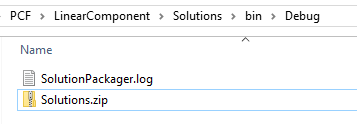
This creates a solutions.zip file in the Solutions\bin\debug location:
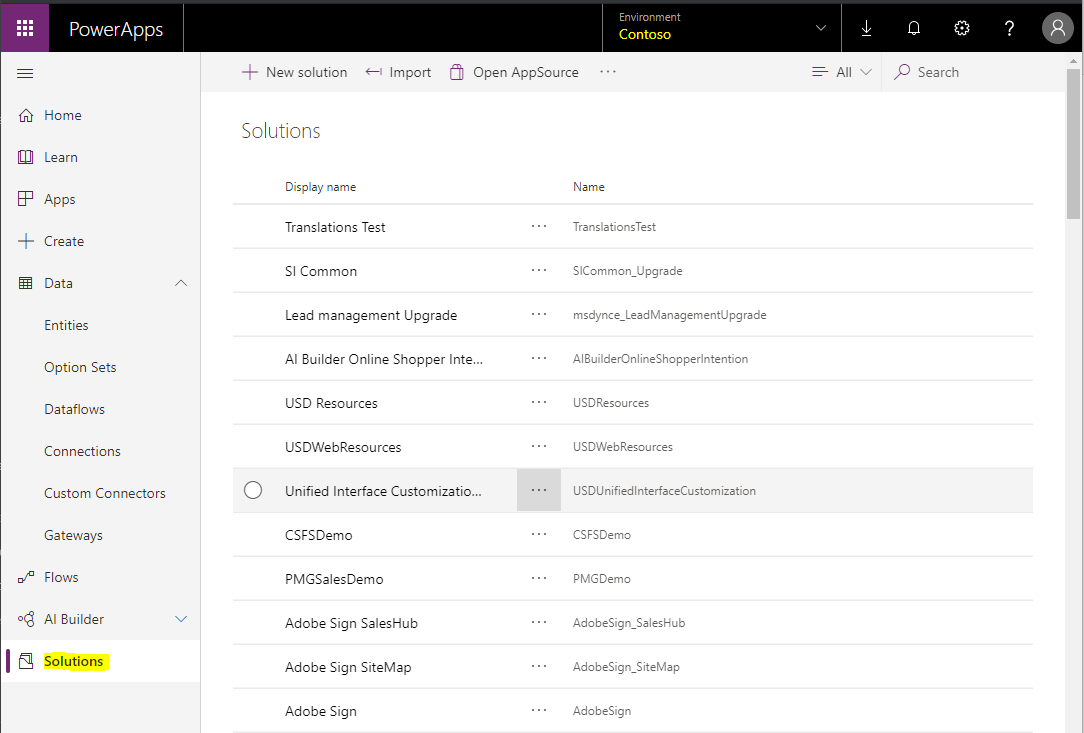
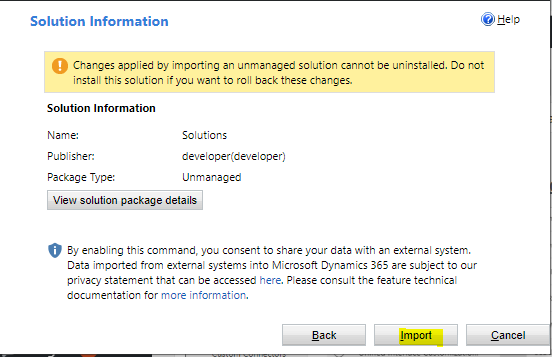
Now let’s import this into Dynamics 365 / PowerApps. Log into https://make.powerapps.com/ and select Solutions, then Import:
Select Solutions.zip file:

Click Import:
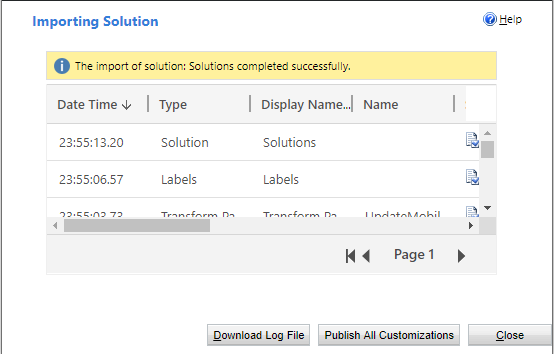
Publish customizations and Close:
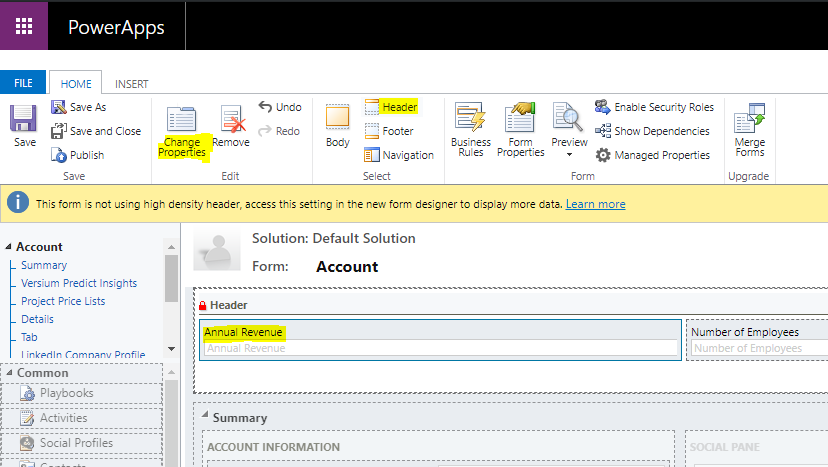
Now let’s open up the Account form in Customizations, select Header to change the Annual Revenue field and click Change Properties:
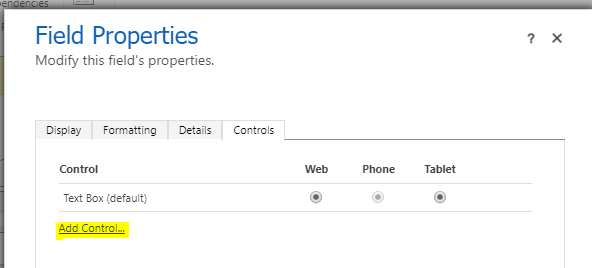
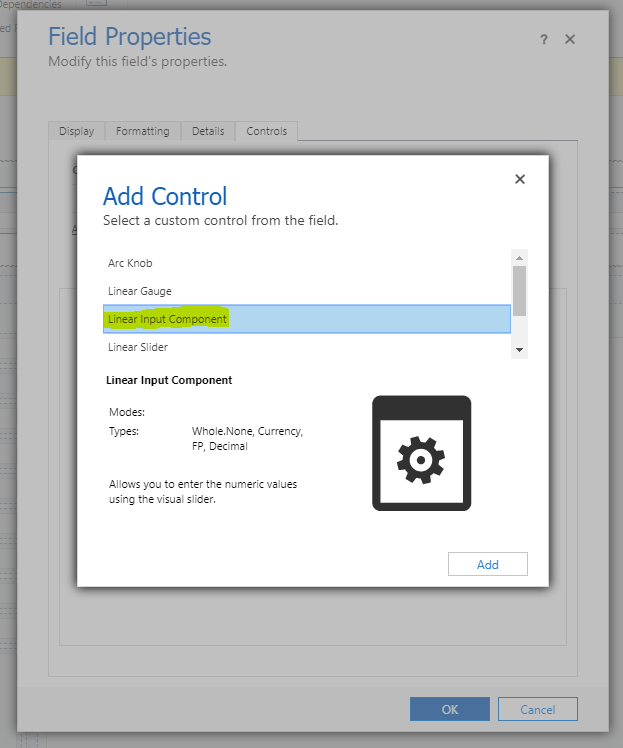
Click Add Control:
We see our new PCF custom control, Linear Input Component:
Select it and then select where to use it – web and tablet:
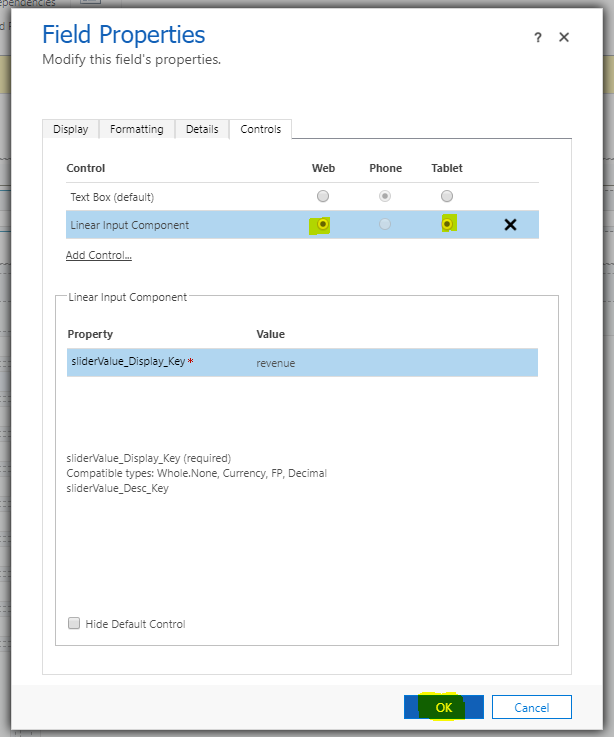
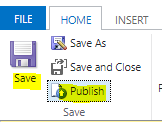
Click Done, then Save and Publish the form.
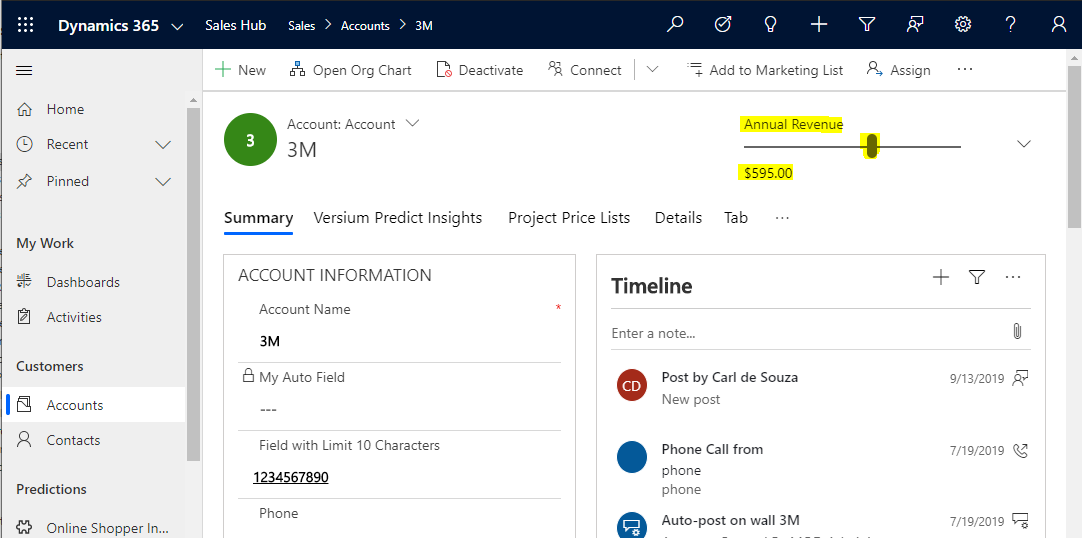
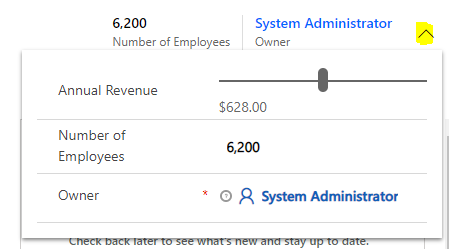
Now open an account record. We see the new PCF control on the Annual Revenue field:
Note if you don’t see the field, click on the arrow:
I AM SPENDING MORE TIME THESE DAYS CREATING YOUTUBE VIDEOS TO HELP PEOPLE LEARN THE MICROSOFT POWER PLATFORM.
IF YOU WOULD LIKE TO SEE HOW I BUILD APPS, OR FIND SOMETHING USEFUL READING MY BLOG, I WOULD REALLY APPRECIATE YOU SUBSCRIBING TO MY YOUTUBE CHANNEL.
THANK YOU, AND LET'S KEEP LEARNING TOGETHER.
CARL

As usual, amazing content. Thanks Carl
I am facing an issue while building
The Error is “error MSB4066: The attribute “Version” in element is unrecognized.”
Dear Carl,
you where my saviour in working with this PCF many thanks for the very great presenation!
I am encountering one problem with the function
pac solution add-reference –path
it tells me that the add-reference is a not valid command and therefore generates an error.. do you or any of you have an idea why this can be?