Microsoft Forms is a solution from Microsoft to capture and analyze feedback through surveys. In this post, we will look at how to use Forms by creating an example of a survey and the different types of questions that can be asked. In another post, we will look at Forms Pro, the “pro” version with more features.
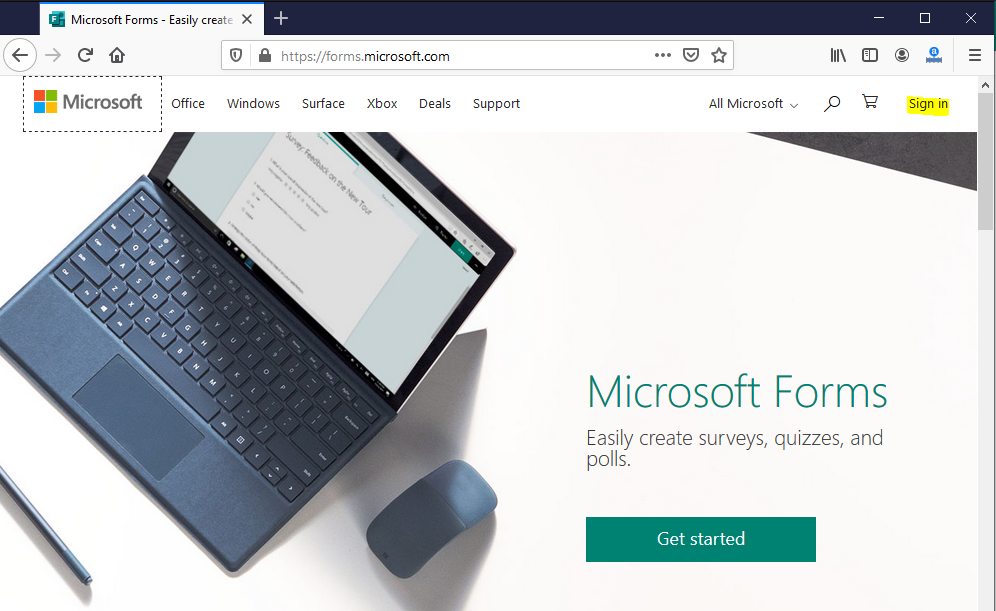
To use Forms, log in at https://forms.microsoft.com/ and sign in:
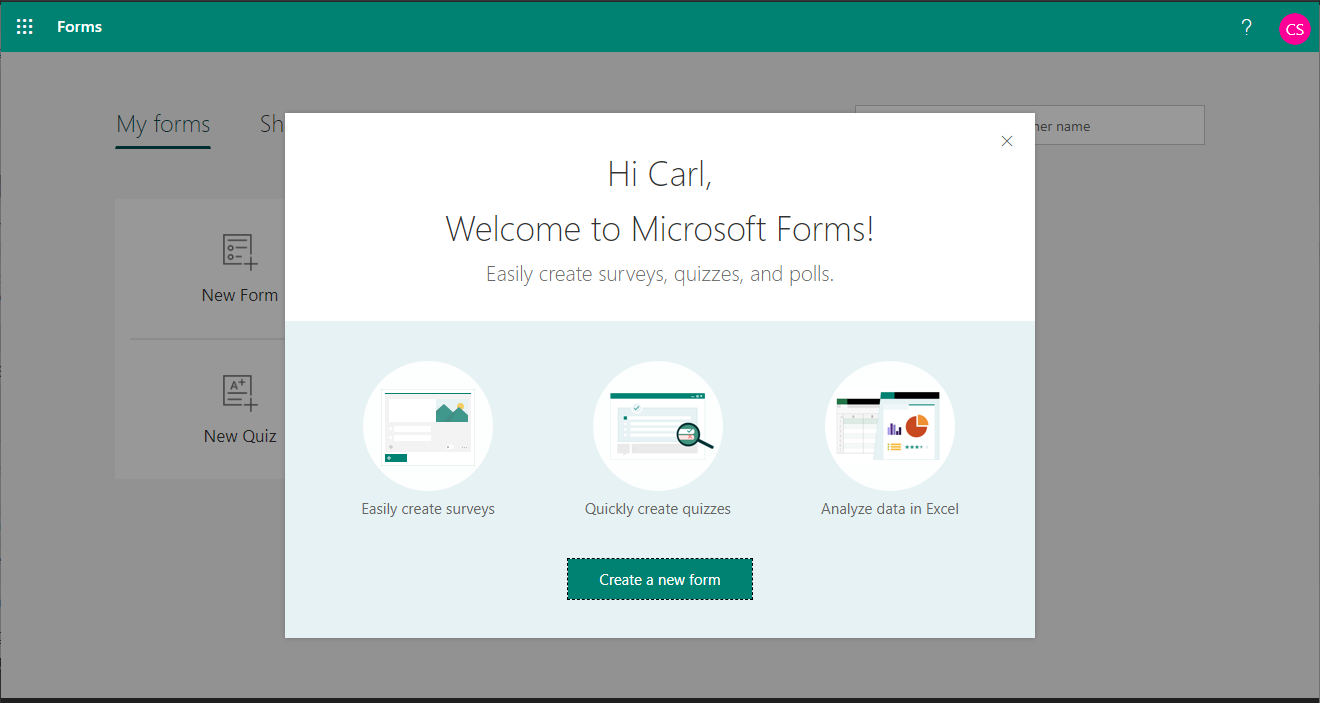
We see:
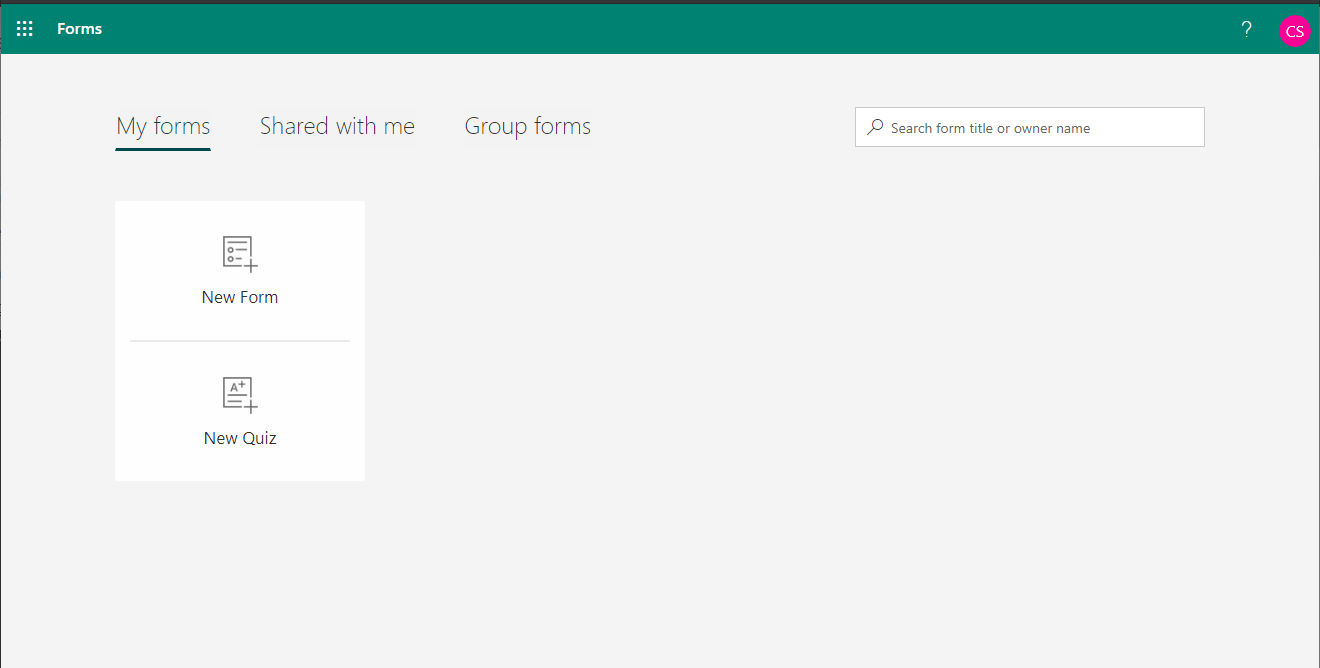
Select New Form:
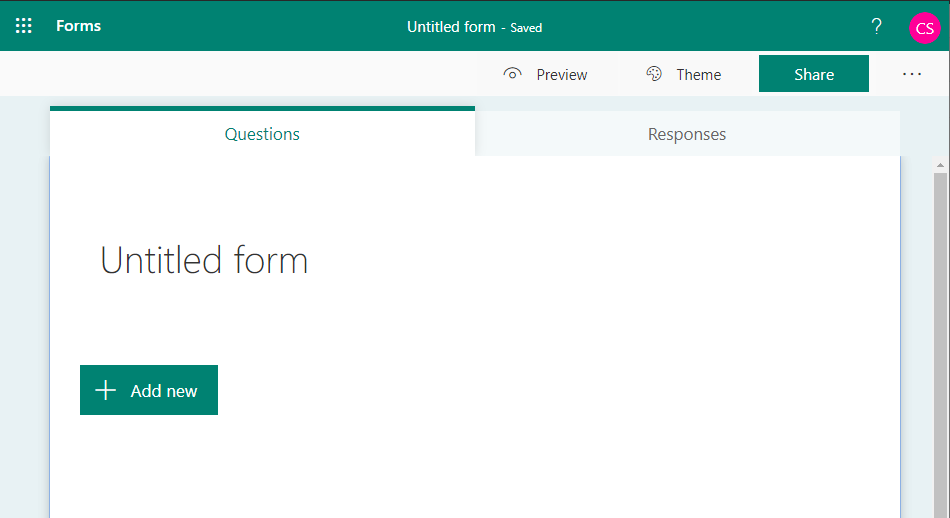
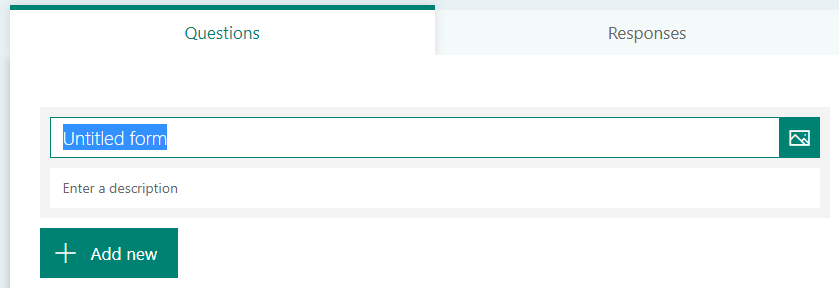
We see the form below. Click on Untitled form:
We can enter the name of the form and a description:
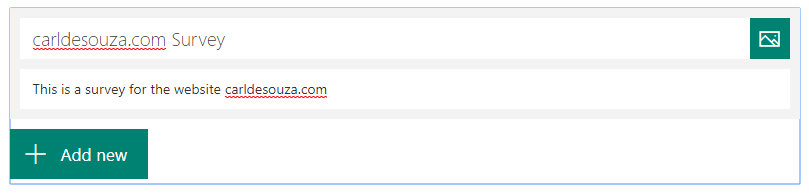
We will create a survey for this website, and click Add New:
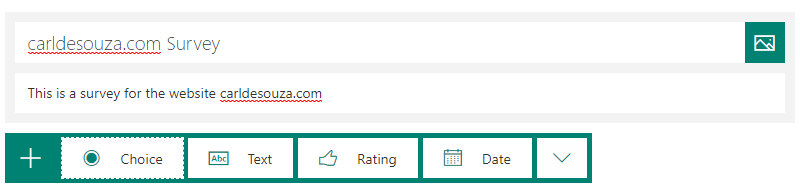
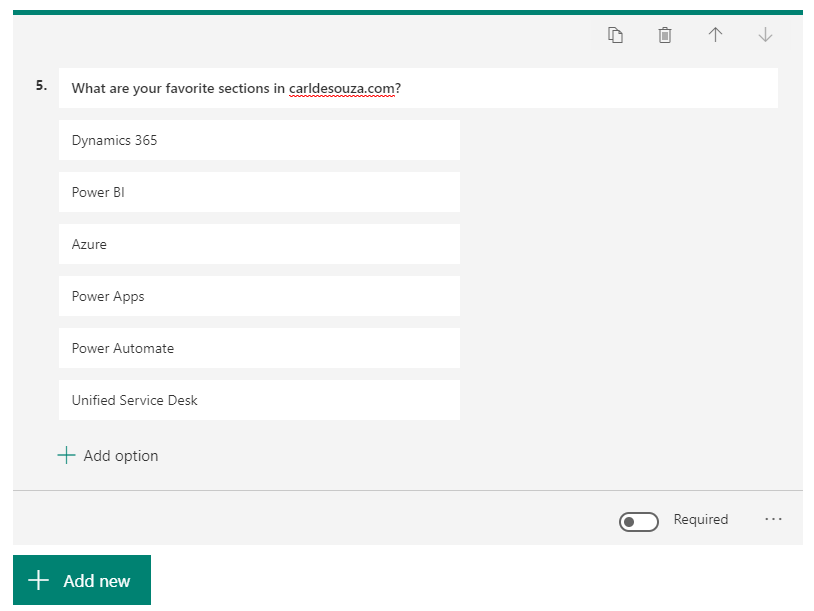
We now get an option to add a new Choice, Text, Rating or Date. Let’s select Choice:
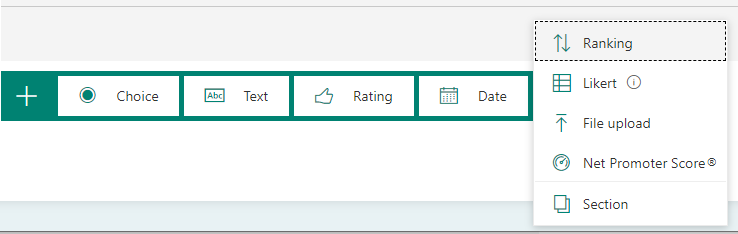
As well as Ranking, Likert, File Upload, Net Promoter Score and Section:
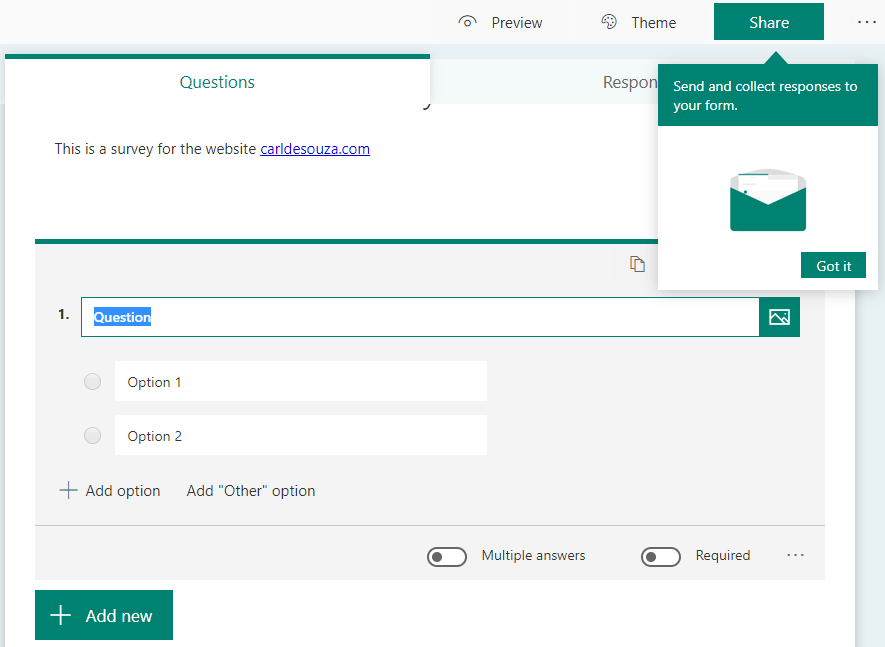
We see below. We can enter a question and give the users options for answers. Note also we’re getting a message showing that we can share this via email:
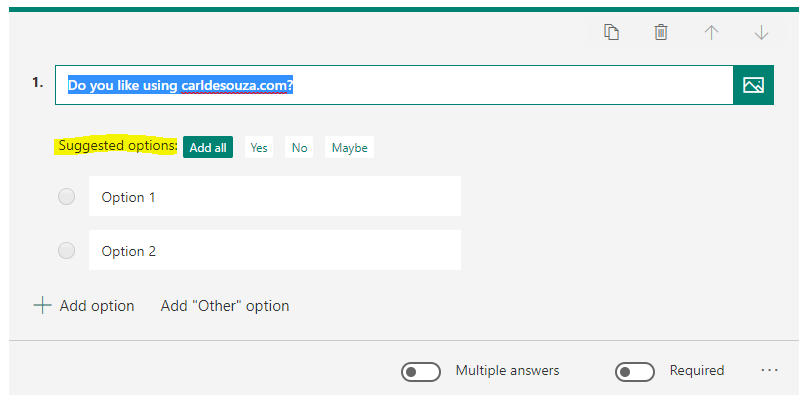
As I type the question, it’s predicting the potential answers for this, in this case Yes, No and Maybe:
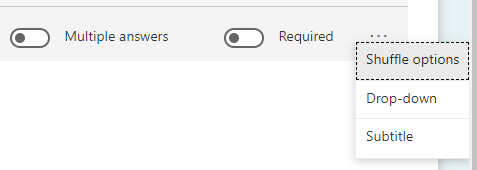
Note also we can provide multiple answers, make this question required, shuffle options, make it a drop-down, add a subtitle etc:
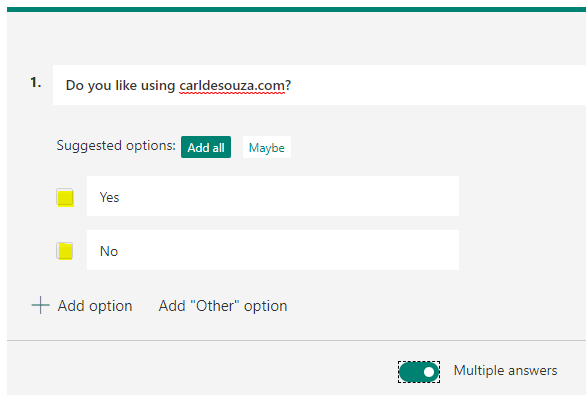
Selecting multiple answers changes the selection to checkboxes:
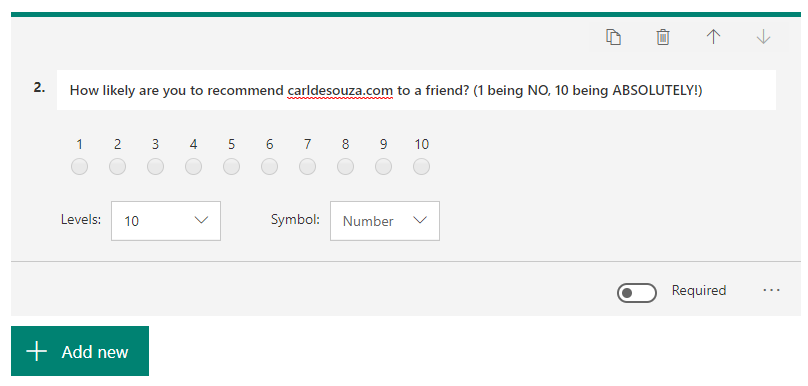
Let’s finish this question and add another one. Let’s add a rating. Here we can use stars or numbers, and provide levels up to 10:
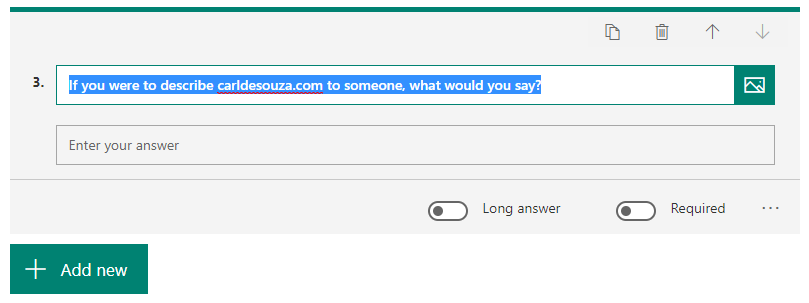
Now let’s add a Text question. Something like:
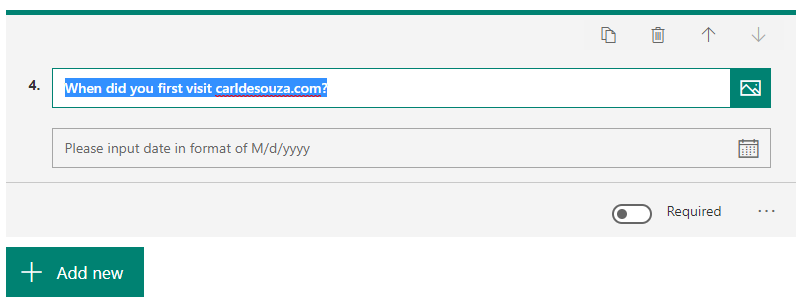
Next, a Date:
Let’s add a Ranking:
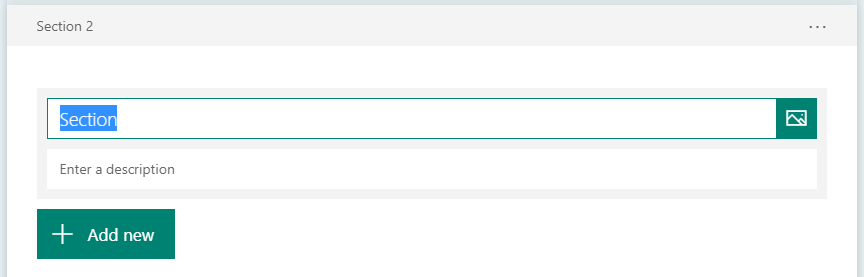
Here’s what adding a section looks like:
Let’s add a Likert to this section, which is “used to gauge attitudes and opinions about a topic”:
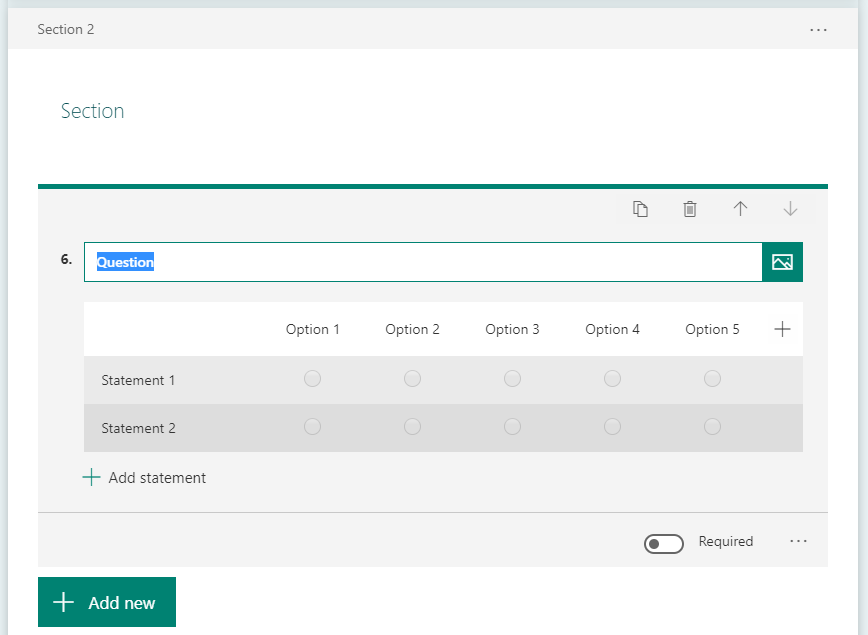
For example:

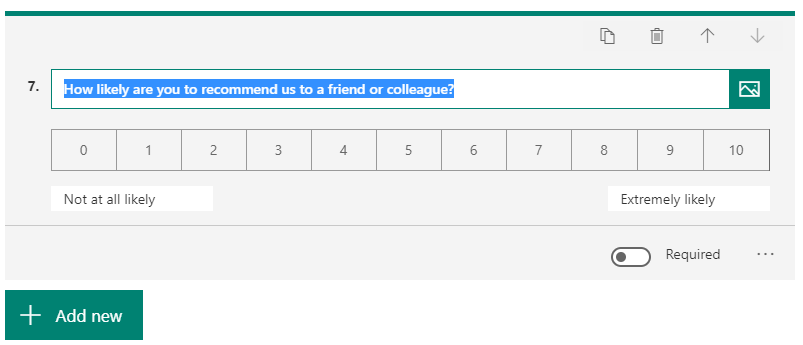
Here’s the Net Promoter Score:
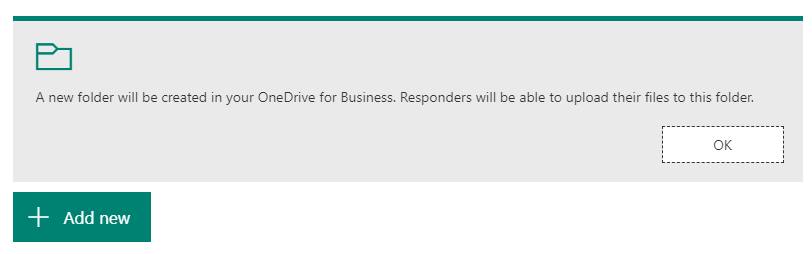
And File Upload:
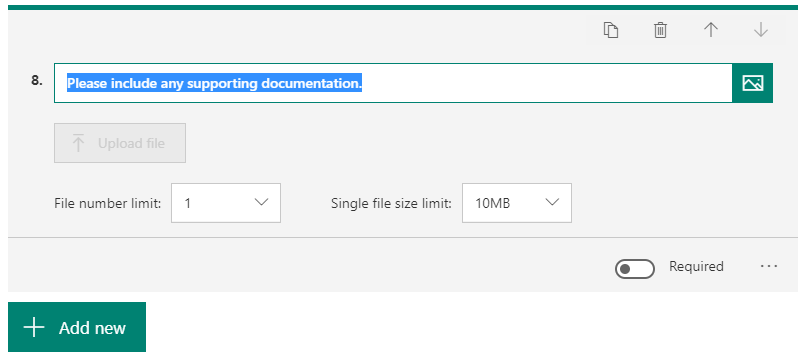
Our survey is automatically saved. Let’s share it.
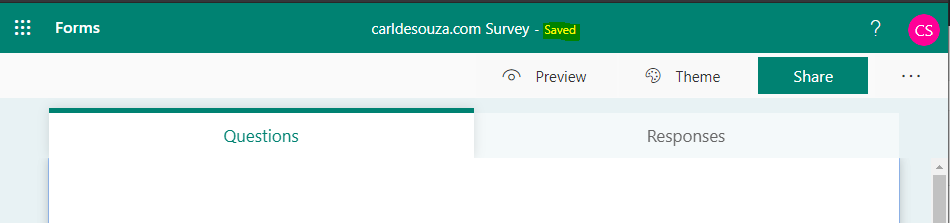
Selecting Share, we see we get a link to the survey:
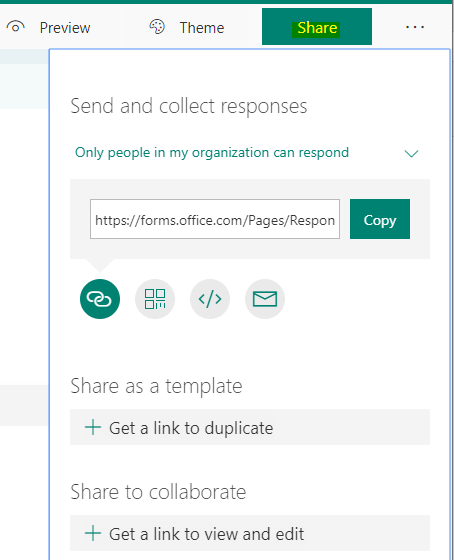
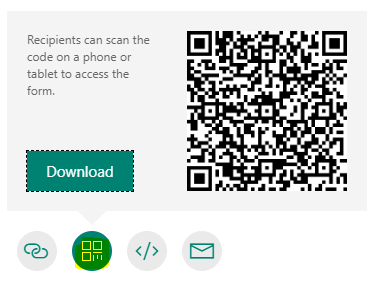
Or a QR code:
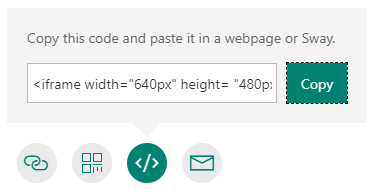
Or we can embed it in a webpage:
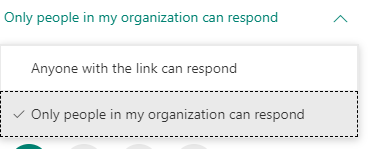
Or email it directly. Note it says File Upload is only available when “Only people in my organization can response” is the selected setting:
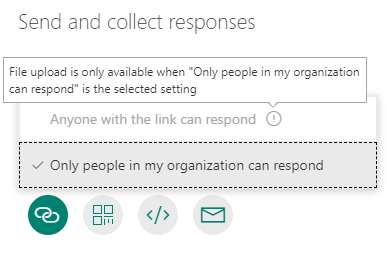
Removing the File Upload question will enable this option.
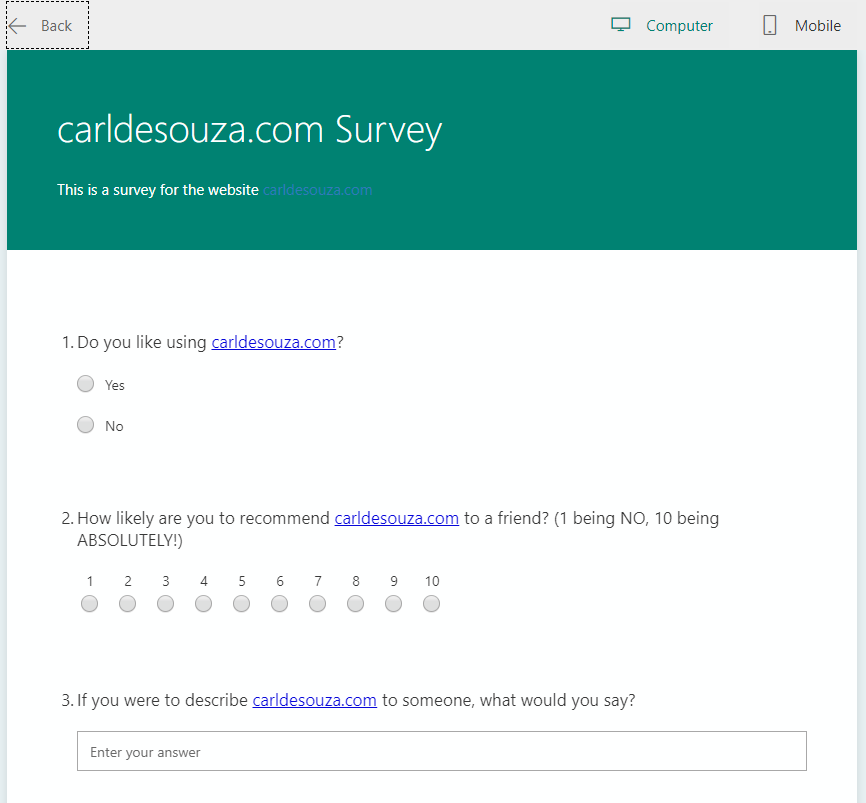
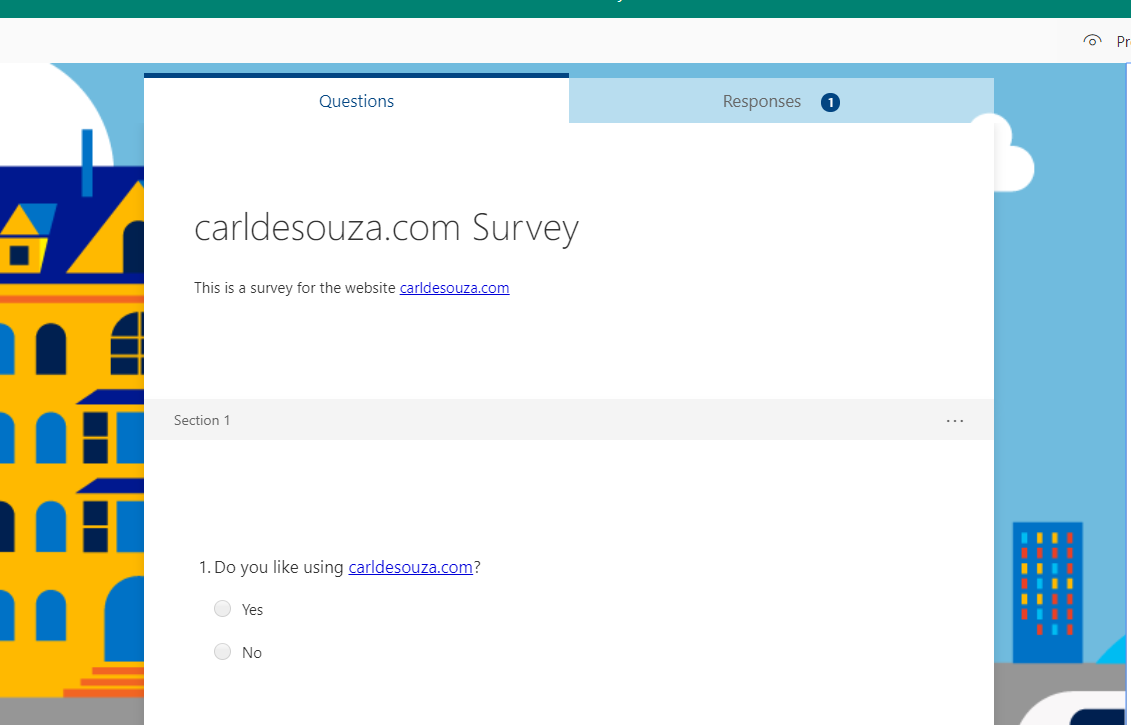
On clicking Preview:

We can see how this will look on a computer and mobile:
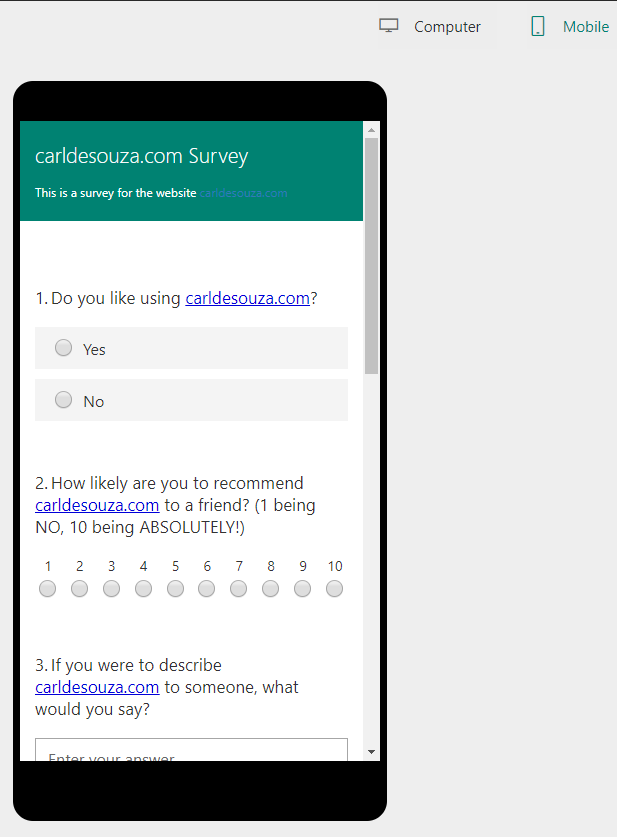
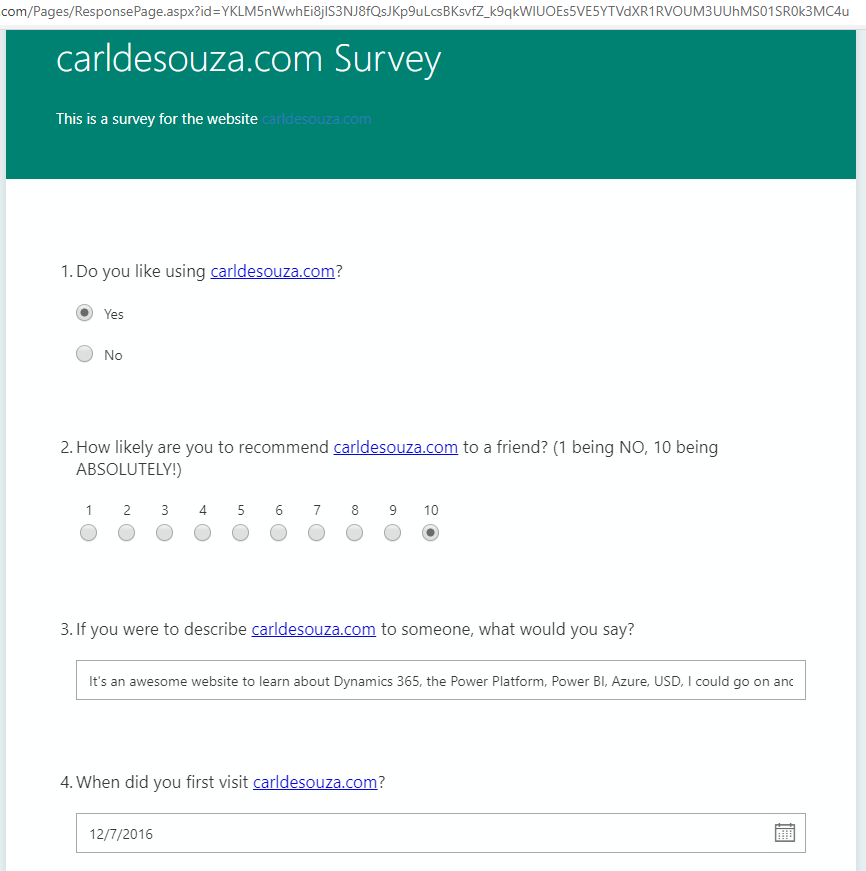
Let’s fill out this form in an anonymous browser session and see how it looks.
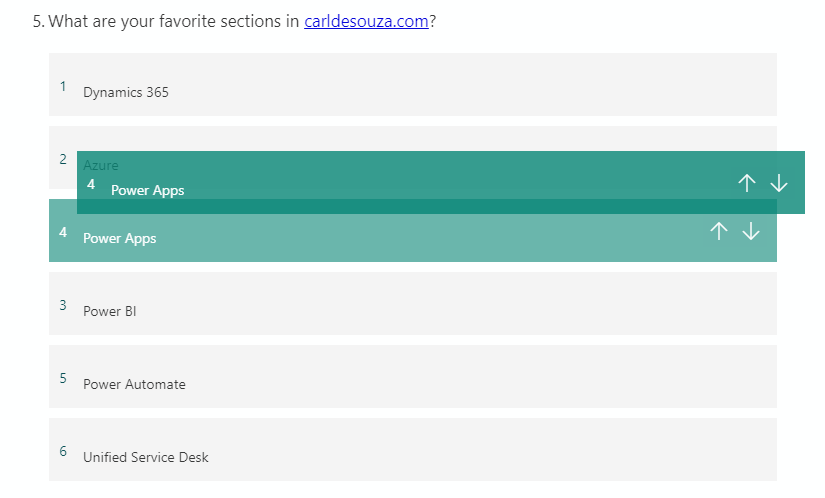
Note how we can drag answers in our ranking question:
Section 2 is showing on a new page. Let’s submit:
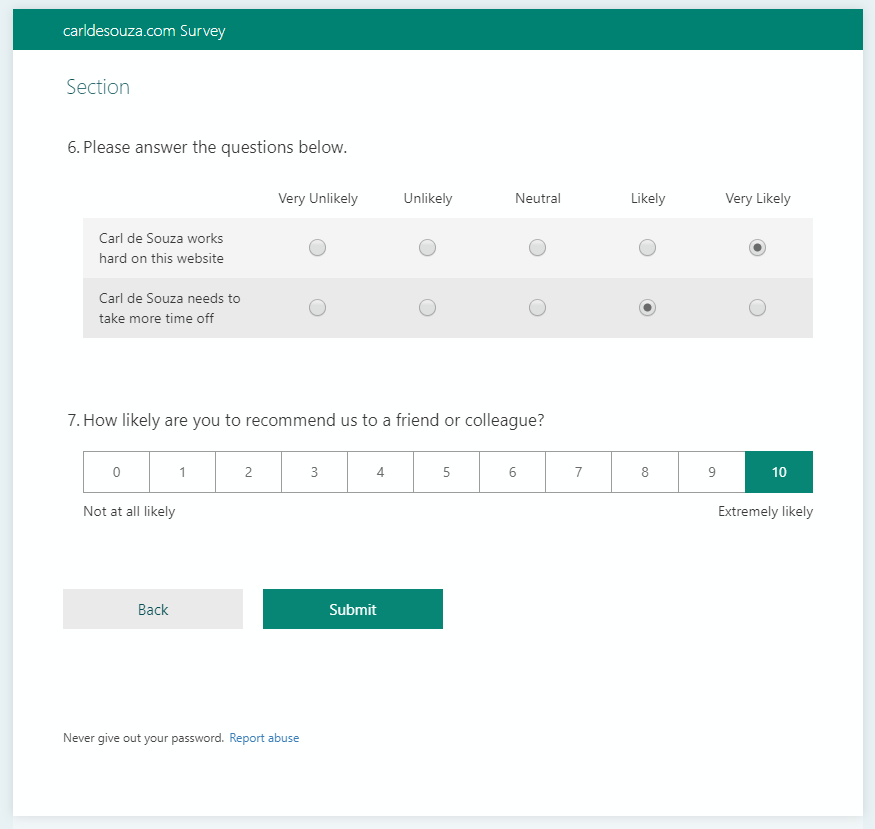
There’s our response:
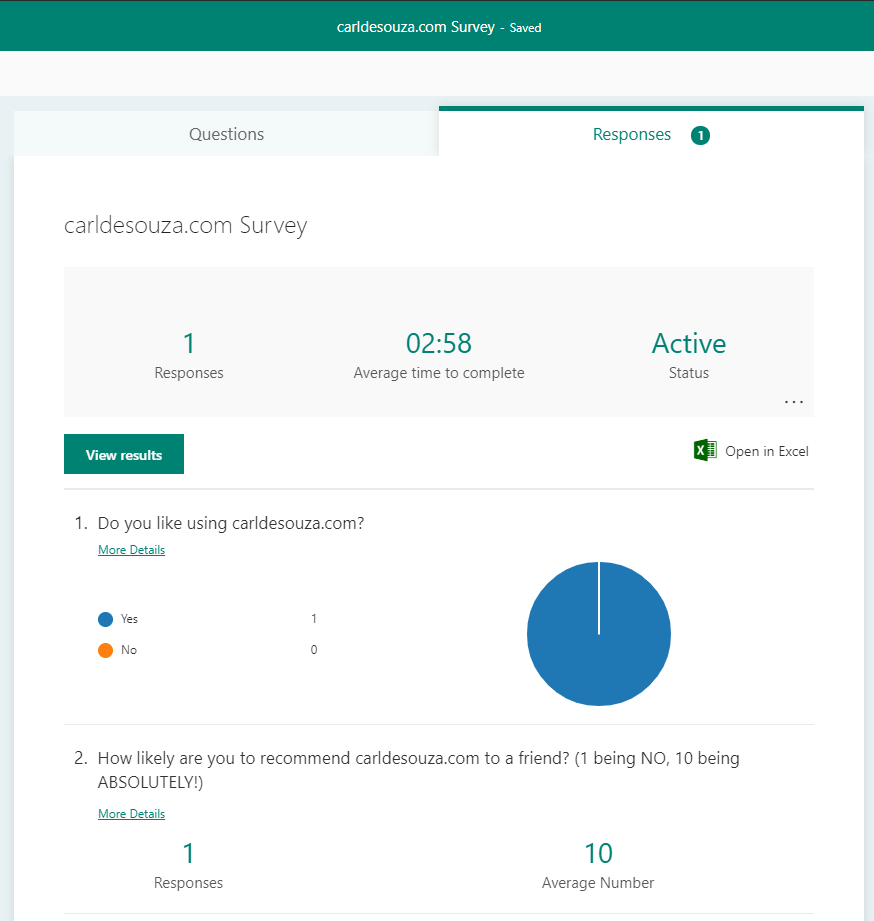
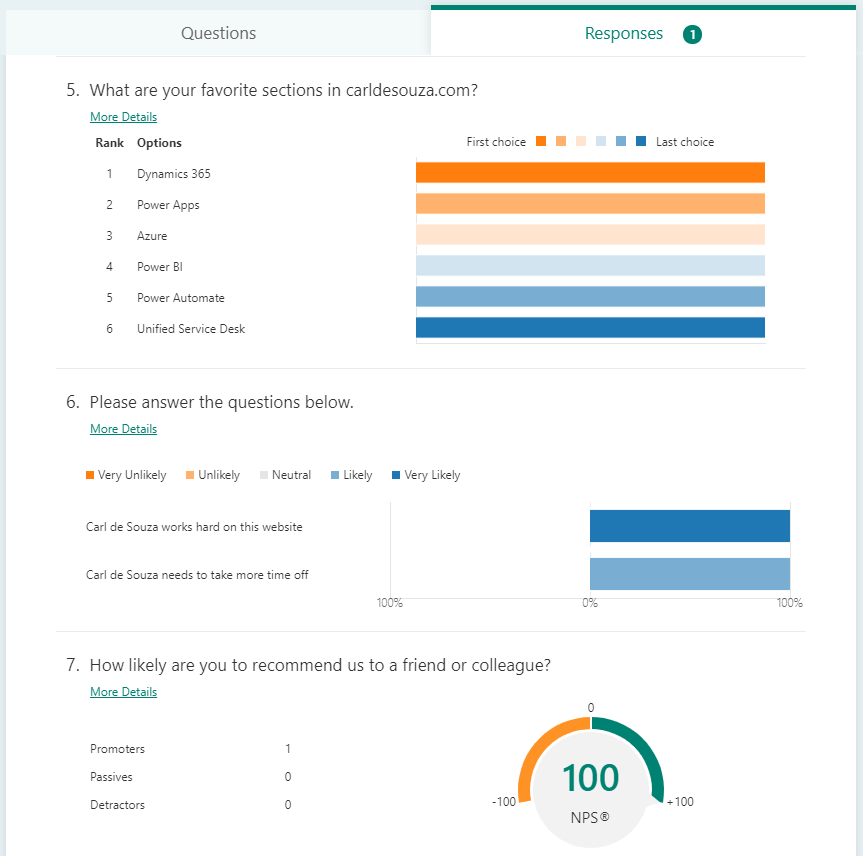
And in our designer, we get the response right away:
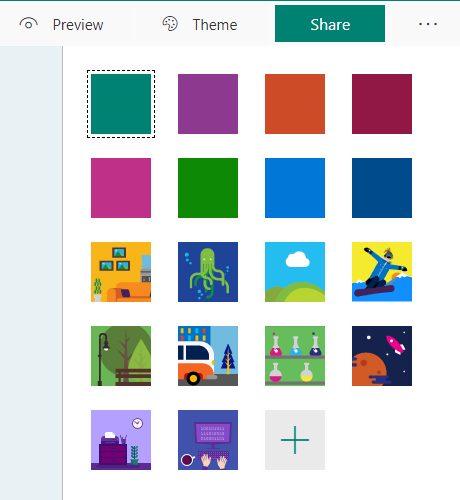
We can also change the theme of the form:
And let’s look at Branching:
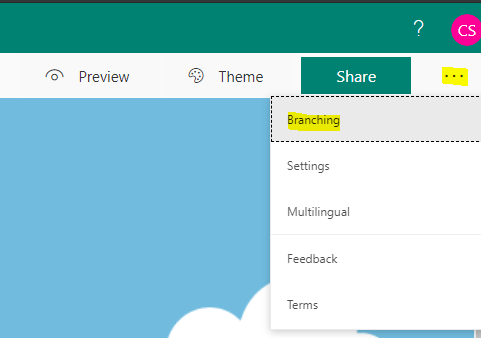
This provides us with the ability to do more when a user selects an answer. For example:
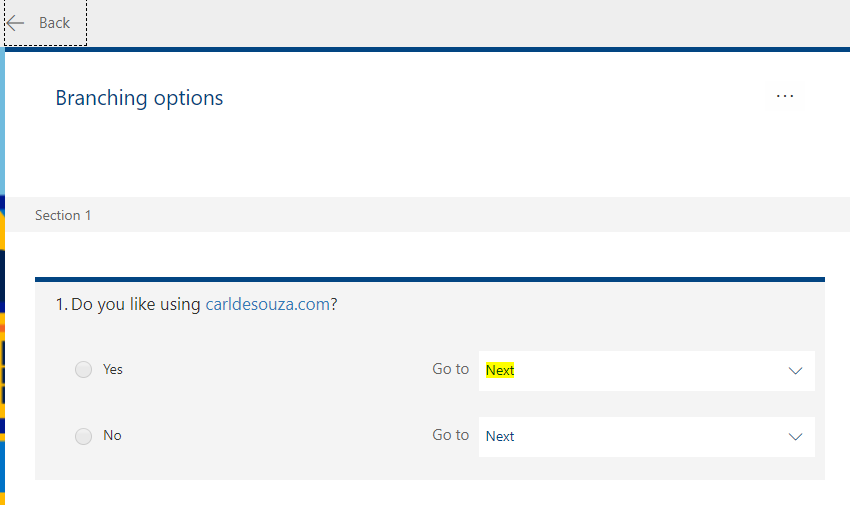
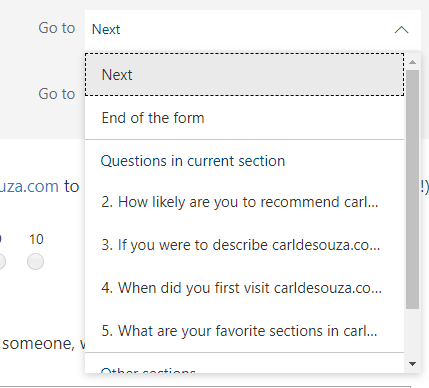
When a user selects Yes, we could direct them right to the end of the form or another question:
And we can also add Multilingual capabilities:
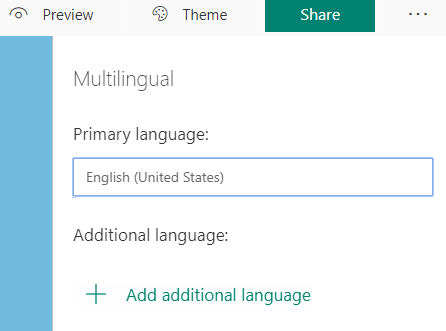
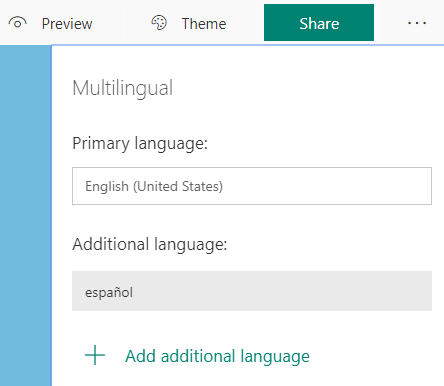
Let’s add Spanish:
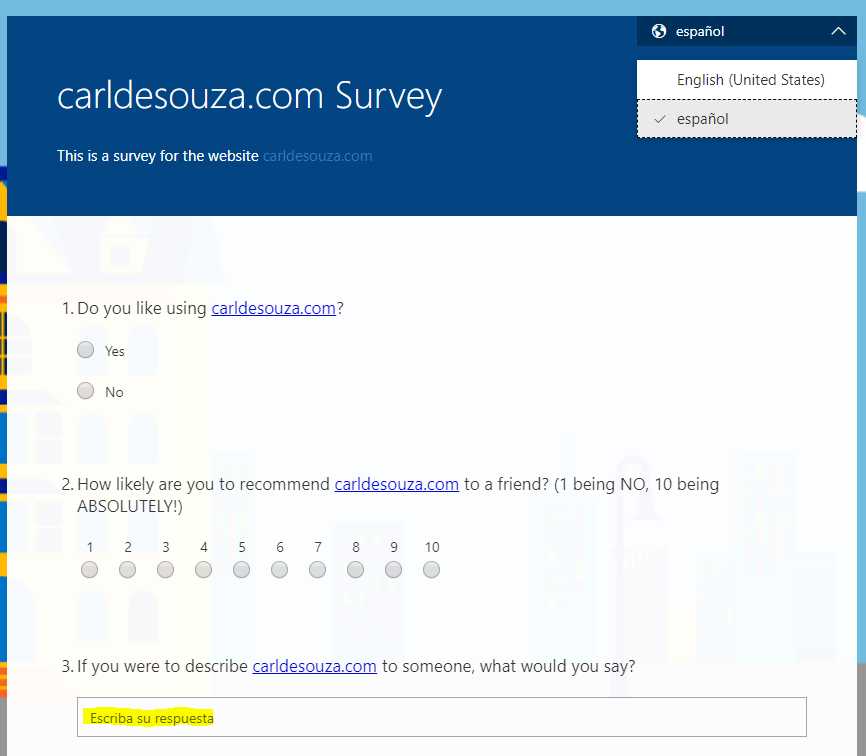
Some parts of the form are now translated:
That’s a high-level overview of how this works. More detail to follow in later posts.
I AM SPENDING MORE TIME THESE DAYS CREATING YOUTUBE VIDEOS TO HELP PEOPLE LEARN THE MICROSOFT POWER PLATFORM.
IF YOU WOULD LIKE TO SEE HOW I BUILD APPS, OR FIND SOMETHING USEFUL READING MY BLOG, I WOULD REALLY APPRECIATE YOU SUBSCRIBING TO MY YOUTUBE CHANNEL.
THANK YOU, AND LET'S KEEP LEARNING TOGETHER.
CARL
