Here we will look at how Windows Presentation Foundation (WPF) uses Namespaces.
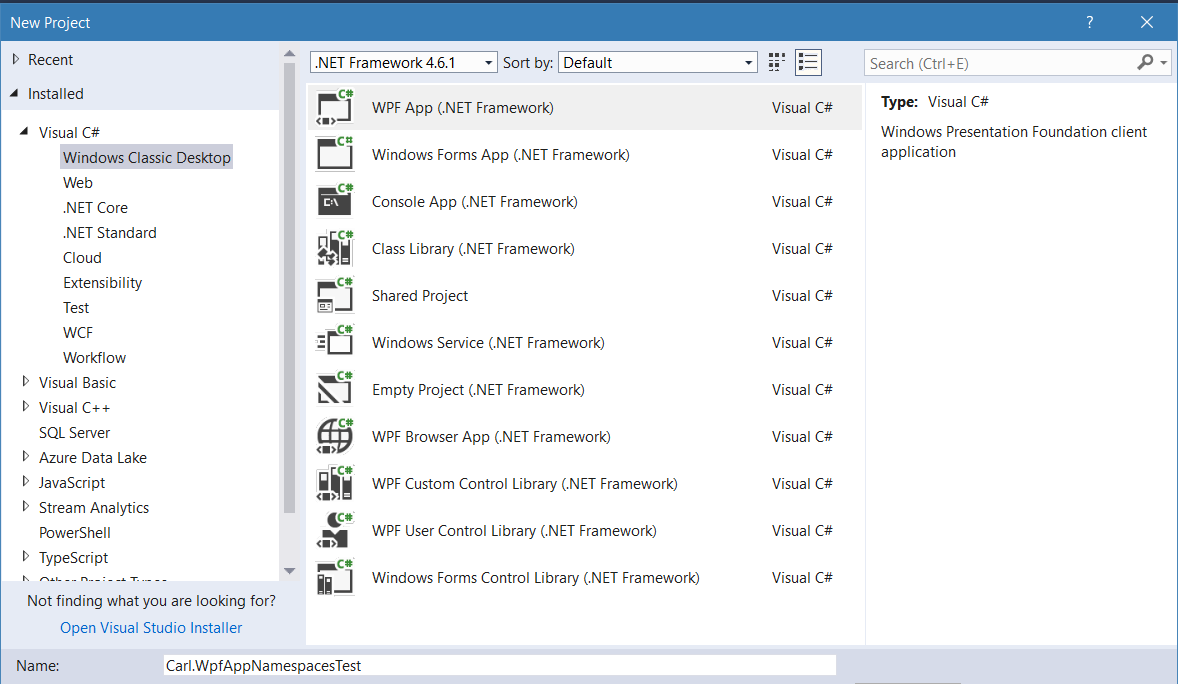
Let’s start a new WPF project:
We can see here there are XML namespaces defined:
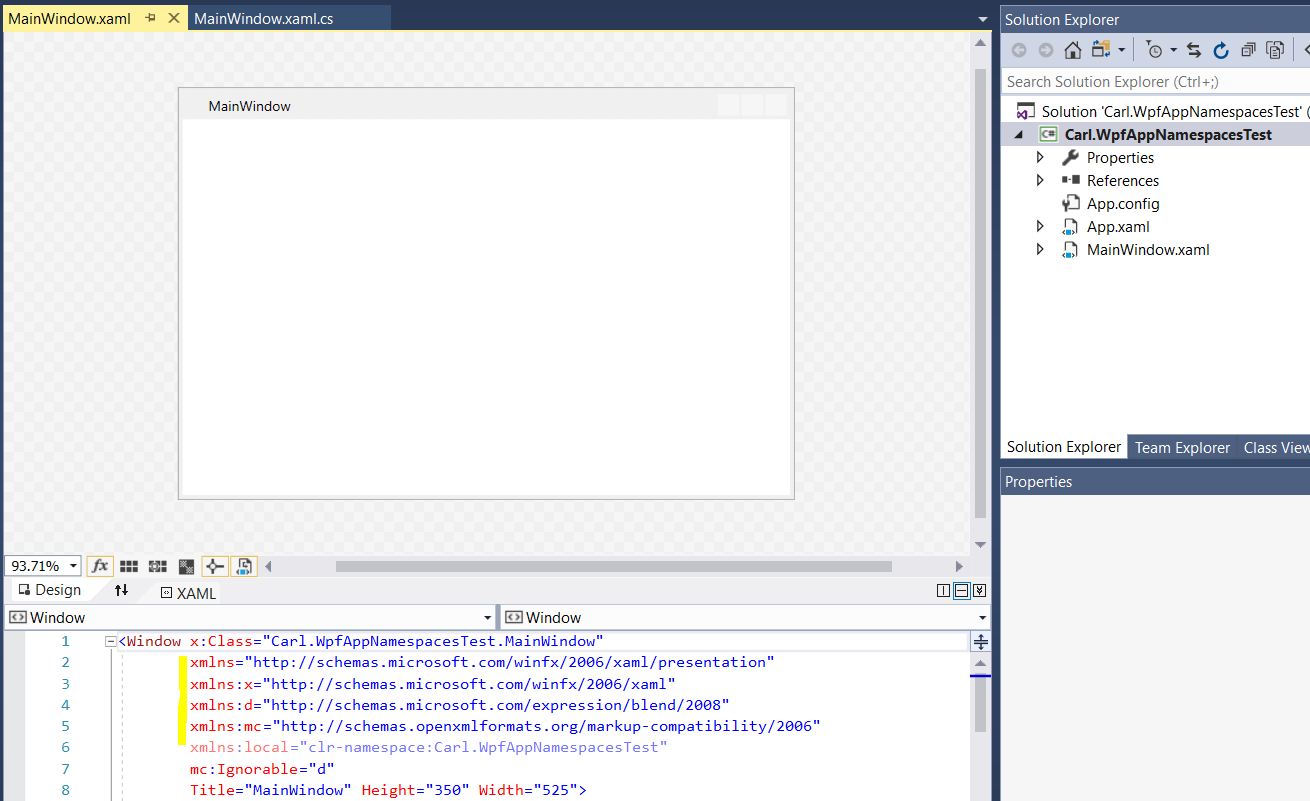
 xmlns="http://schemas.microsoft.com/winfx/2006/xaml/presentation"
 xmlns:x="http://schemas.microsoft.com/winfx/2006/xaml"
 xmlns:d="http://schemas.microsoft.com/expression/blend/2008"
 xmlns:mc="http://schemas.openxmlformats.org/markup-compatibility/2006"
WPF uses XML Namespaces, as defined by the W3C. Namespaces are used to prevent conflicts from occurring, to distinguish code from developers. To solve problems where two developers may use the same elements in their code, namespaces and prefixes are used.
For example, if we had the namespaces below (using a URI to define the namespace):
xmlns:a=”http://www.carldesouza.com/airplanes”
xmlns:b=”http://www.carldesouza.com/boats”
We could then write:
<a:seats>15></a:seats>
to distinguish what is meant.
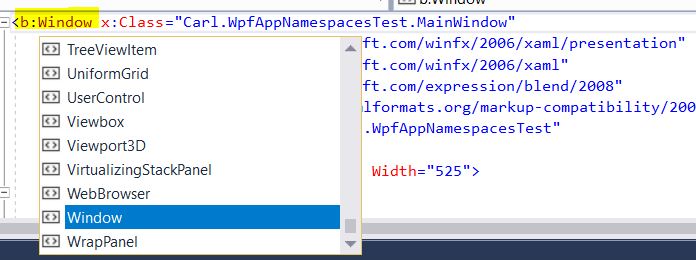
In WPF, the default namespace “xmlns” allows us to use WPF elements without having to add a prefix. For example, using Window:

If we changed this to be xmlns:b, we would need to change the Window declaration:


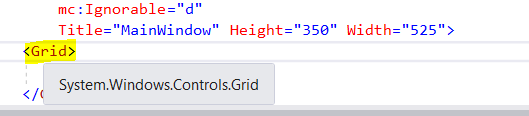
If we hover over an element, for example, a grid, we can see where the object is from:
And we can select F12 to go to the definition of the object, in this case seeing the Grid comes from PresentationFramework:
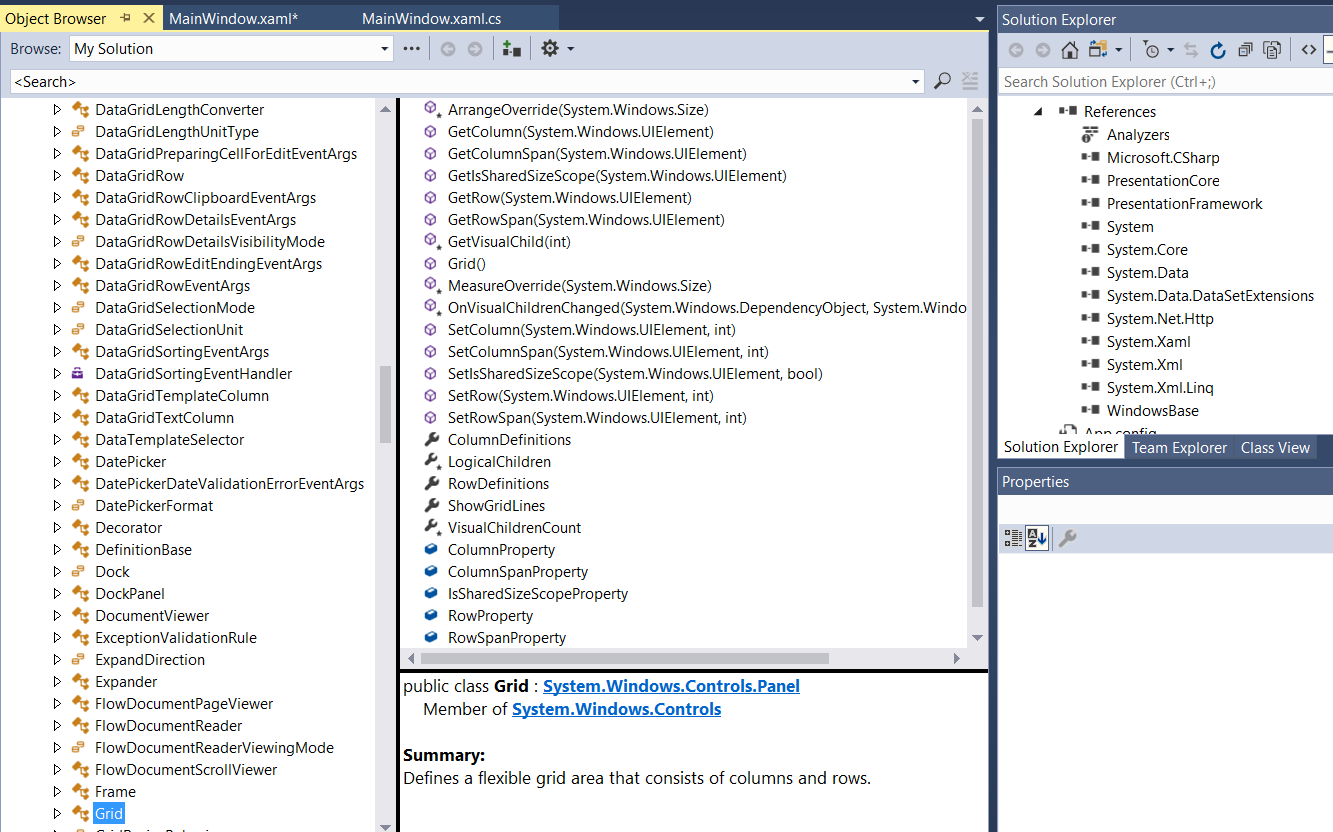
From there, we can drill into the definition to get back to the underlying assembly:

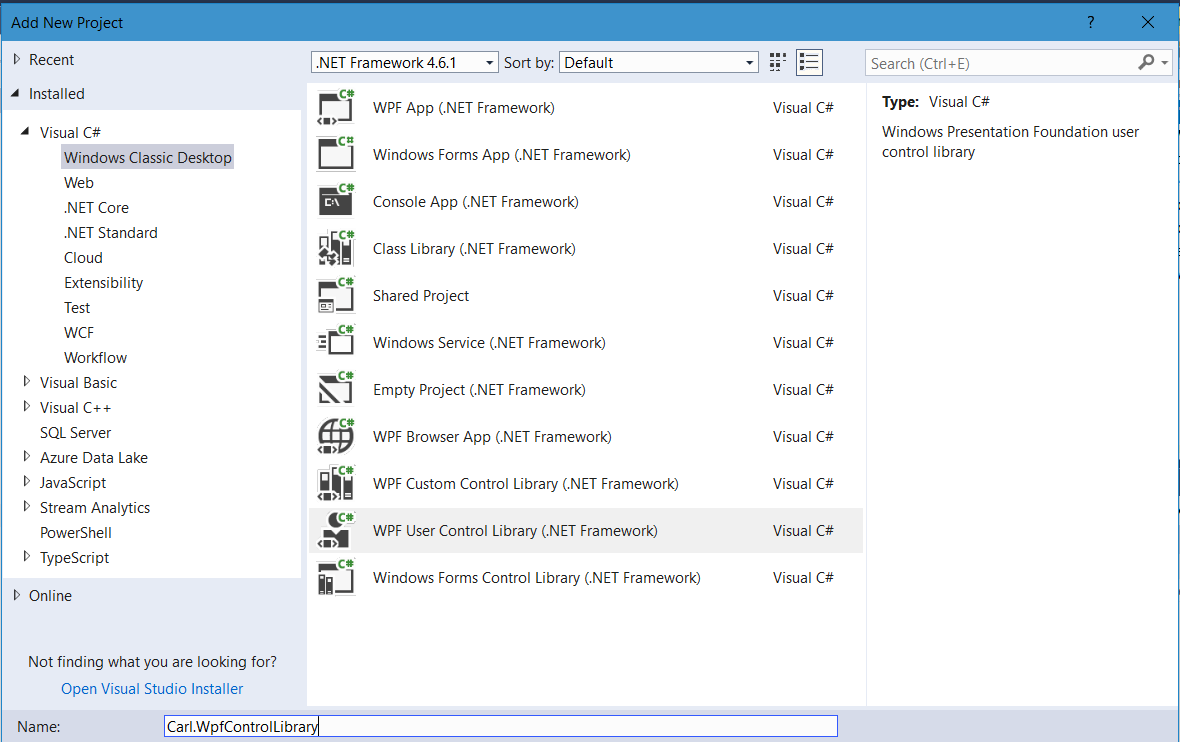
Let’s say we want to create our own control and create and use a namespace for that control.
To do this, first add a new WPF User Control:
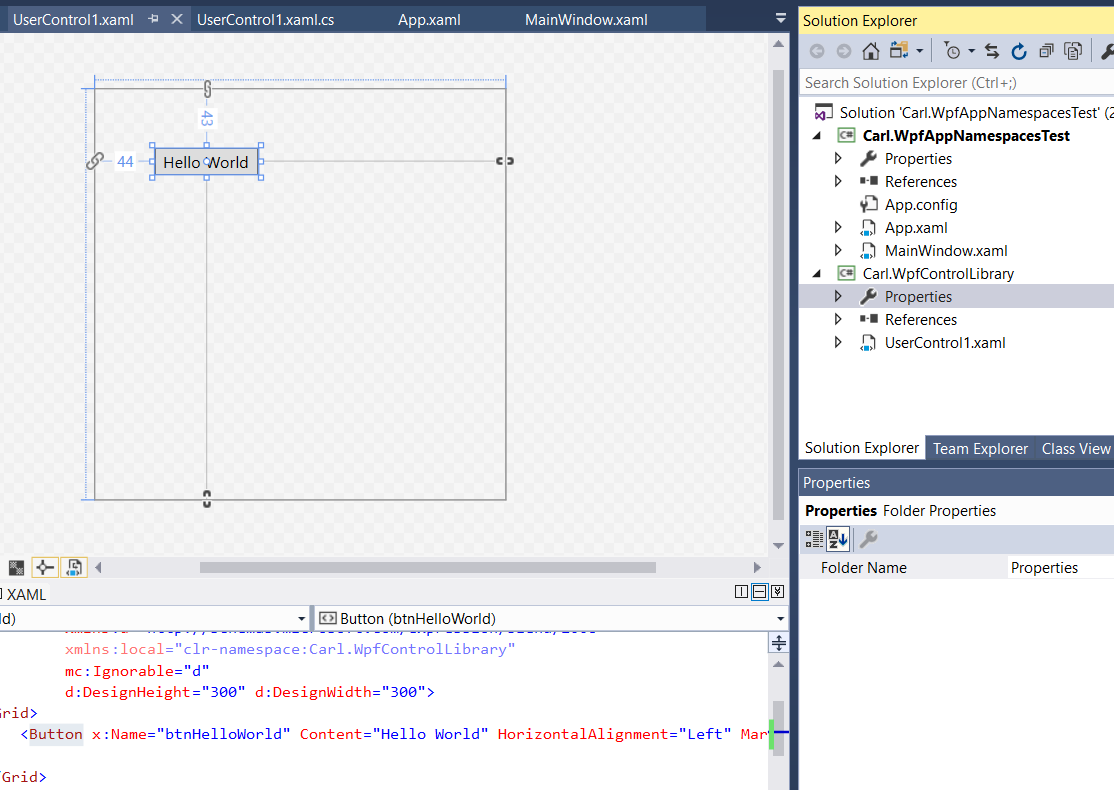
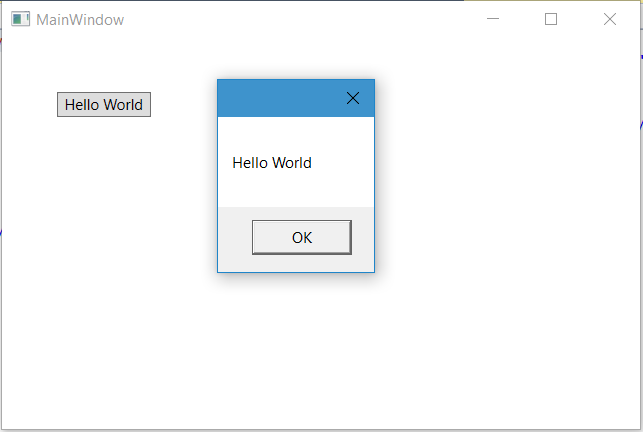
This control has a button that displays “Hello World” when pressed:
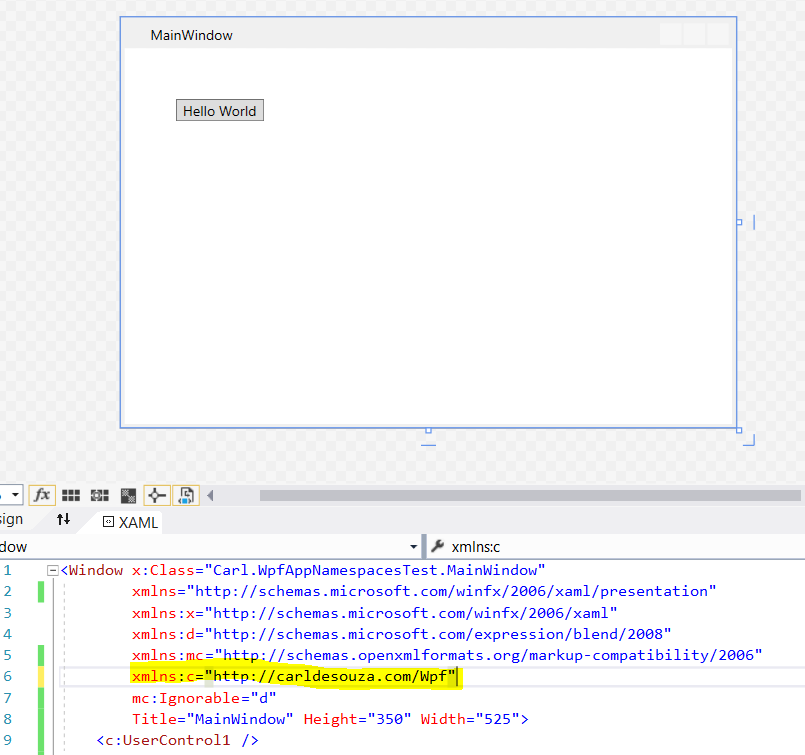
Within the AssemblyInfo.cs file, we can add an Xml Namespace Definition, using the syntax below and adding a reference to using System.Windows.Markup;. The second parameter should match the user control namespace:
[assembly: XmlnsDefinition("http://carldesouza.com/Wpf", "Carl.WpfControlLibrary")]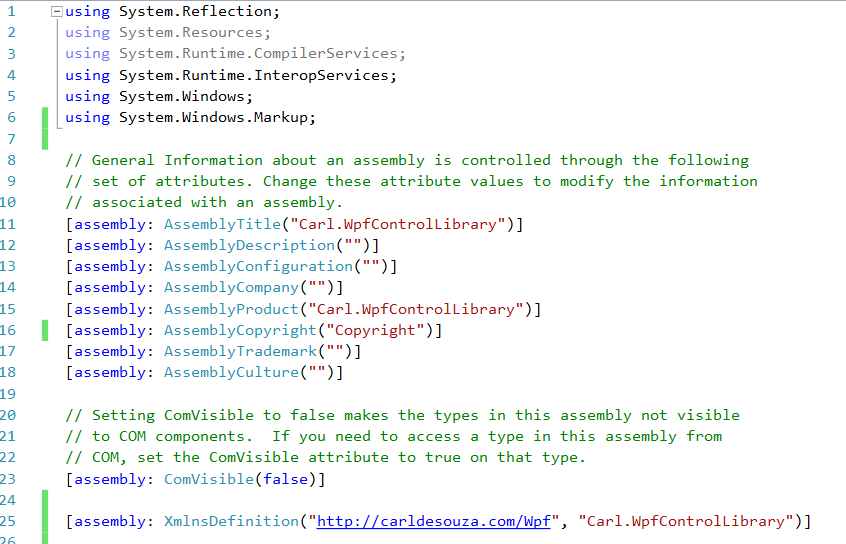
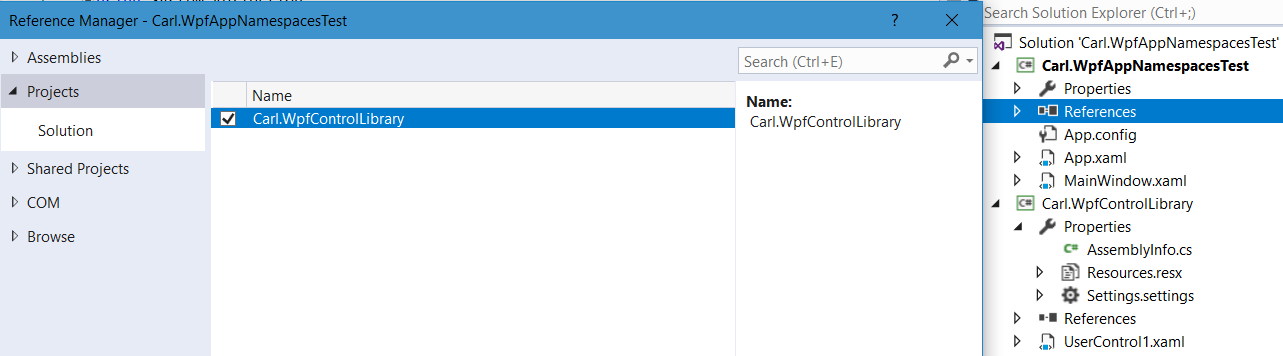
Now, in the original project, add a reference to the control:
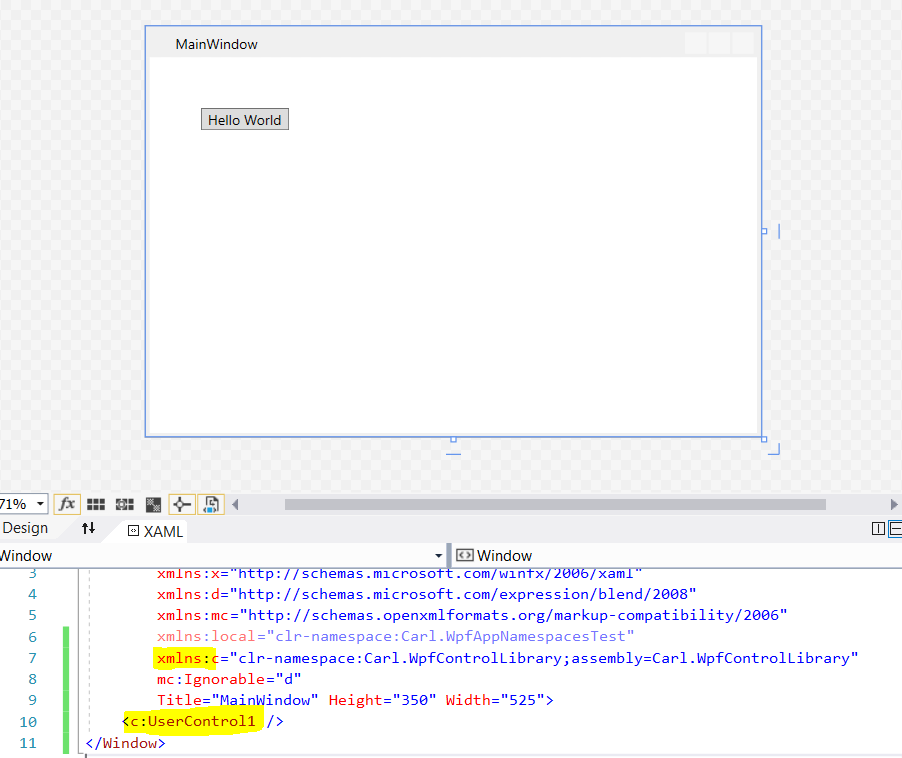
We can now reference this in our namespace. Go to the MainWindow.xaml file and add a reference.
Without a namespace definition, we would use clr-namespace to reference our code. We can then use c:UserControl1 to create our control:
Using the namespace definition defined above, we can reference our control:
Running this, we will see our control:
I AM SPENDING MORE TIME THESE DAYS CREATING YOUTUBE VIDEOS TO HELP PEOPLE LEARN THE MICROSOFT POWER PLATFORM.
IF YOU WOULD LIKE TO SEE HOW I BUILD APPS, OR FIND SOMETHING USEFUL READING MY BLOG, I WOULD REALLY APPRECIATE YOU SUBSCRIBING TO MY YOUTUBE CHANNEL.
THANK YOU, AND LET'S KEEP LEARNING TOGETHER.
CARL

Good description of the concept. Thanks, Carl.
Thanks Ruchir!