When companies implement a chat widget through Customer Service workspace/Omnichannel for Dynamics 365, there is the option to hide or show the widget outside of operating hours. This is a business decision and can be unique to your company’s situation.
In this post, we will look at CSw’s chat functionality for hiding and showing the widget.
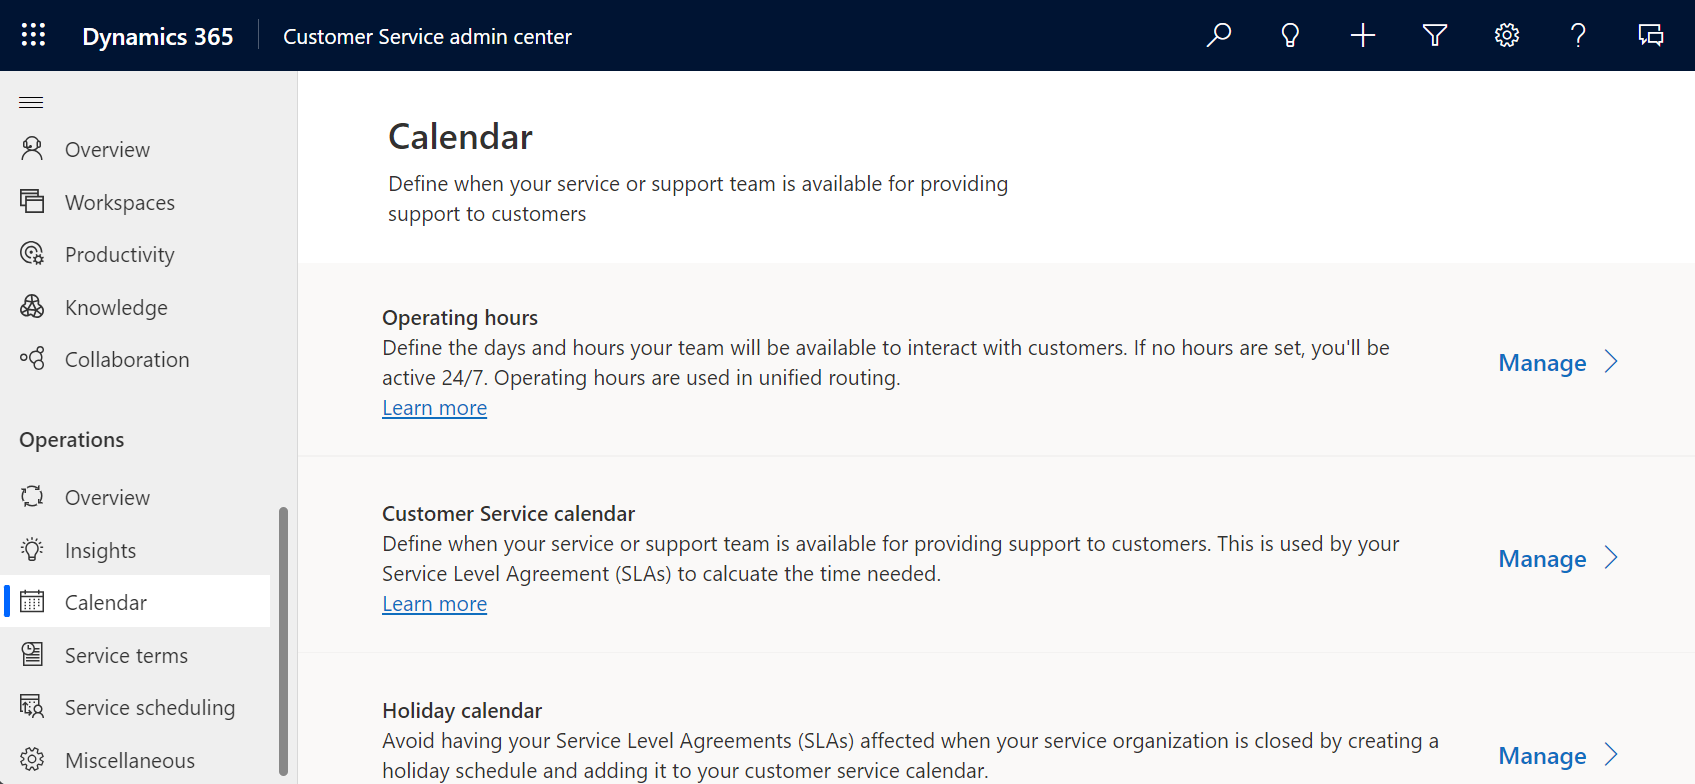
First, let’s head over to the Customer Service admin center app and select Calendar, then we will select Operating Hours->Manage:
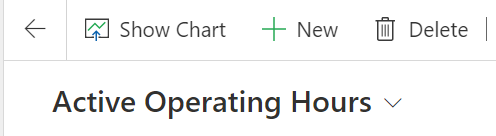
Then click on New to create a new operating hour:
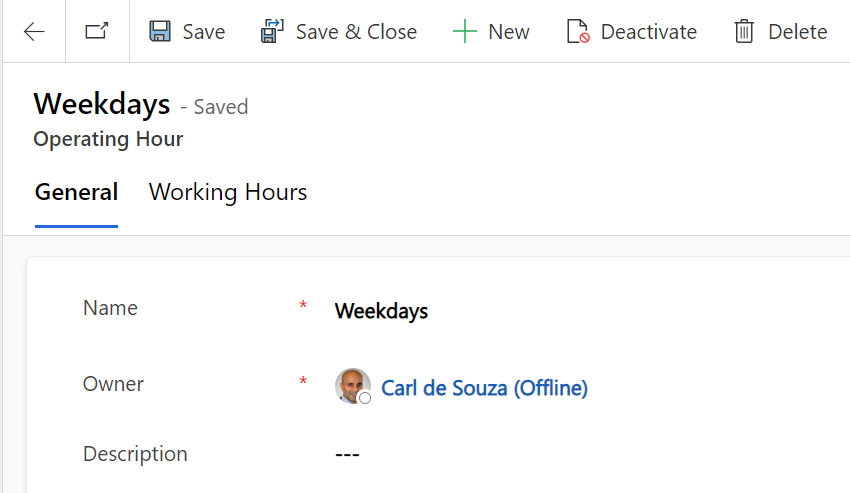
We will create one called Weekdays, then click Save:
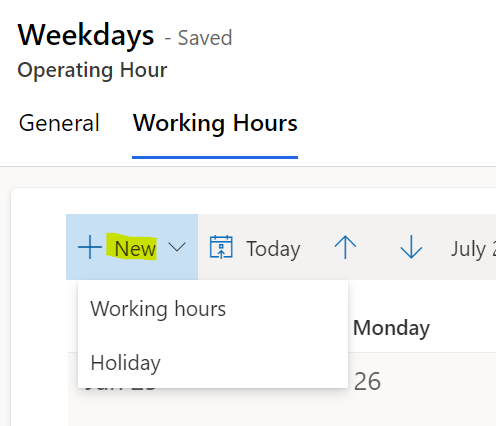
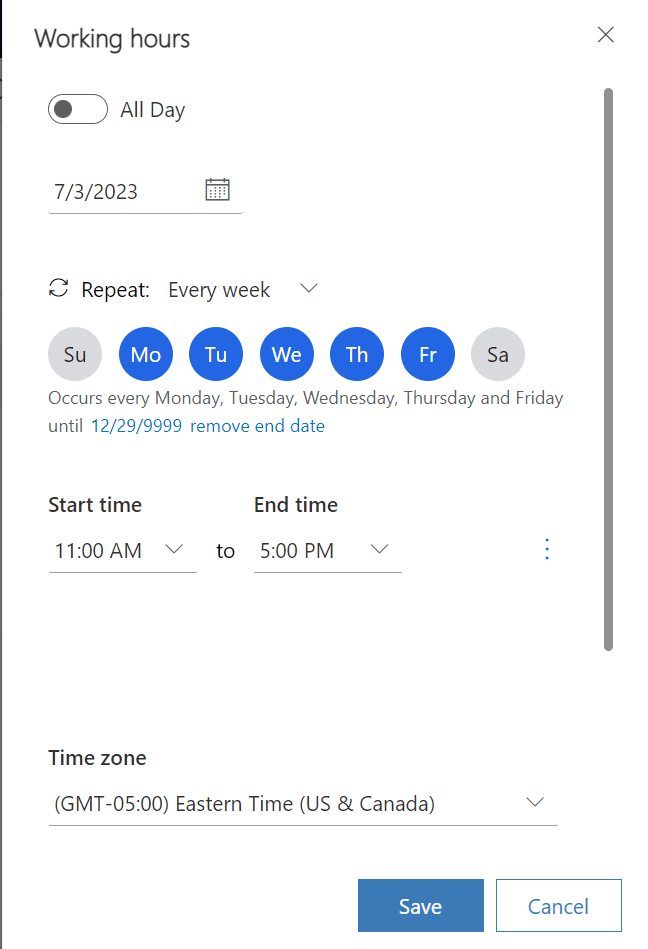
We now have the Working Hours tab. Here we can create new Working Hours and new Holidays:
Let’s say the working hours are 11am to 5pm, Monday to Friday. We can set the time zone as well:
We now have our working hours set up. Now let’s attach this to our chat. Open a chat, or create a new one, and go to the Behaviors tab, then scroll down and turn on “Show widget during operating hours”. We will then select Weekdays from the Operating hours name, which we created above:
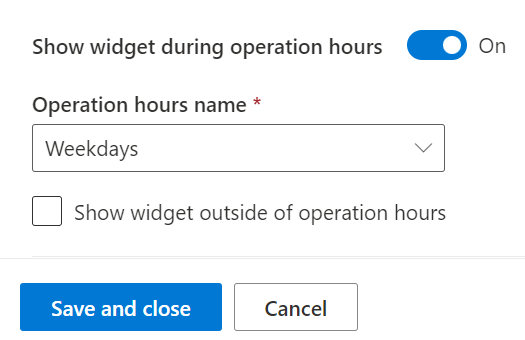
Note the option to “Show widget during operating hours”. We will come back to that.
Let’s save and close, and see what happens when we load our widget. Note changes can sometimes take a few minutes. The widget that was previously displayed is now no longer displayed on the page, as we are currently outside of operating hours, and we have not chosen to display the offline widget to customers. Note if customers are expecting to see a chat widget on your page, or there’s some words on the page to indicate the customer should click on the chat widget, this might not be a desirable situation. You may want to do the below.
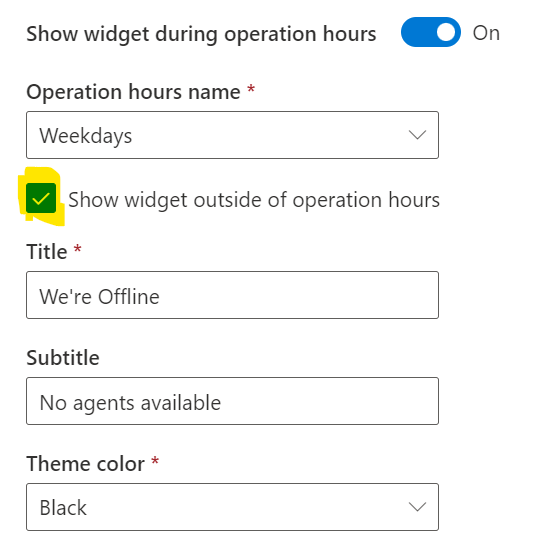
Now, let’s enable “Show widget outside of operating hours”. This opens some new options as to the title, subtitle, and color of the widget. We will keep the defaults:
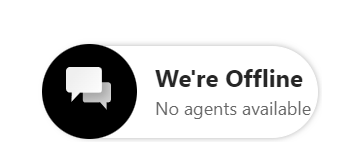
You can see now when the widget is displayed, it is displayed as black color with the offline message:
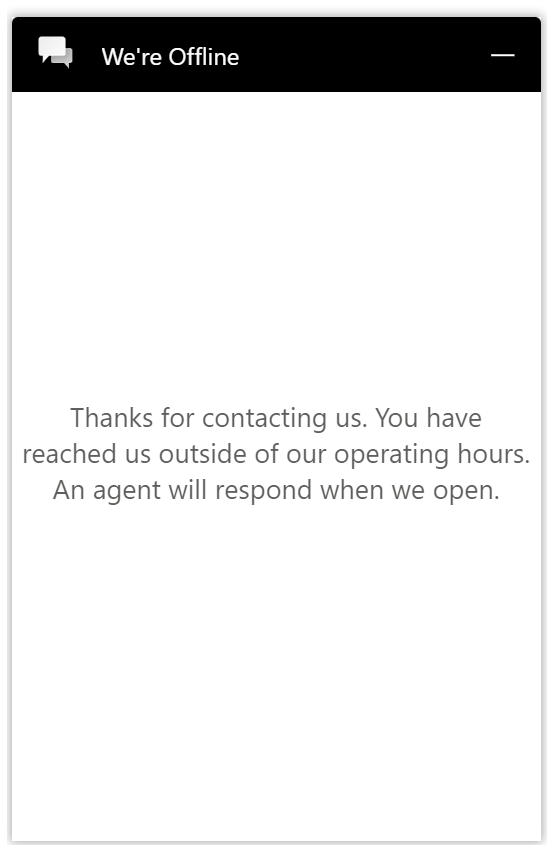
If a customer were to click on the widget, they see the message “Thanks for contacting us. You have reached us outside of our operating hours. An agent will respond when we open”:
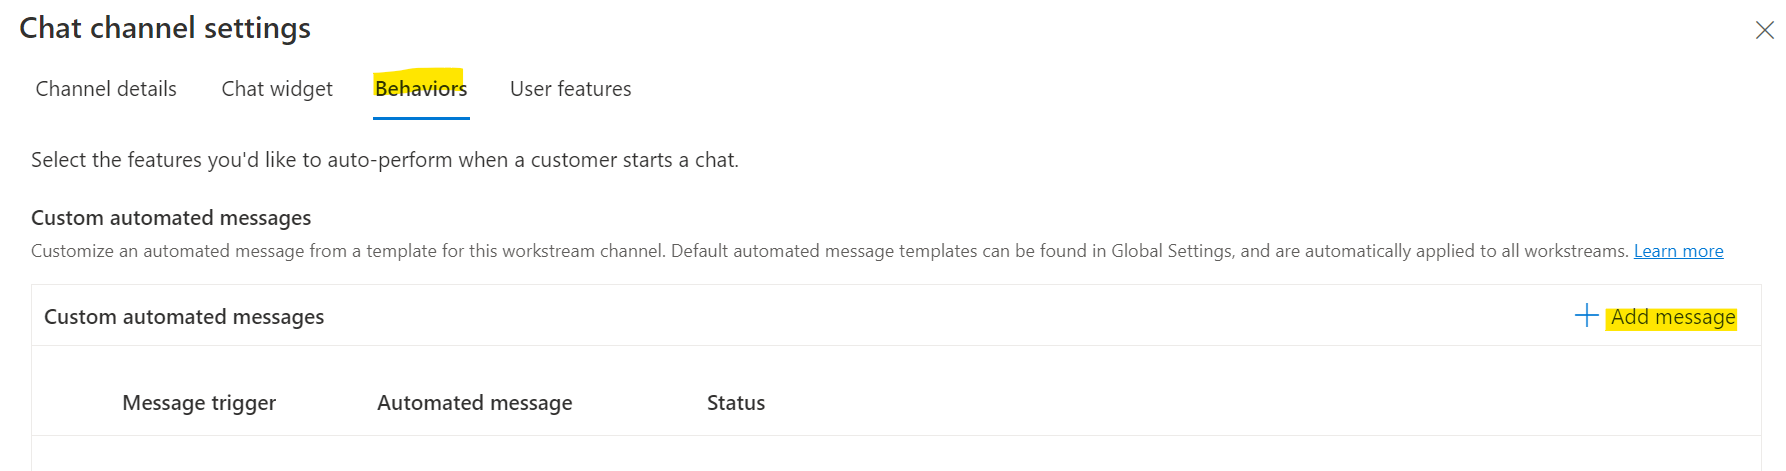
We can customize this message by clicking on the Behaviors tab of the chat and then adding a message:
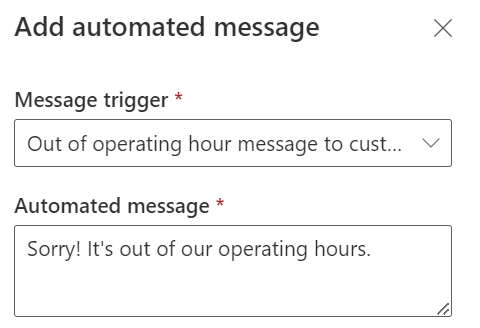
Select “Out of operating hour message to customer” and then add the message you want to appear. Click Confirm and make sure to Save and Close:
We now see our custom message:

Finally, let’s add a holiday to see how that functions.

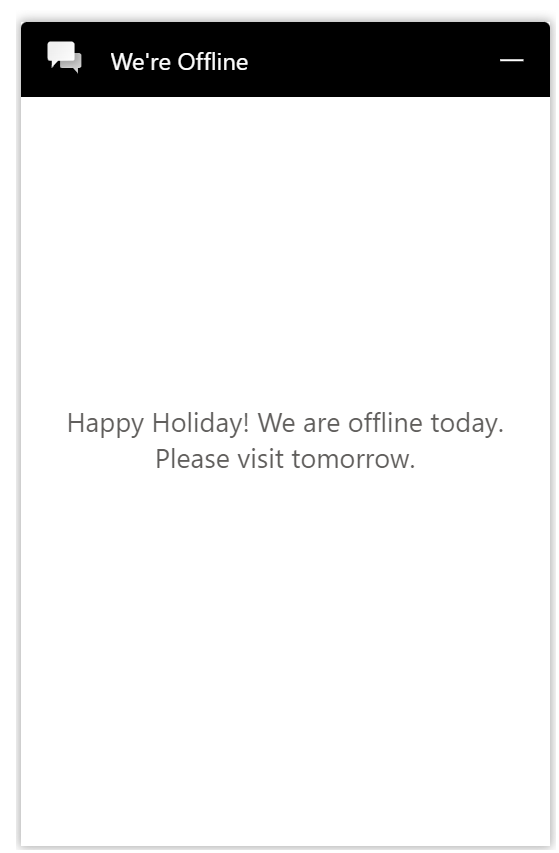
Now when the customer clicks on the chat widget (assuming the widget is set to show outside of operating hours), they will see the message “Happy Holiday! We are offline today. Please visit tomorrow”:
To change this message, add the custom message as above, this time selecting Holiday message to customer:
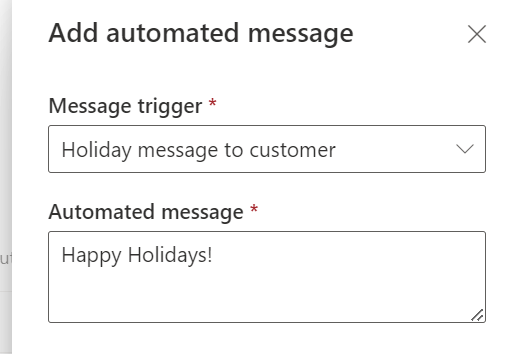
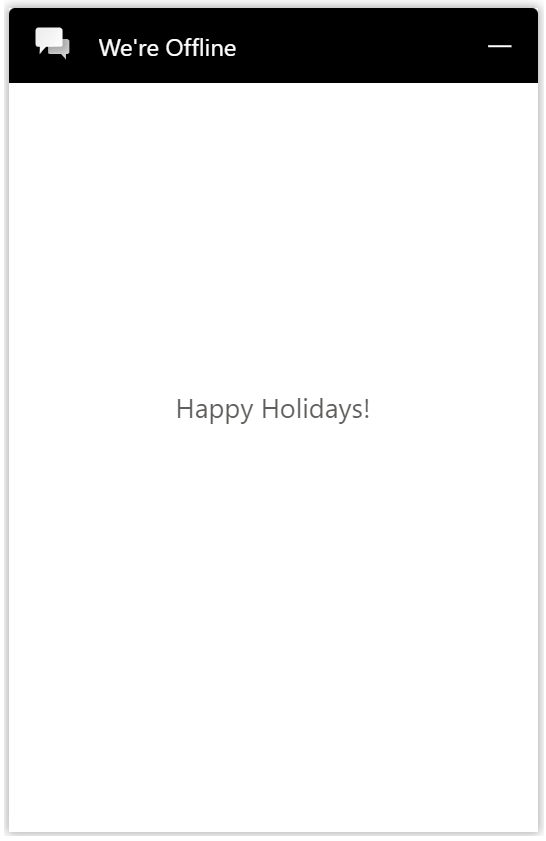
We get the new message:
I AM SPENDING MORE TIME THESE DAYS CREATING YOUTUBE VIDEOS TO HELP PEOPLE LEARN THE MICROSOFT POWER PLATFORM.
IF YOU WOULD LIKE TO SEE HOW I BUILD APPS, OR FIND SOMETHING USEFUL READING MY BLOG, I WOULD REALLY APPRECIATE YOU SUBSCRIBING TO MY YOUTUBE CHANNEL.
THANK YOU, AND LET'S KEEP LEARNING TOGETHER.
CARL
