PowerApps is “a service for building and using custom business apps that connect to your data and work across the web and mobile”. Put simply, think about the scenario where you would like to build an app, such as one that you have on your smartphone. Normally, this would be a complex task and would probably involve developers and heavy coding. Microsoft has created a service that allows apps to be created very easily. And a key purpose is to be able to connect to your business data easily through several out of the box connectors, and be able to share and publish those apps with the people who need them, by installing only one extra app (the PowerApps app) on your phone.
There are 2 types of apps in PowerApps – Canvas apps and Model-Driven apps. In this post, we will go through building a canvas app from scratch. To learn about the differences, see here.
We will go through building an app from scratch, building screens that connect to Dynamics 365 data and allow a user to view and update the data on a mobile device and on the web.
First, go to: https://powerapps.microsoft.com/
You will see below. Click Sign In to sign in:
You will see the welcome screen, with options to create a new app, or navigate to existing apps, data, business logic etc:
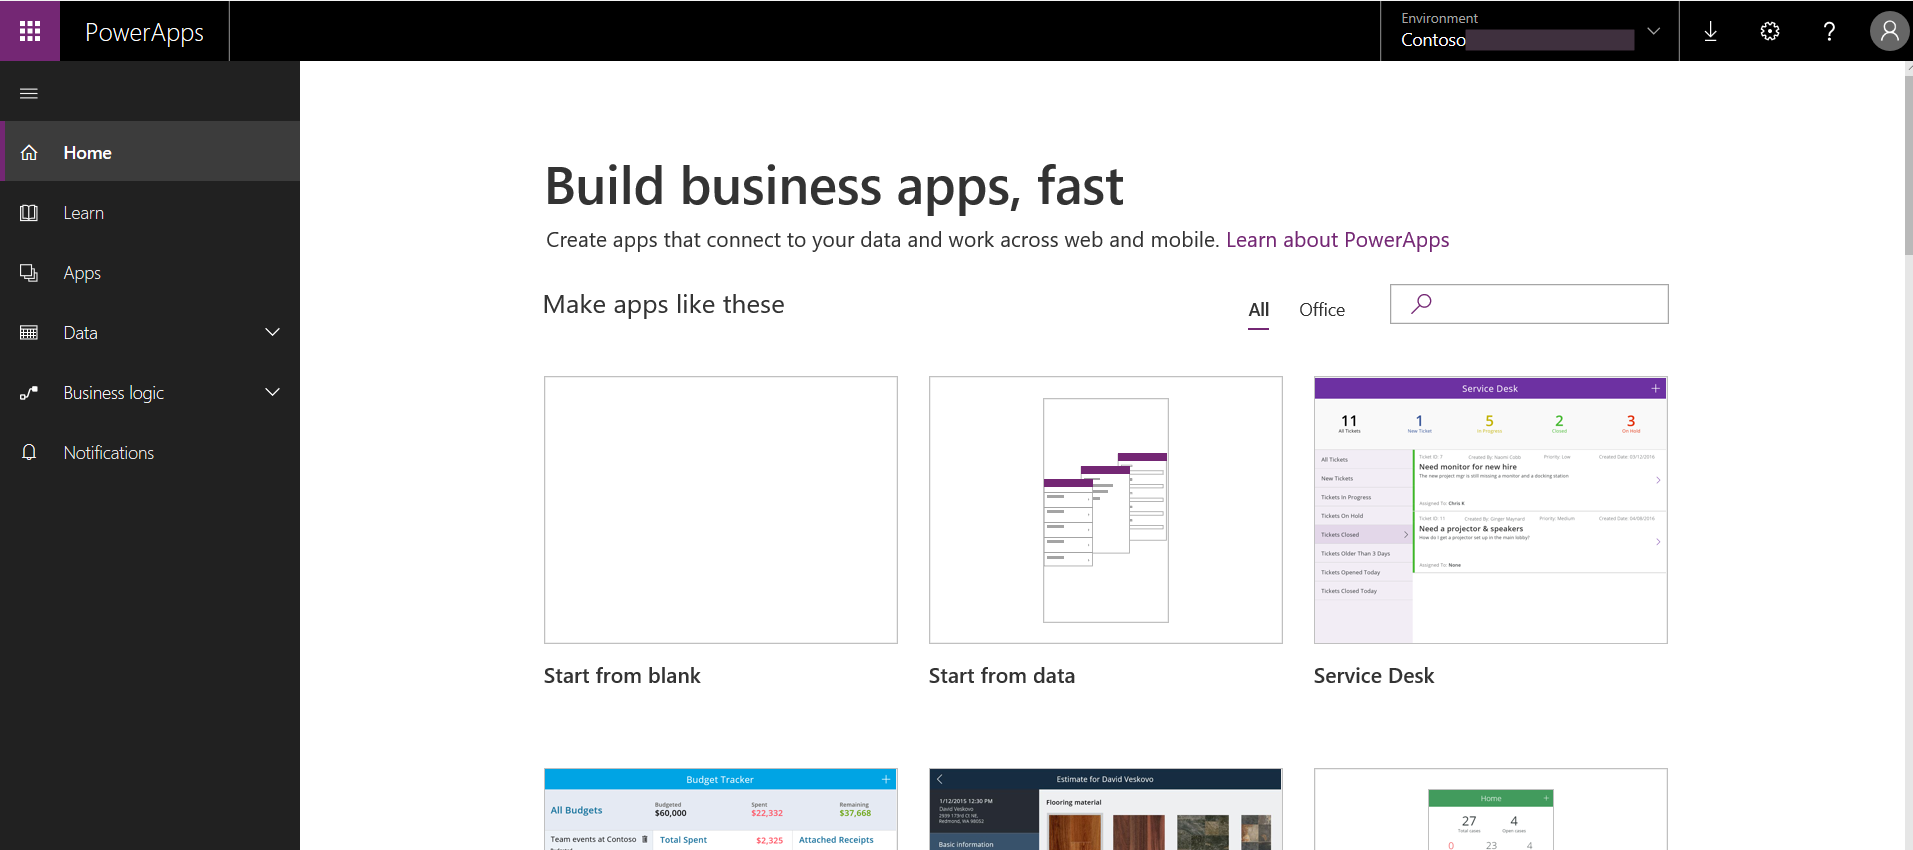
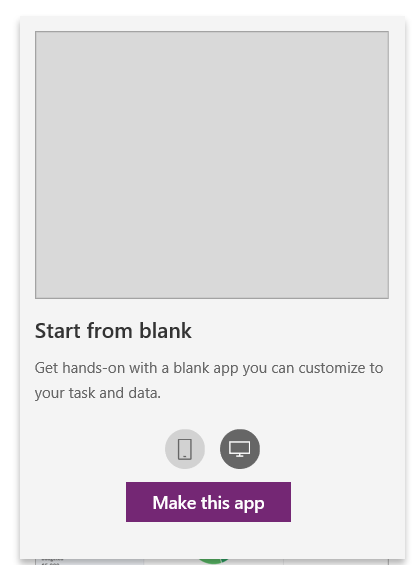
We will choose Start from blank. Click Make this app:
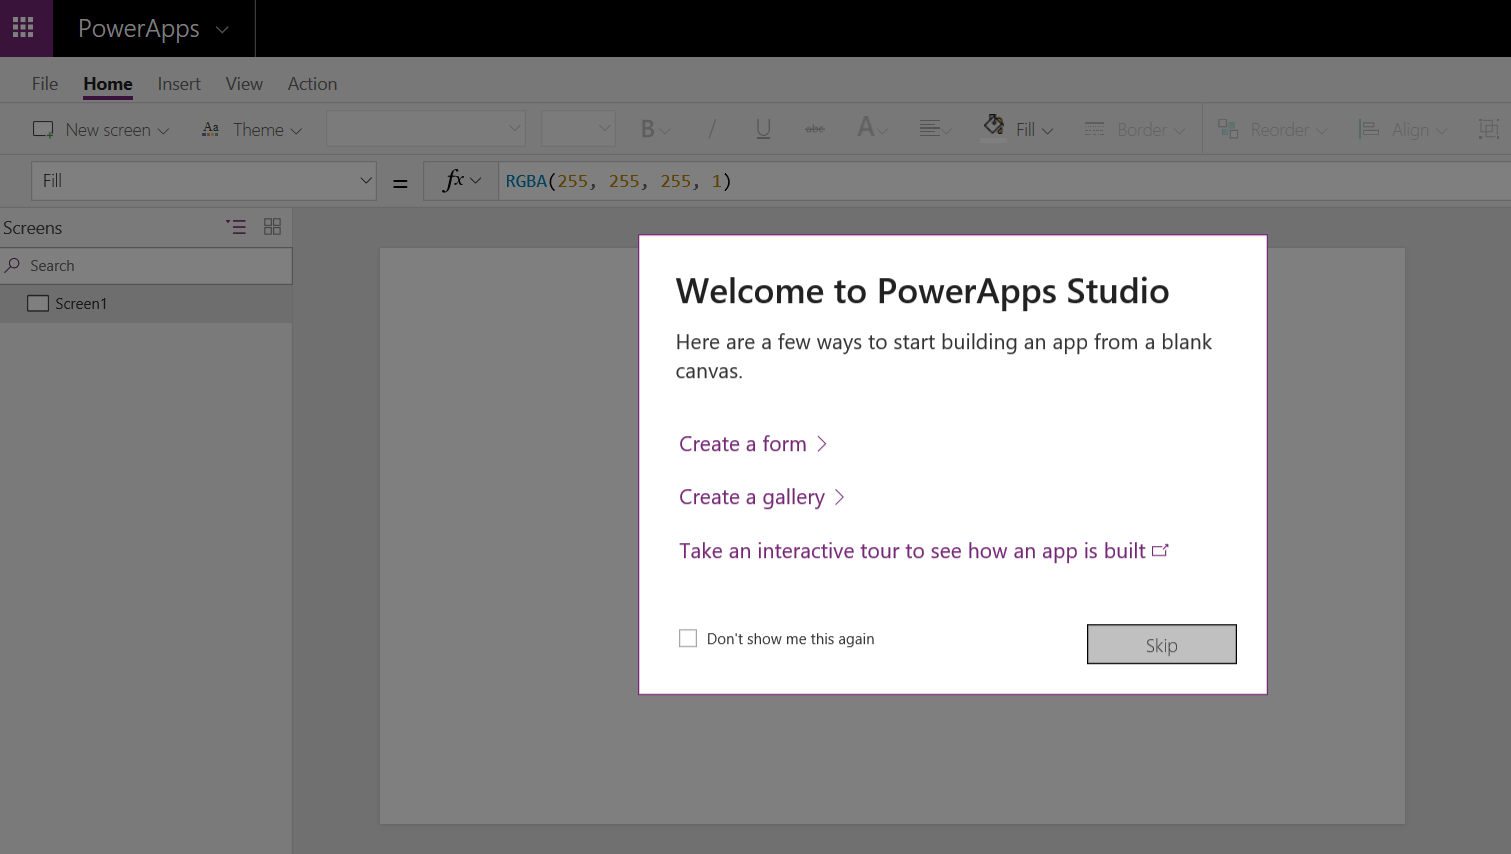
You will see the option to Create a form, a galley etc. We will click Create a Form:
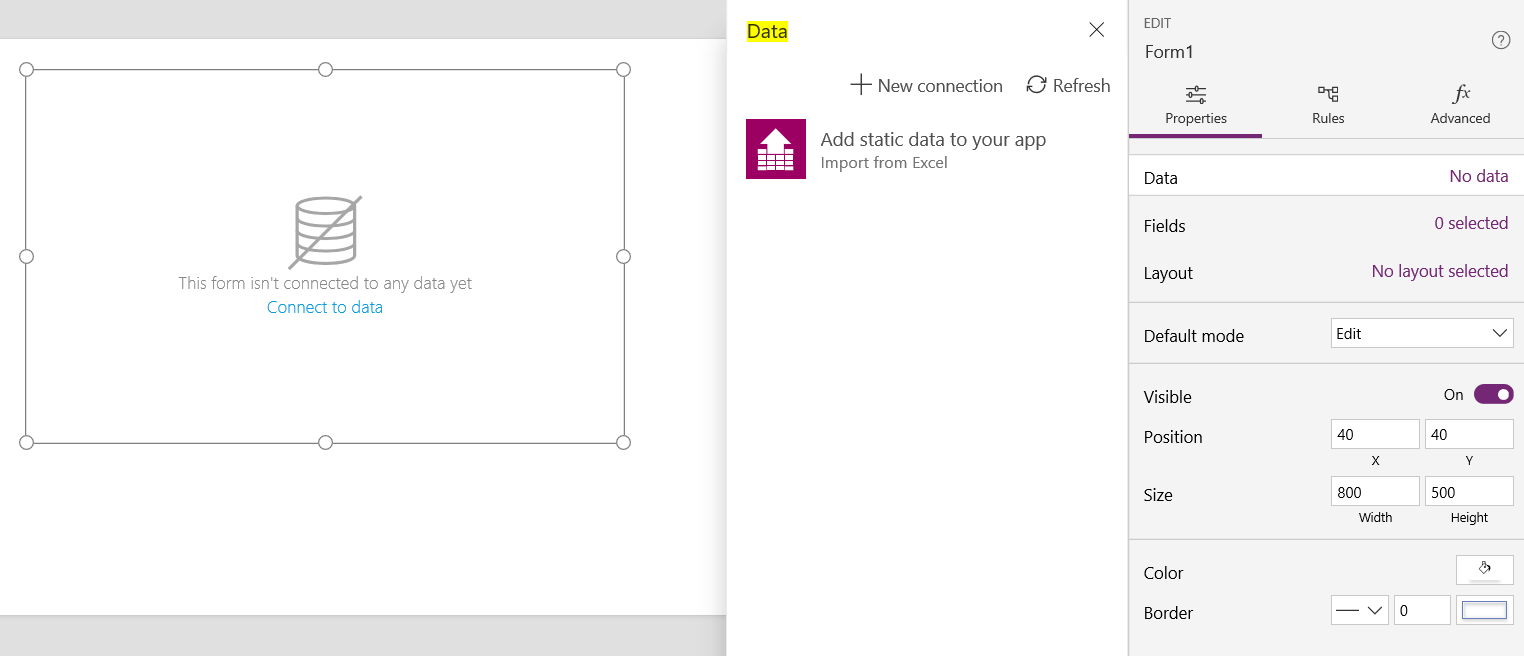
Note how it says “This form isn’t connected to data yet. Connect to data”. Select this:

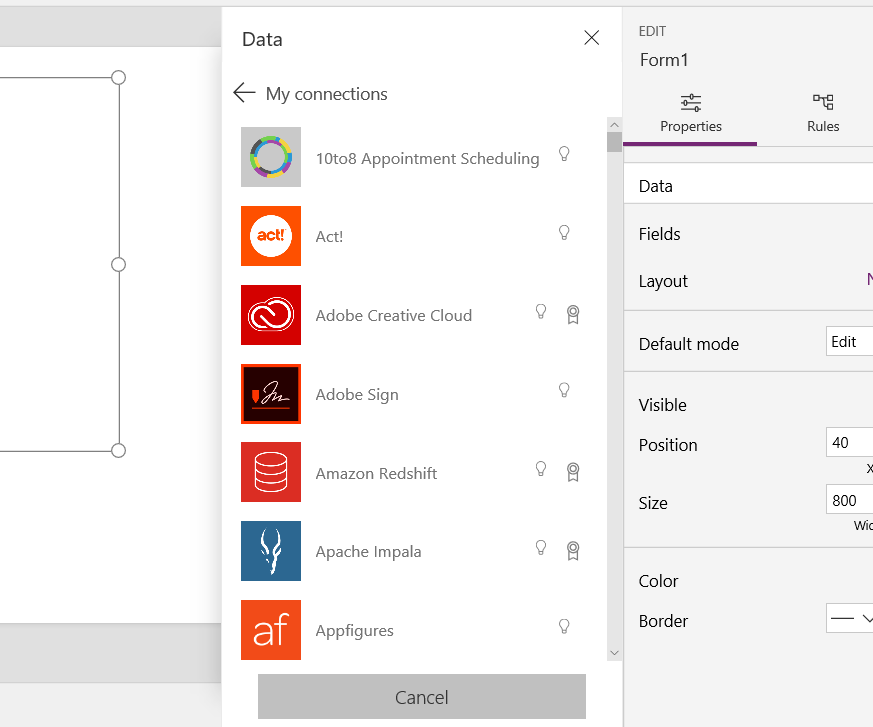
This will open the Data tab. Select + New Connection:
Here you will see different data connections. There are several out of the box connectors to different systems, such as Azure, SQL, Slack, SharePoint, Salesforce, Dropbox to name a few. You can read more about these here:
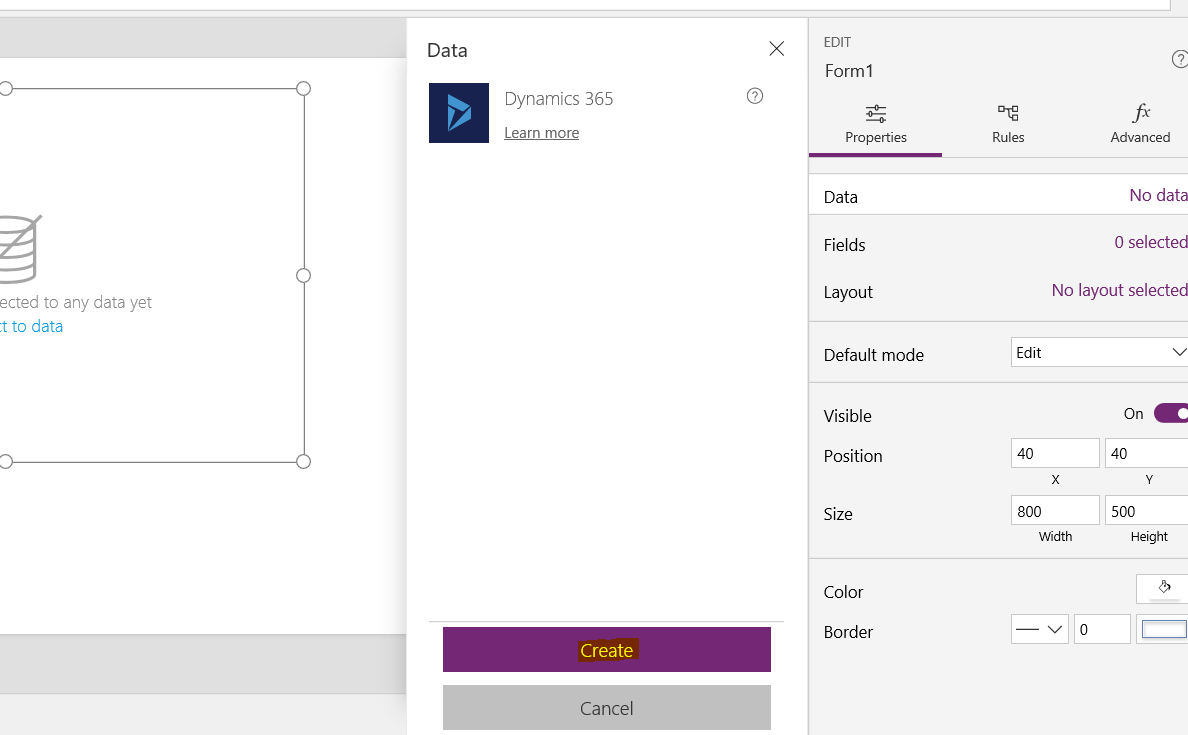
We will select Dynamics – our app will display account data from Dynamics 365 and allow the user to change the data from within the app. Click Create:
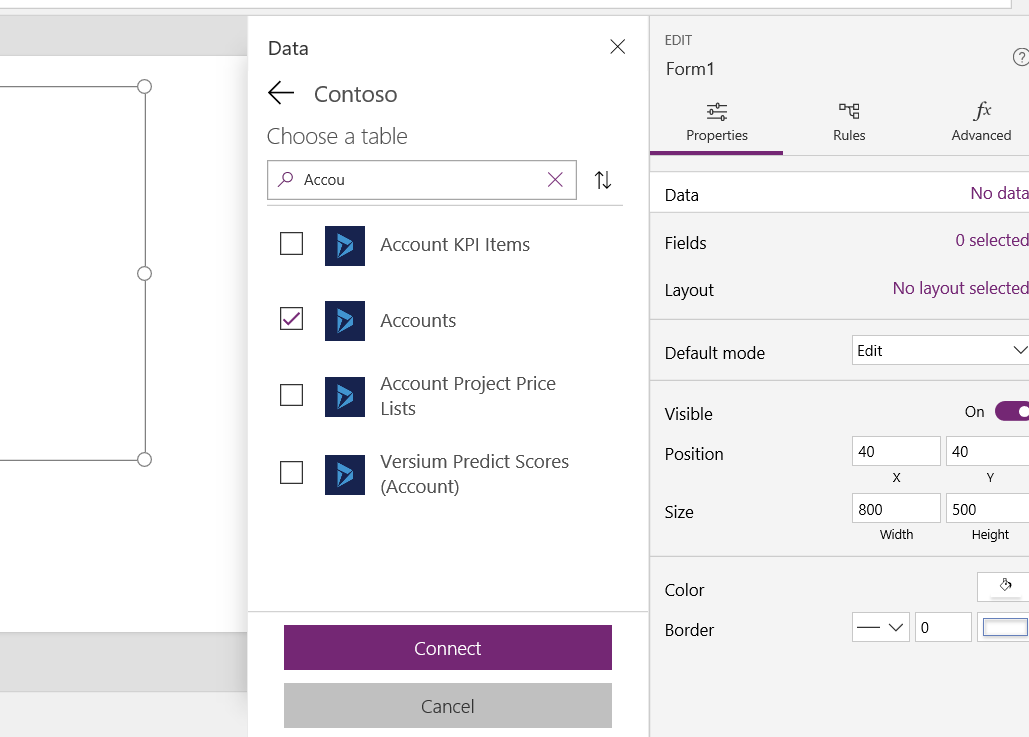
This will then display the different entities in Dynamics. We will filter to find the Accounts entity. Select this and click Connect:
You will now see this page below. We have some pre-selected fields that have appeared in our form:
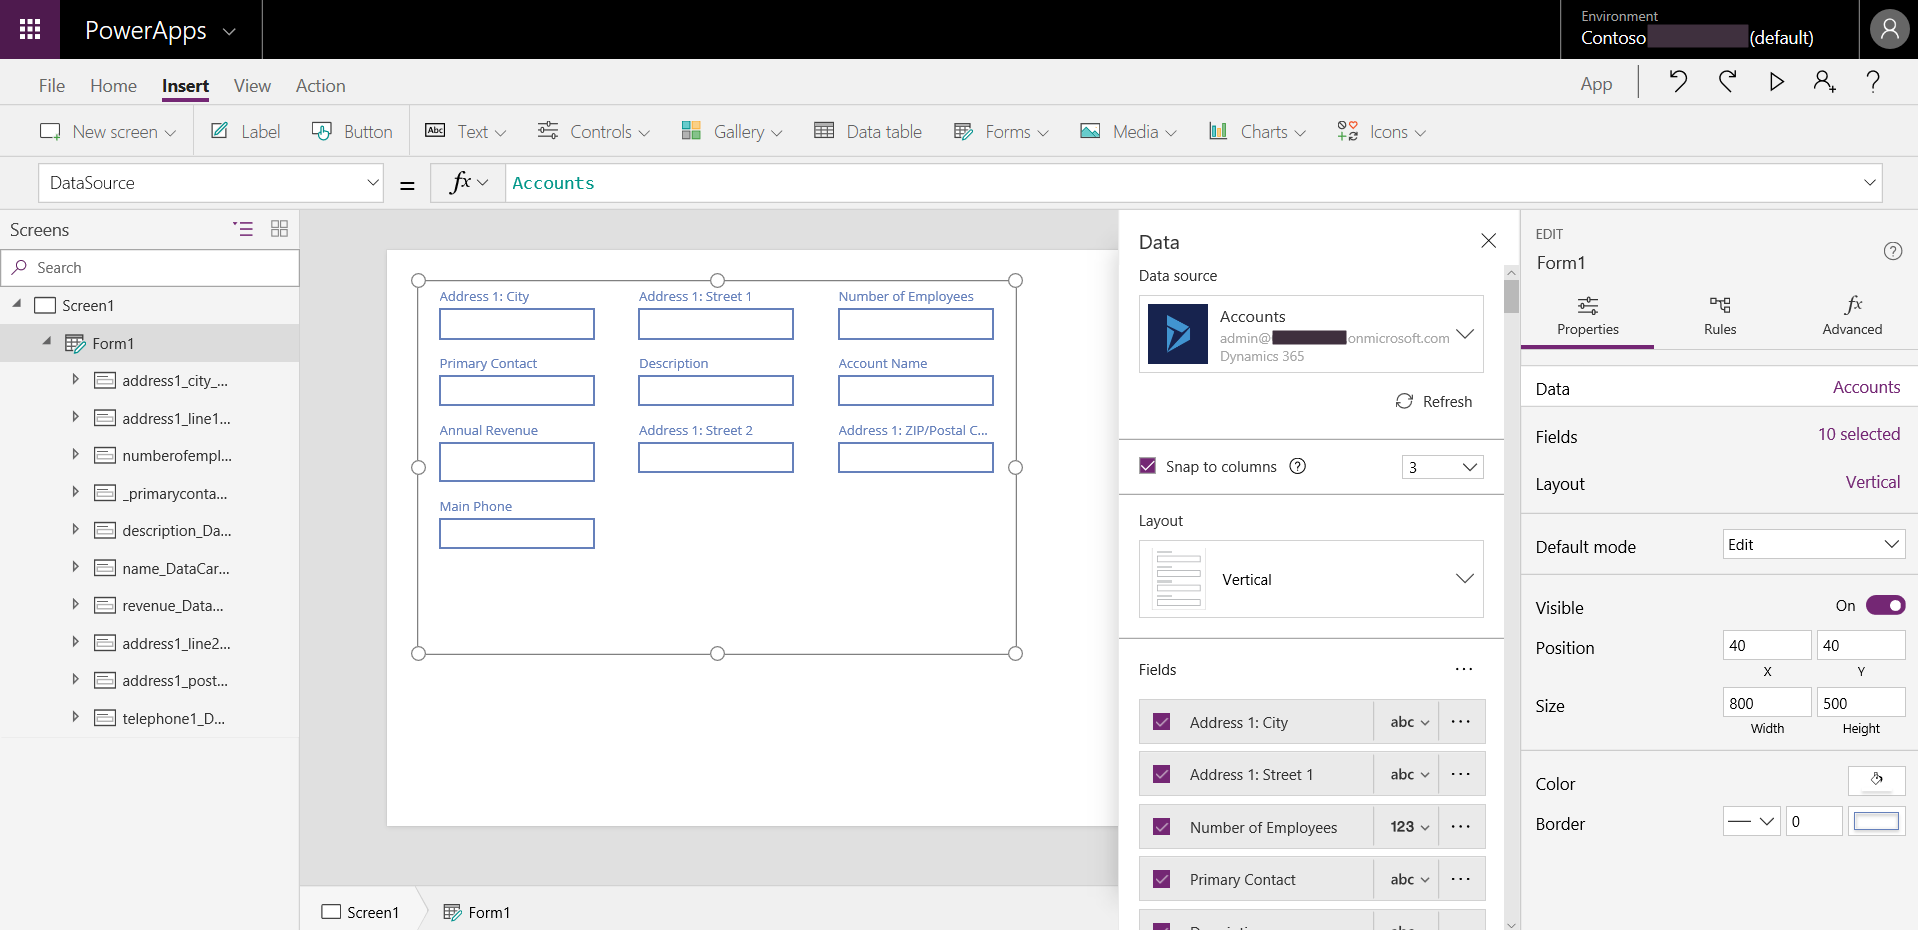
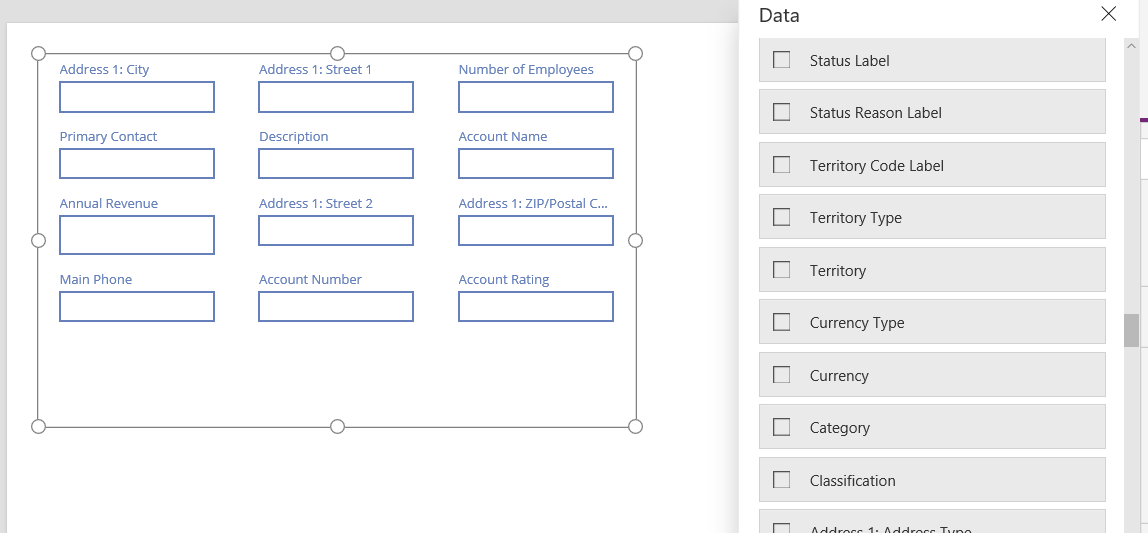
Scrolling down, we can see and add additional fields. We will add Account Number and Account Rating:
At this point we have a form that displays a record of data. However we haven’t told the app which record to display. On the top right of the page, you will see an option to click Play. If you clicked play at this point, you would see the message “No Items to Display”:
![]()
Let’s display the first record of Accounts as an example. To do this, select the form, go to Advanced and under Item select First(Accounts):
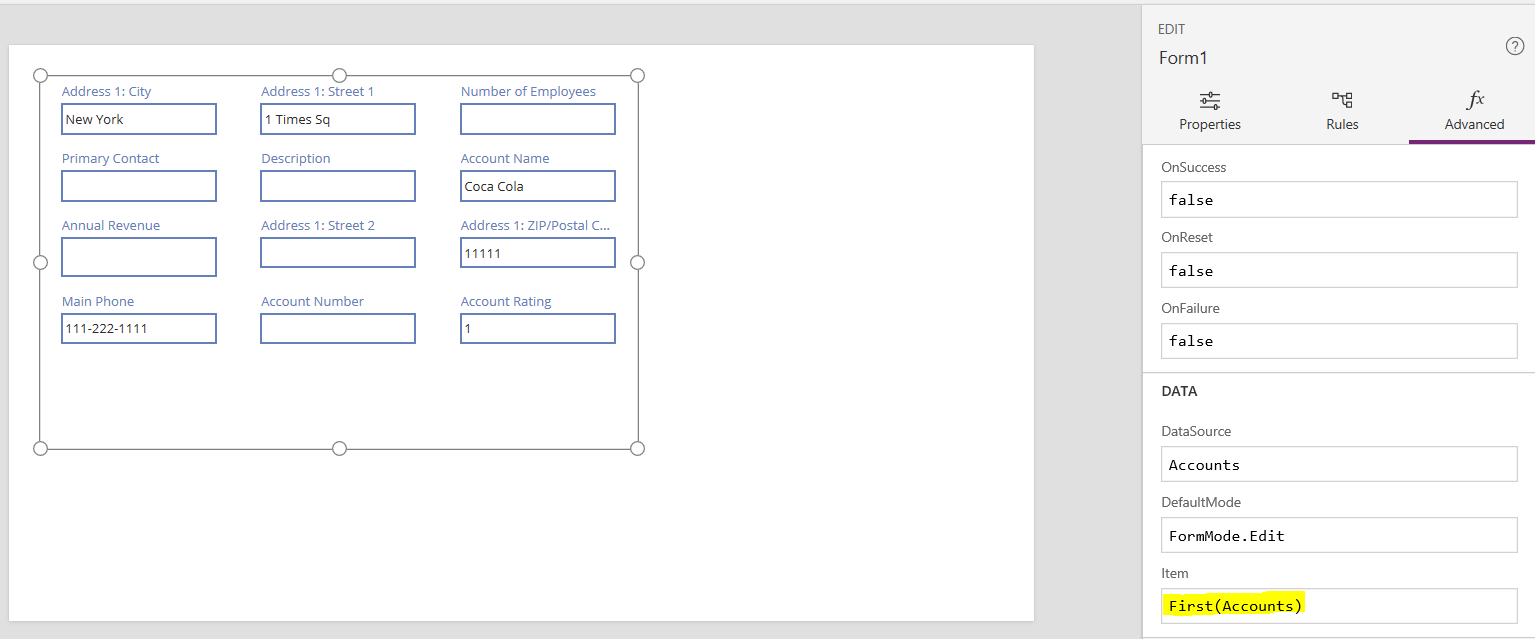
Now press Play. You will see the record displayed:

However, in the real world, we would not want to display just the first record in our data. We would first want to select the record from a list of available records. Let’s add a “screen” that will display a list of records.
Select New screen->List screen:
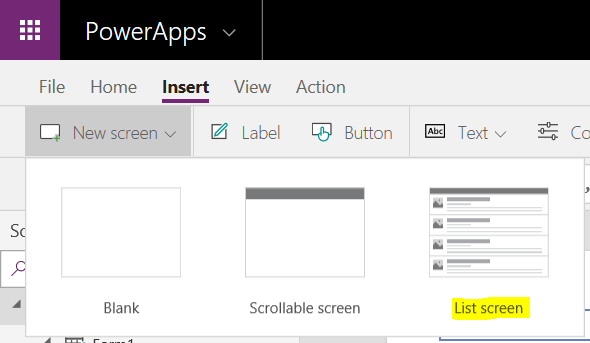
This provides us with a template of our list screen. Note it adds a List gallery template:
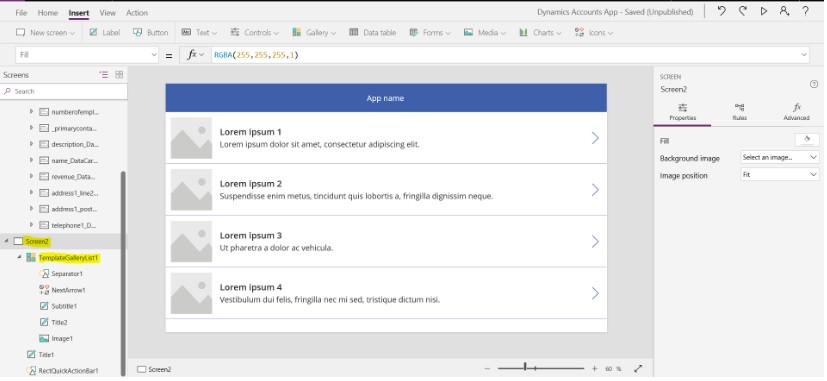
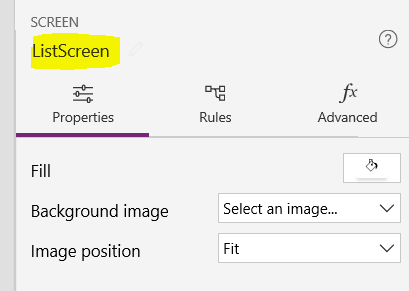
Let’s rename the screen to be ListScreen:
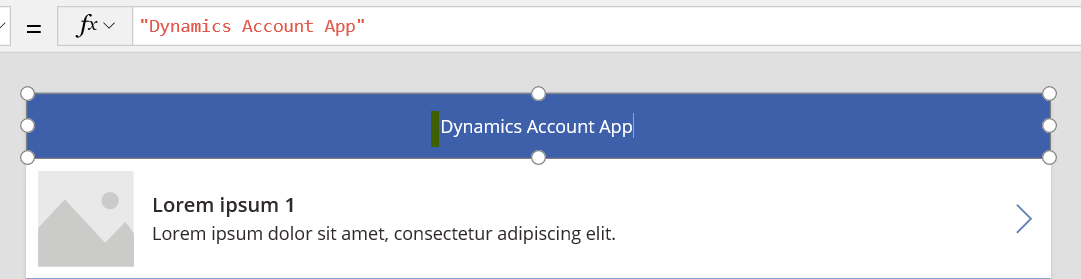
We will rename the title to Dynamics Account App:
Now, select the TemplateGalleryList1 and note the data source is CustomGallerySample. Select it:
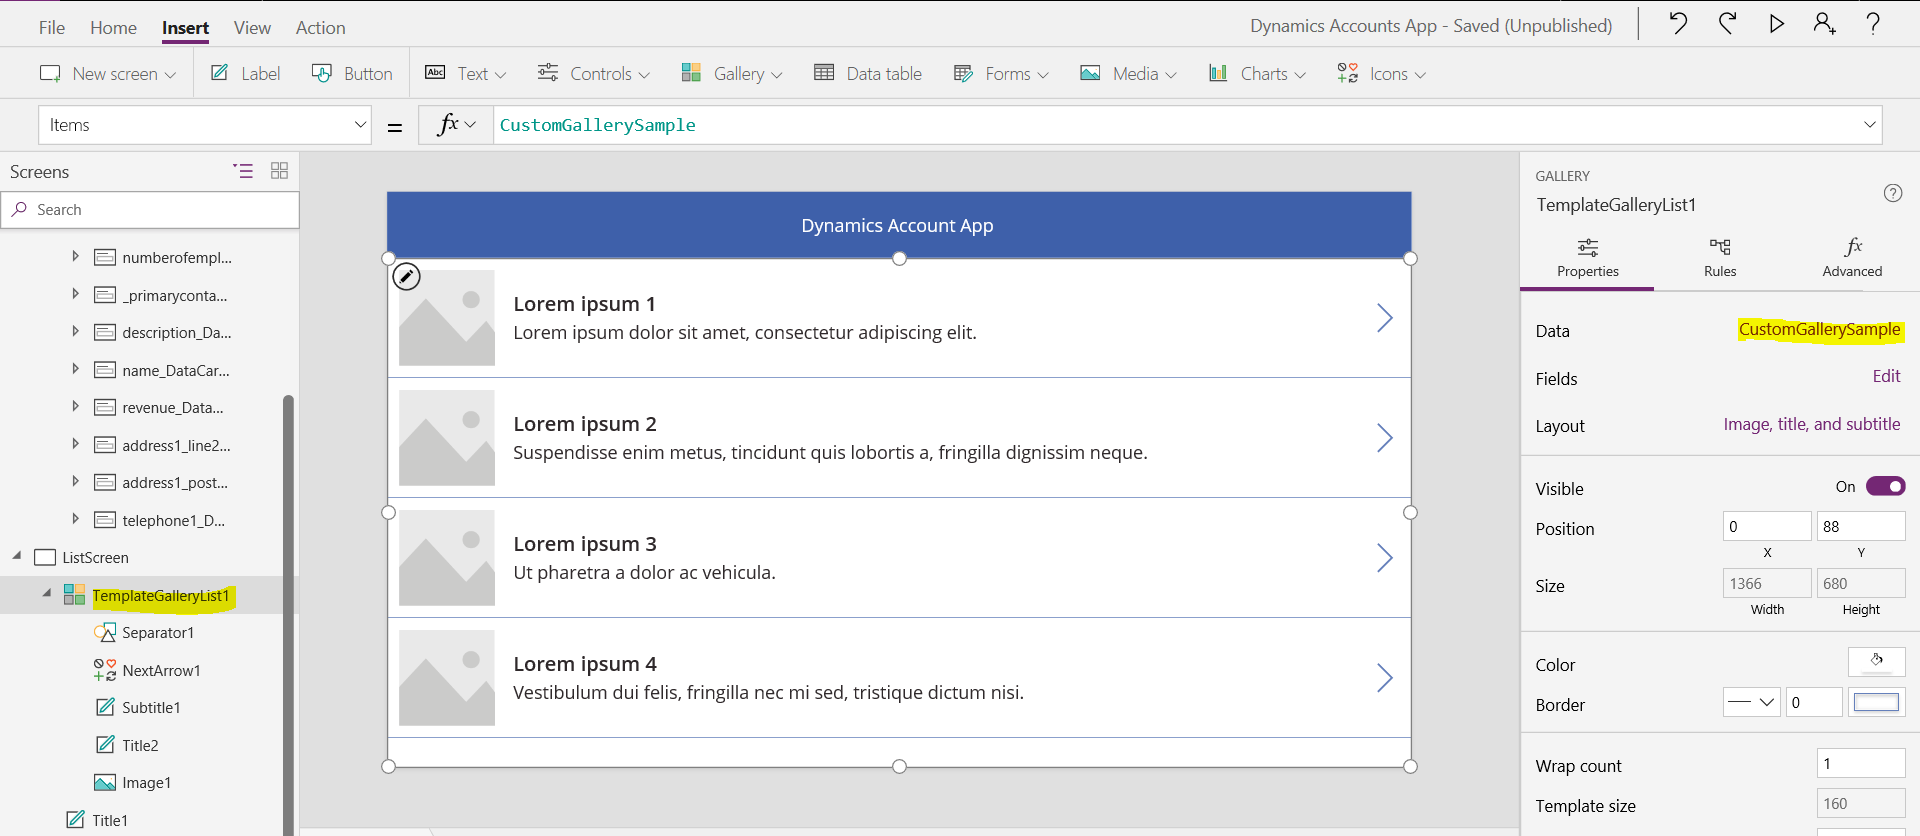
Change the data source to the Accounts datasource that we created earlier:

We will see a preview of the data:

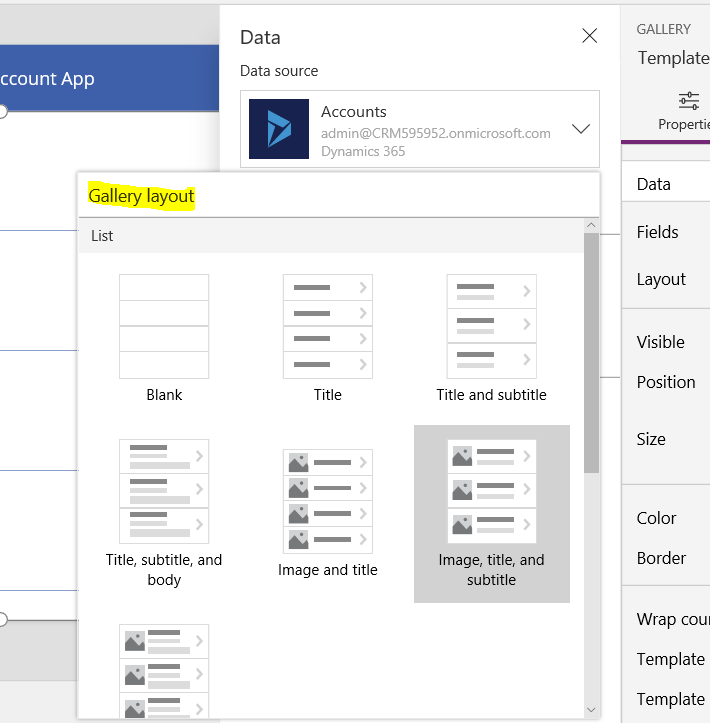
Clicking on Layout we can change what will be displayed in the list – we will select Title and subtitle:
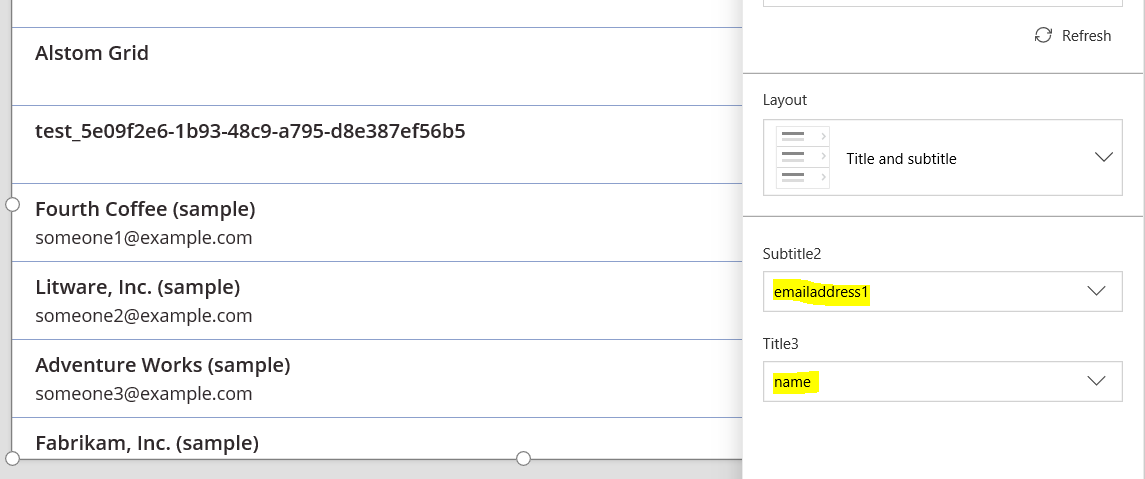
We will show the name and email address as the fields in the list:
Click Play to preview:
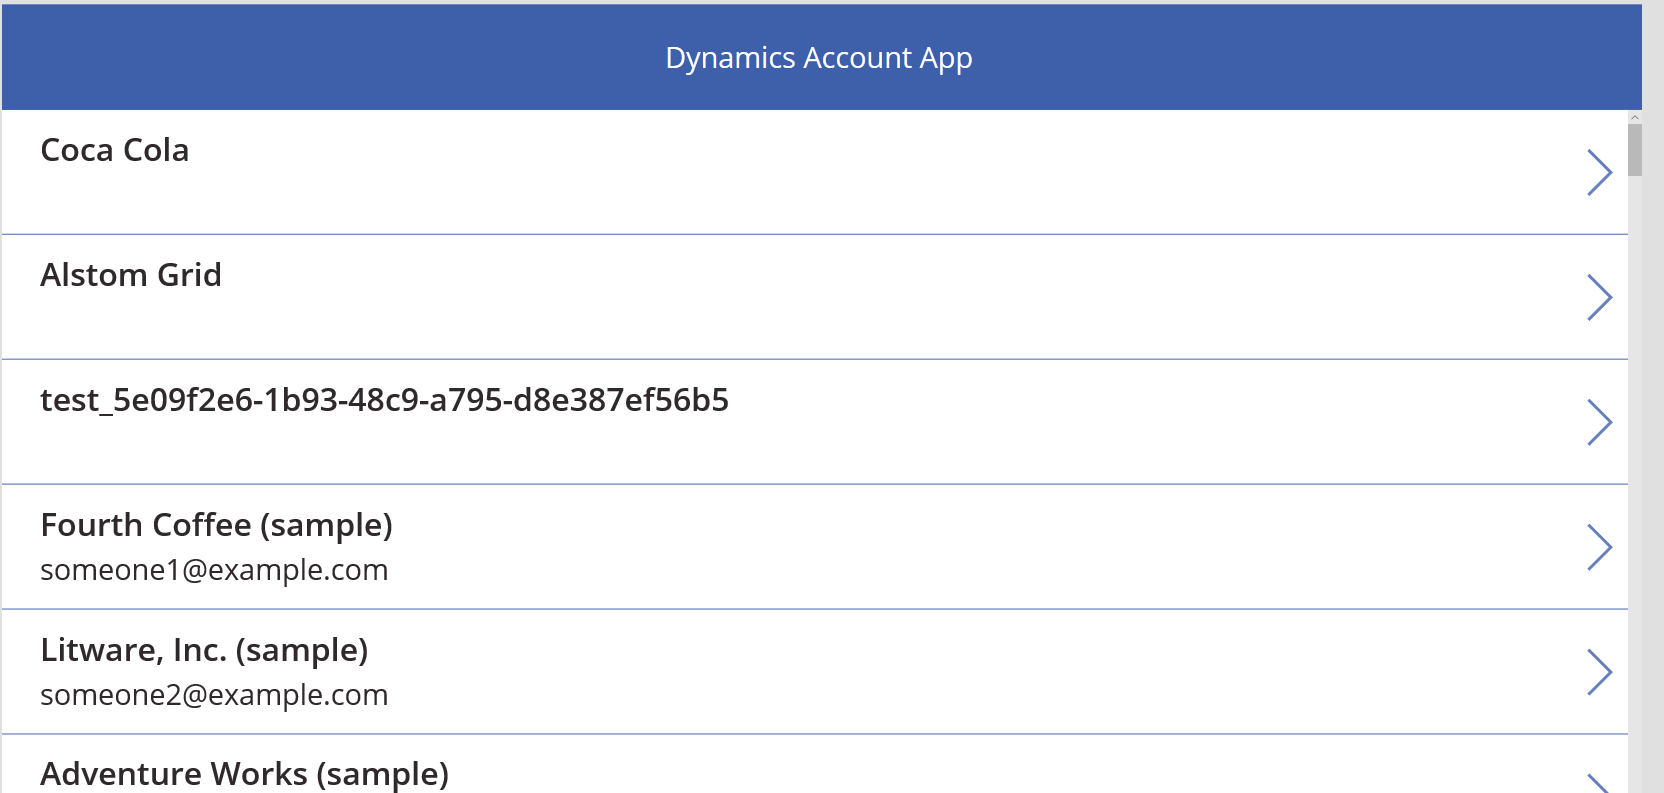
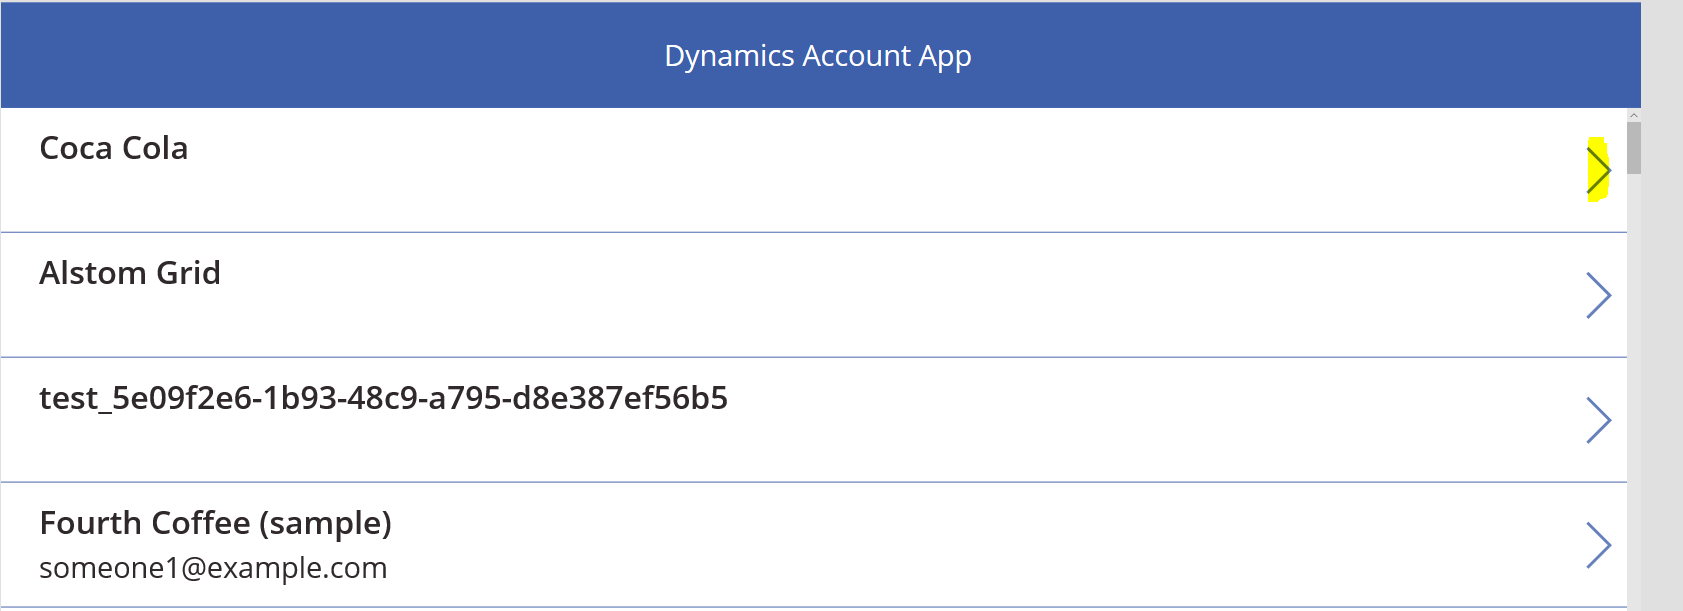
This displays the data in our list.
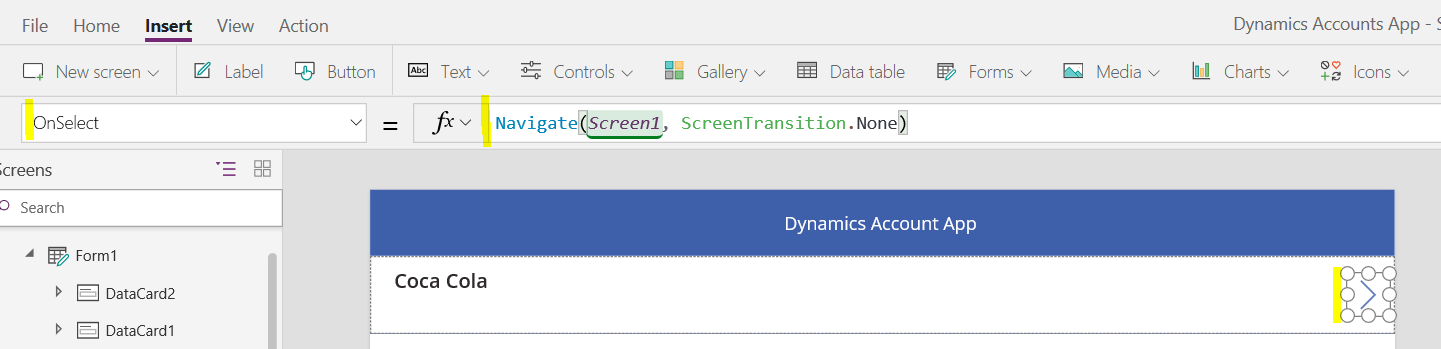
Now, if we click on the > arrow, nothing will happen, even though it looks like we can drill down into the record. This is because we need to wire our arrow to an action. Select the button, then for OnSelect we will select Navigate(Screen1, ScreenTransition.None):
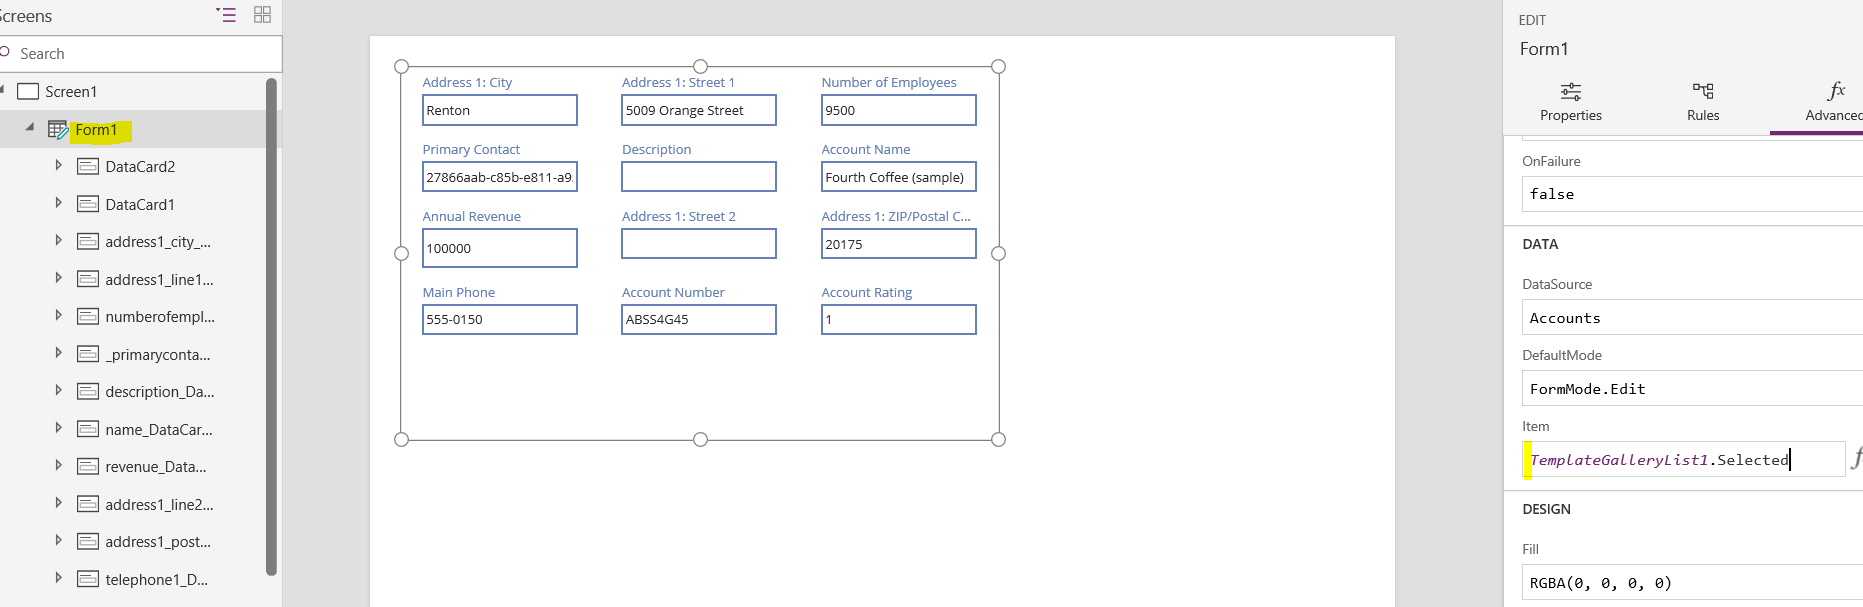
We now need to tell the form screen to display the selected record from our list. We can change the Item property to do this, with TemplateGalleryList1.Selected:
Now let’s test this. Run the app and select a record:
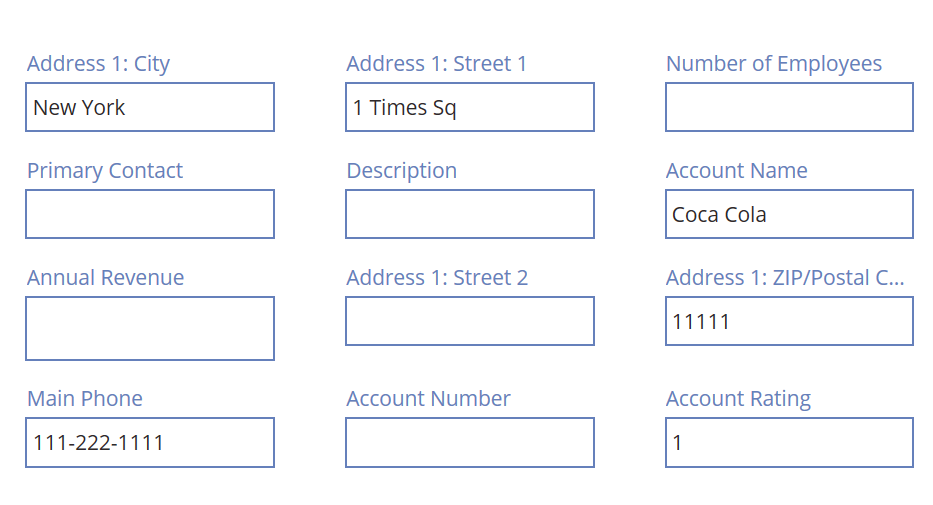
It will be displayed on the 2nd screen:
Now, what if we want to allow the user to update the record? We can add a submit button and wire it up very easily. Select Button from the toolbar and drag it to an appropriate position on the form. Select it and change the formula to SubmitForm(Form1). That’s all you need to do to support updates:
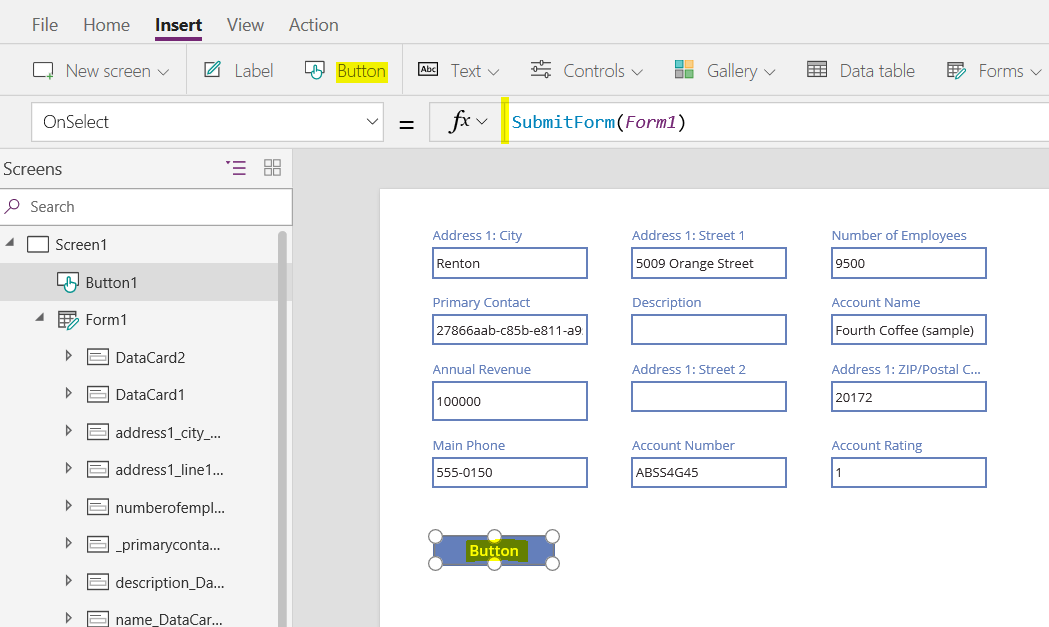
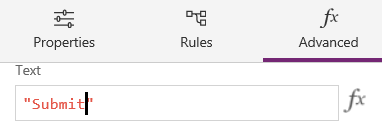
We will change the button text to display “Submit”:
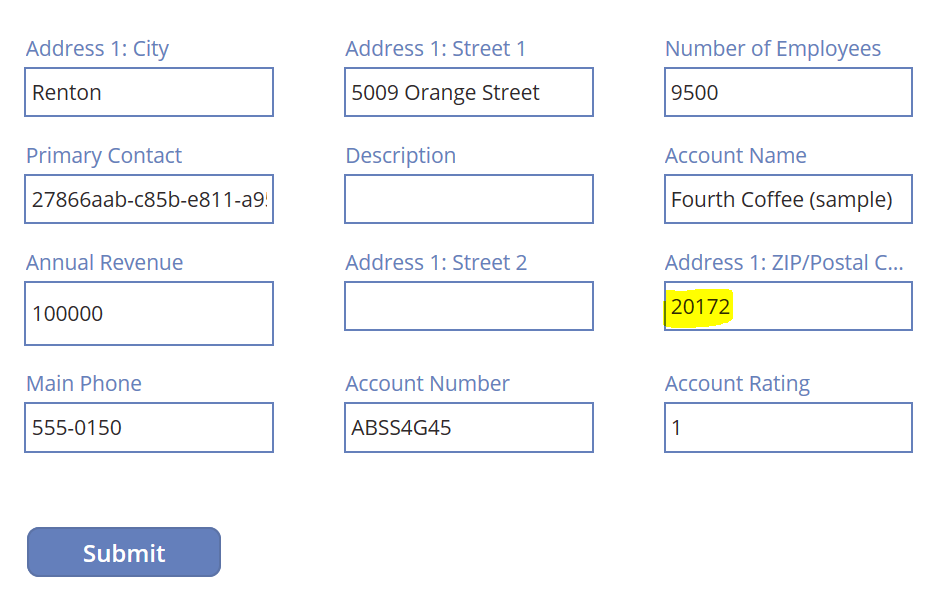
Now if we play our app, and select a record, and update it, e.g. the zip code and press Submit:
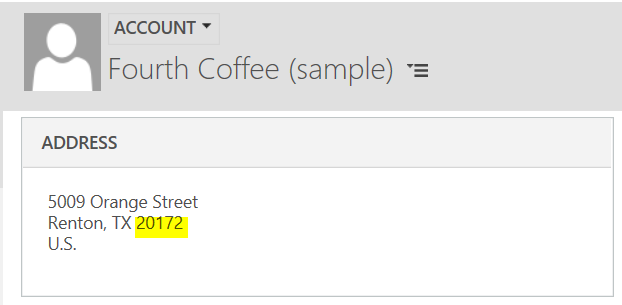
We can see in Dynamics 365, our record has been updated:
In the next post, we will go through publishing and sharing an app.
I AM SPENDING MORE TIME THESE DAYS CREATING YOUTUBE VIDEOS TO HELP PEOPLE LEARN THE MICROSOFT POWER PLATFORM.
IF YOU WOULD LIKE TO SEE HOW I BUILD APPS, OR FIND SOMETHING USEFUL READING MY BLOG, I WOULD REALLY APPRECIATE YOU SUBSCRIBING TO MY YOUTUBE CHANNEL.
THANK YOU, AND LET'S KEEP LEARNING TOGETHER.
CARL

Very clear the examples.
What is the function to add a new record to the form when I have the Gallery and the form at the same time on the screen?
Hi Carl,
I note in your example, that the lookup field called “Primary Contact” just displays id numbers – is there any way of getting it to display the name properly?
I have tried a few different formulas from the web,but I am struggling with this.
Carl,
This is phenomenal. Are you updating it with the recent changes on the Power Platform? What are your thoughts on Fabric?