In Unified Service Desk, there is a new tool that allows you to migrate your USD configuration from the Dynamics 365 Web Client to the new Unified Interface. In this post we will go through a migration, using the “Web Client – Unified Interface Migration Assistant” tool.
In our USD environment we see the following solutions. We are running USD 4.0:
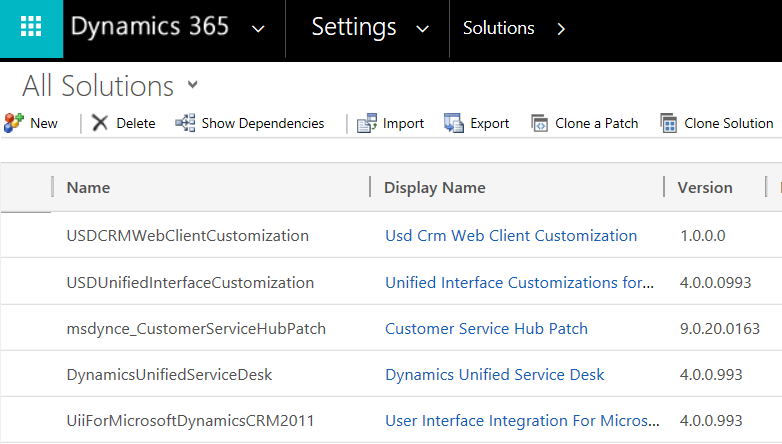
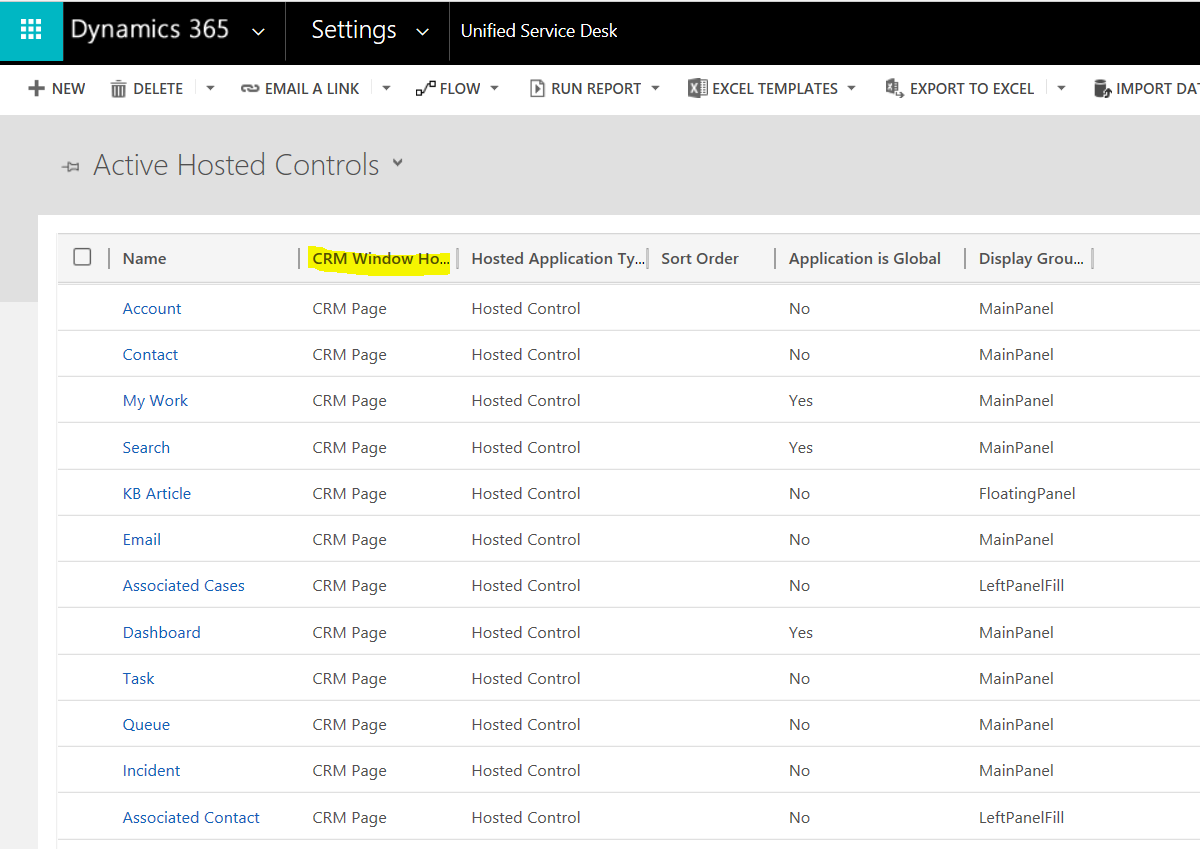
With hosted controls using CRM Page and KB Control:
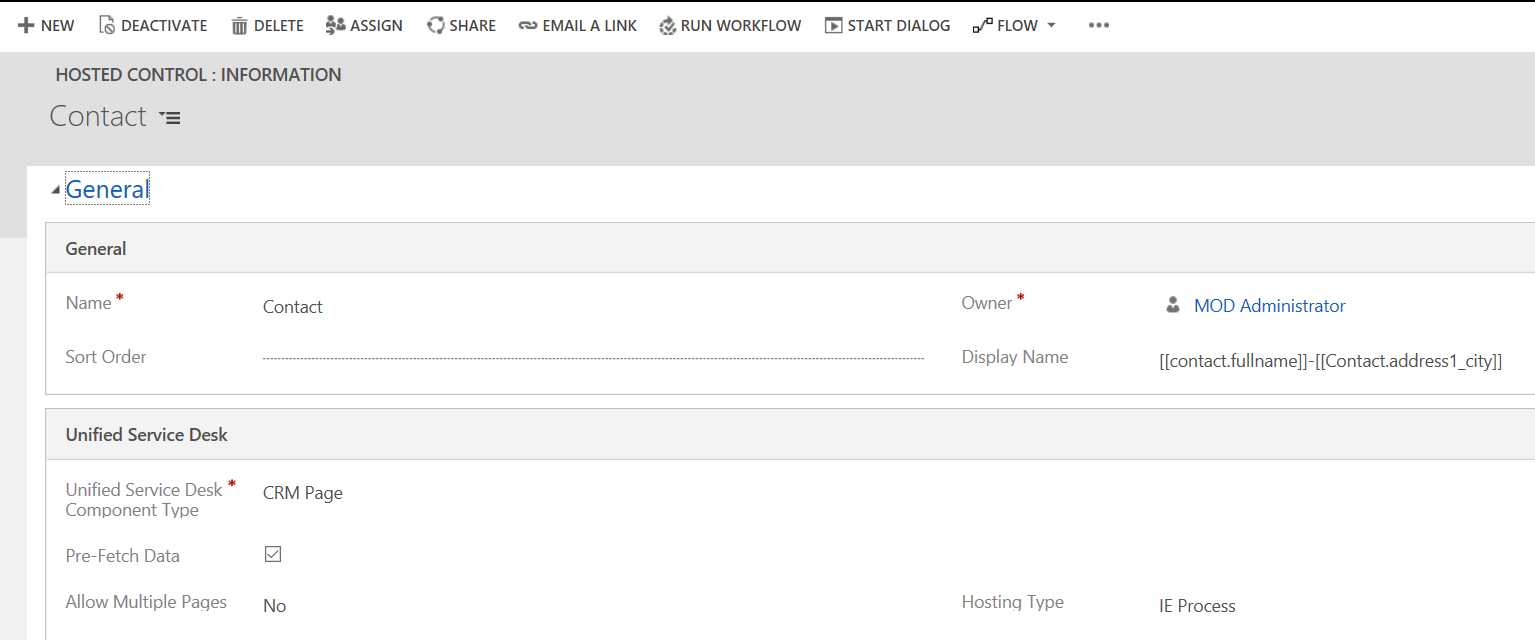
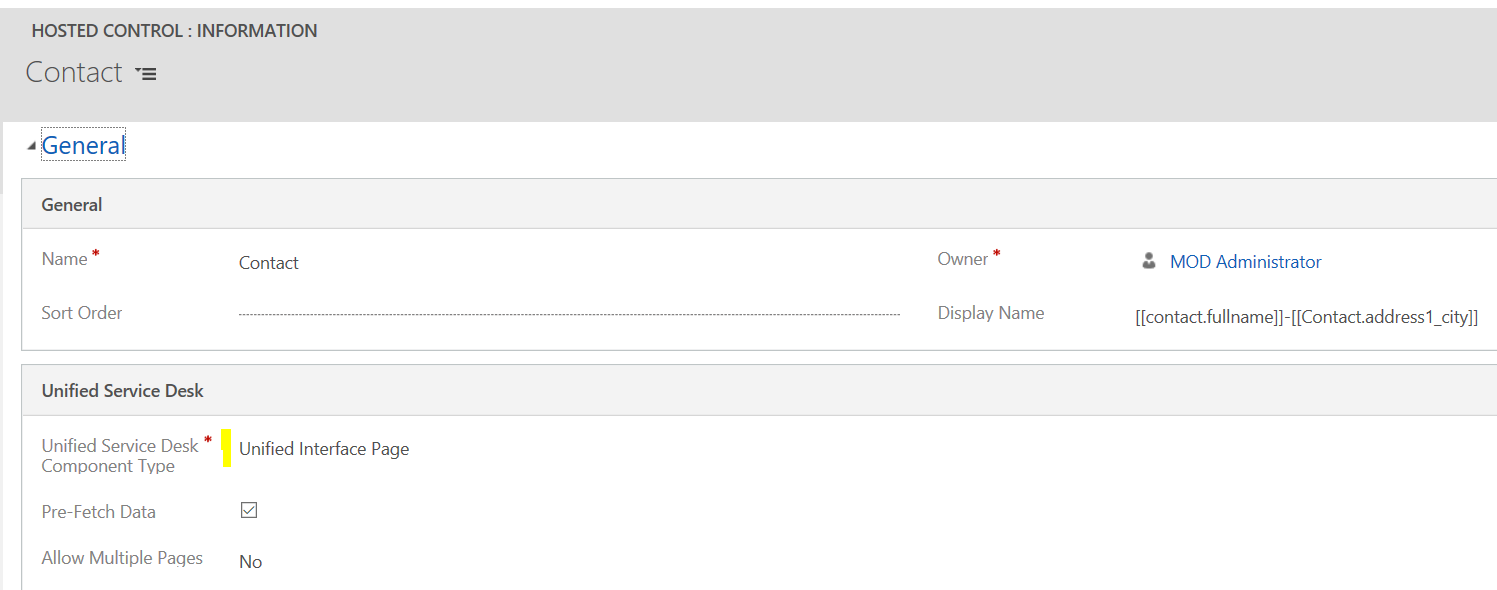
For example, the Contact page uses the CRM Page type of Unified Service Desk Component Type, with hosting type IE Process:
The migration process to move from Web Client to Unified Interface in USD is a 3 step process:
- Use the “Web Client – Unified Interface Migration Assistant” to create 2 zip files, a Data.zip and a USDWebResources.zip
- Import USDWebResources.zip as a solution into Dynamics 365
- Using the Configuration Migration tool, import the Data.zip into your organization
Step 1
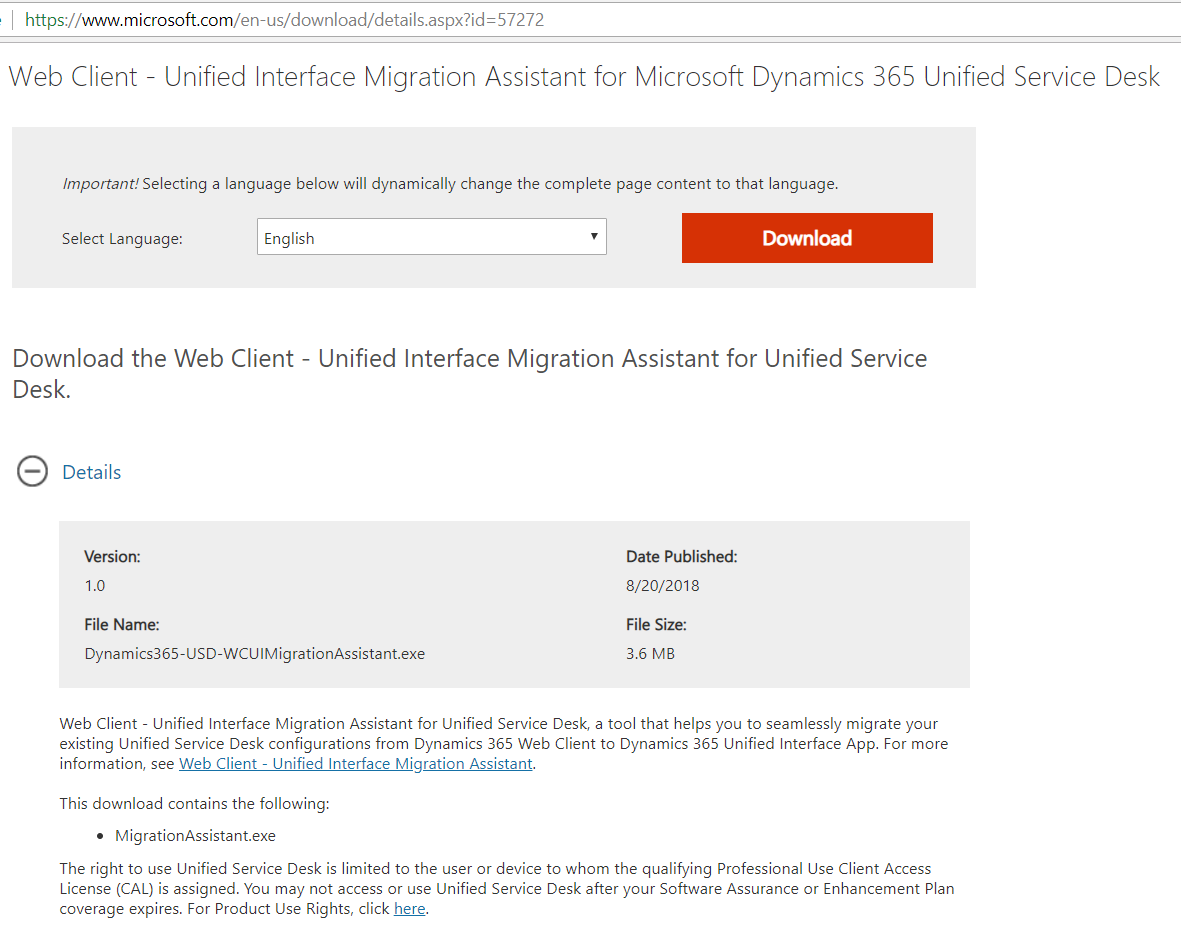
To get the migration assistant, go to: https://www.microsoft.com/en-us/download/details.aspx?id=57272
Select to download:
This will download:
![]()
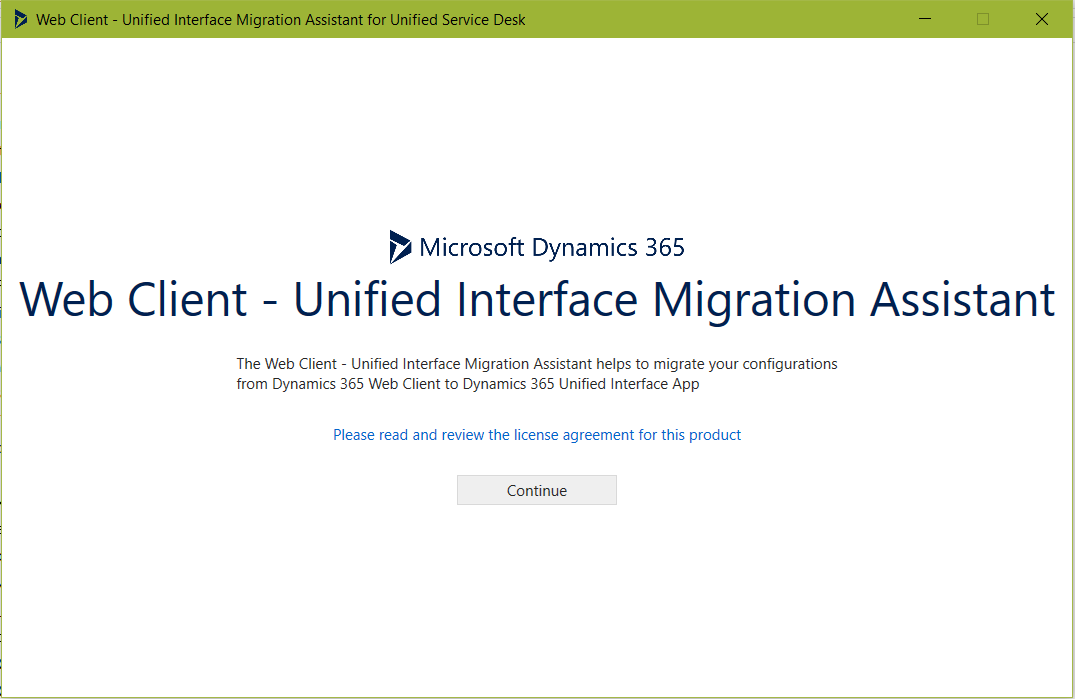
Double click to run the file and select a folder to extract the files. This will then open the installation. Click Continue:
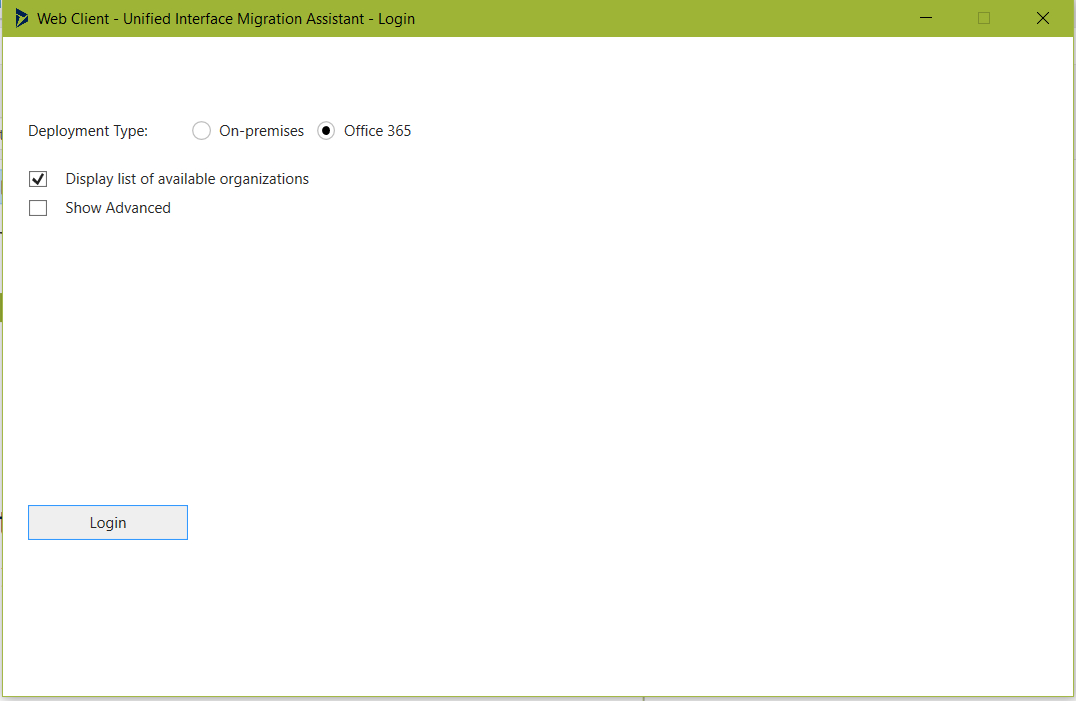
Log into your Dynamics 365 instance:
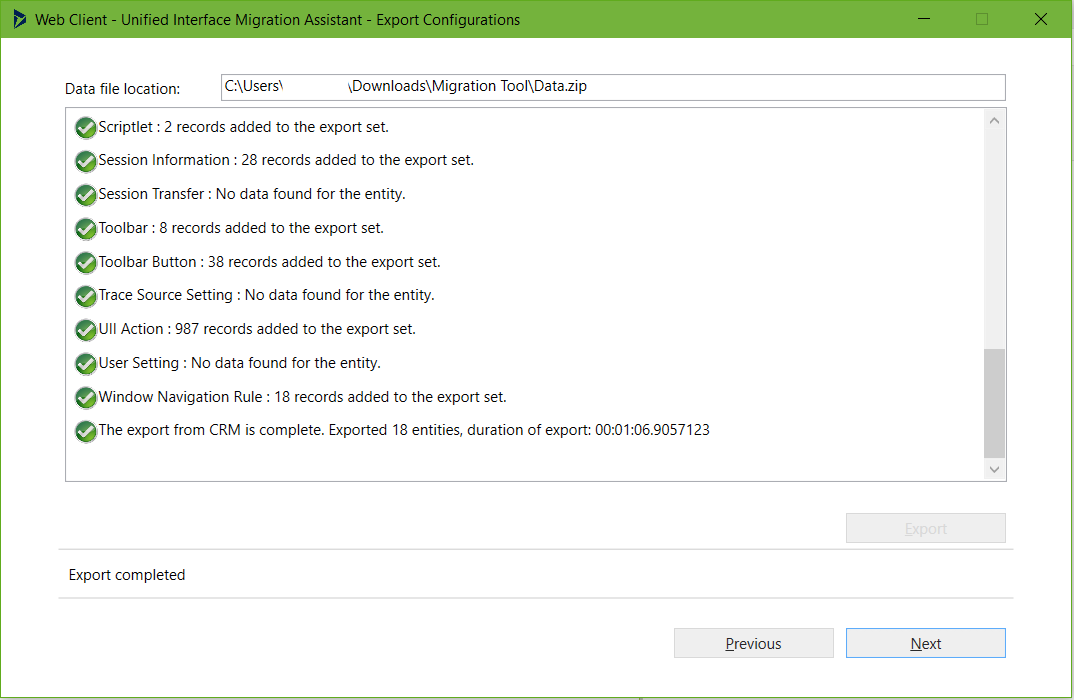
Click Export:
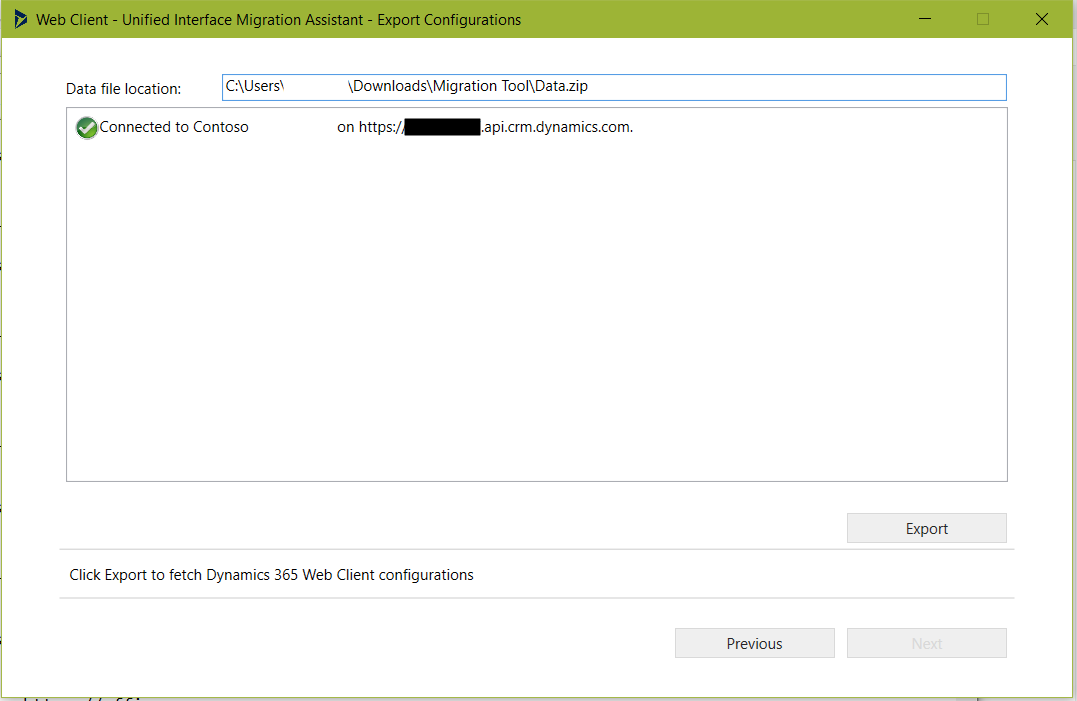
The system will export records to the Data.zip file. Click Next:
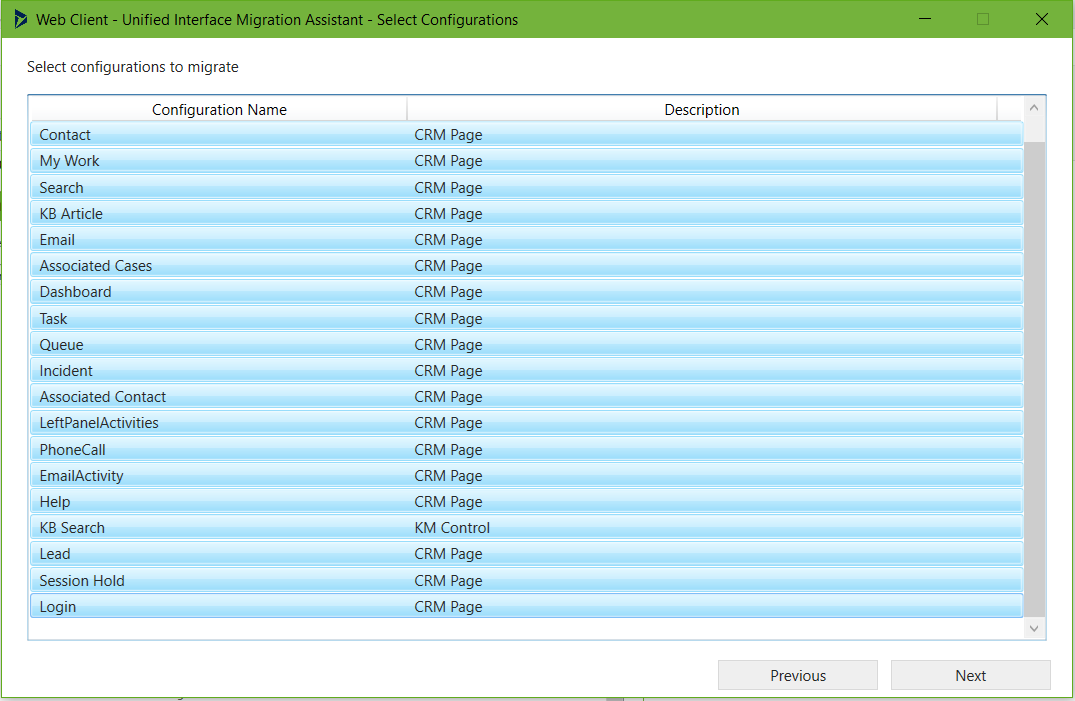
You now have the ability to select which configurations to migrate.


Select each configuation (ctrl key to select multiple) and click Next:
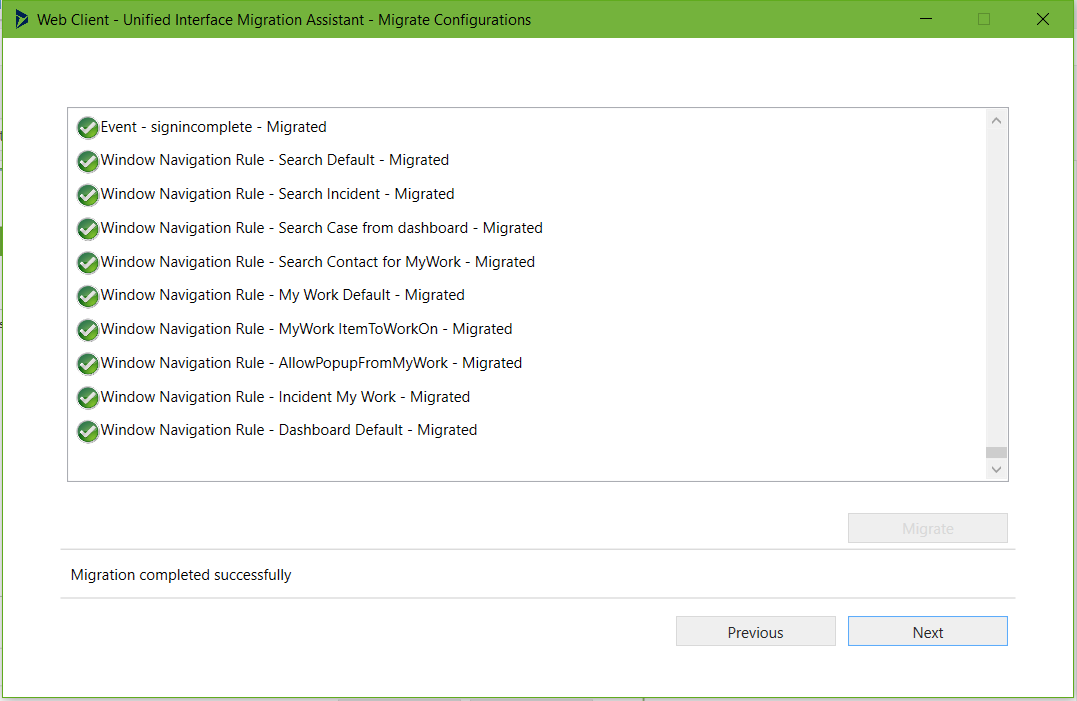
Confirm the configurations and click Next:

Click Migrate:

Once complete, click Next:
Click Download File to download the USDConfiguration.zip:
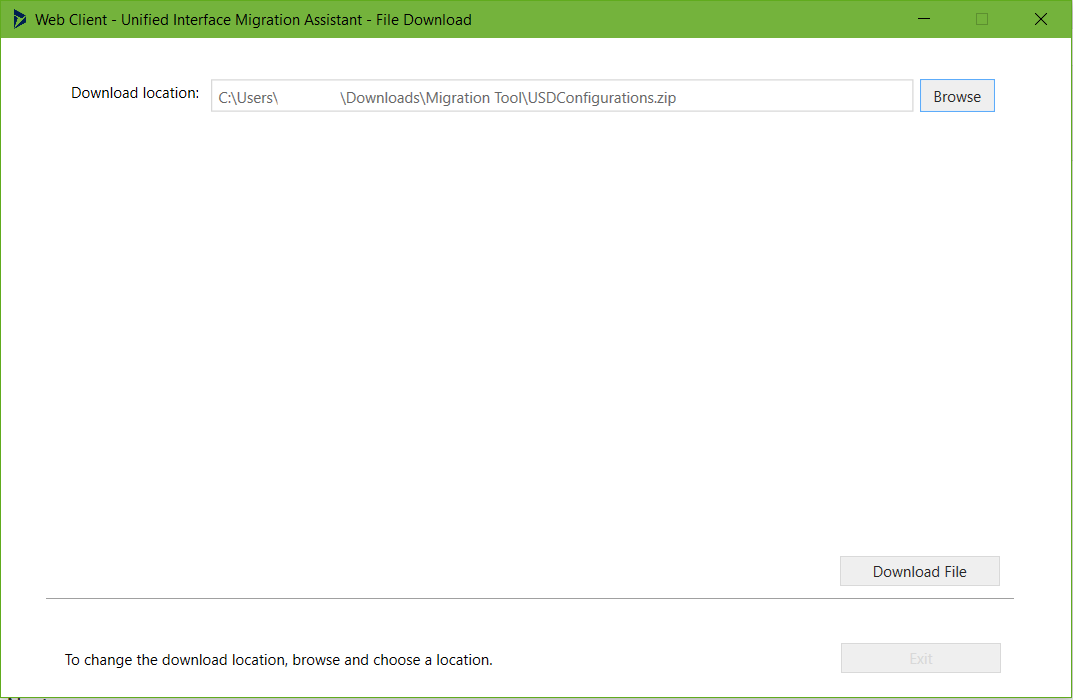
And Exit once completed:

A USDConfigurations.zip file is created:
![]()
With 2 files
- Data.zip
- USDWebResources.zip
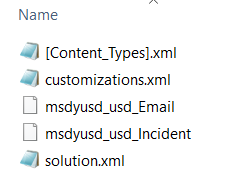
Extract the USDWebResource.zip to reveal the 2 zip files:
![]()
Looking at the contents of each, we see:
Data.zip:

USDWebResources.zip:
Step 2
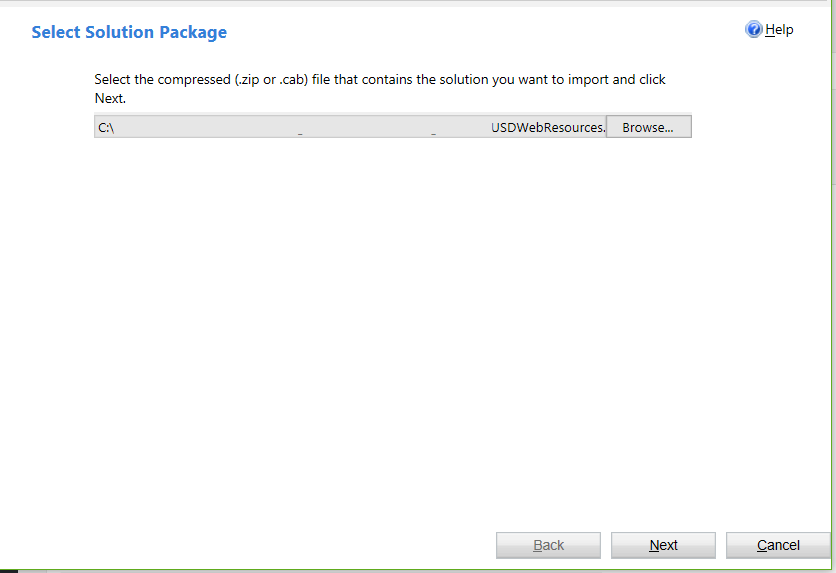
In Dynamics 365, go to Settings->Solutions and click Import:
Select the USDWebResources.zip:
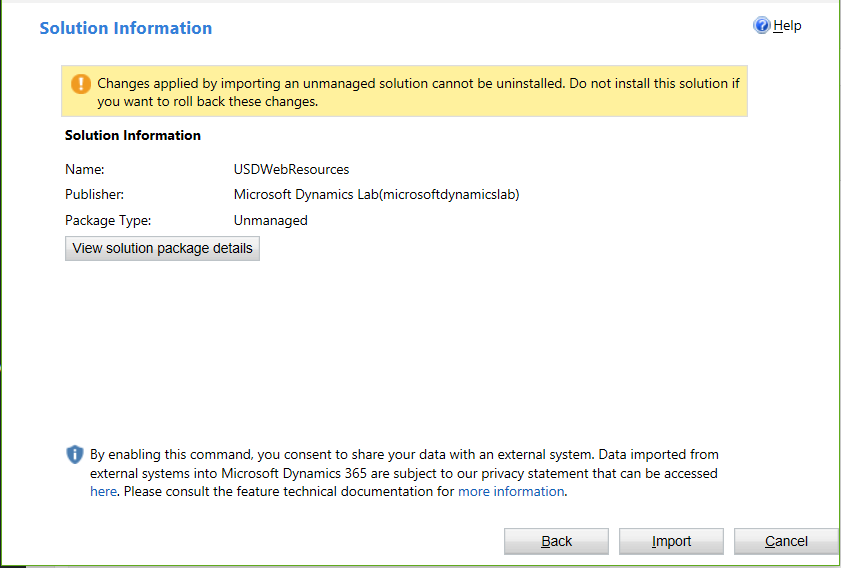
Click Import:
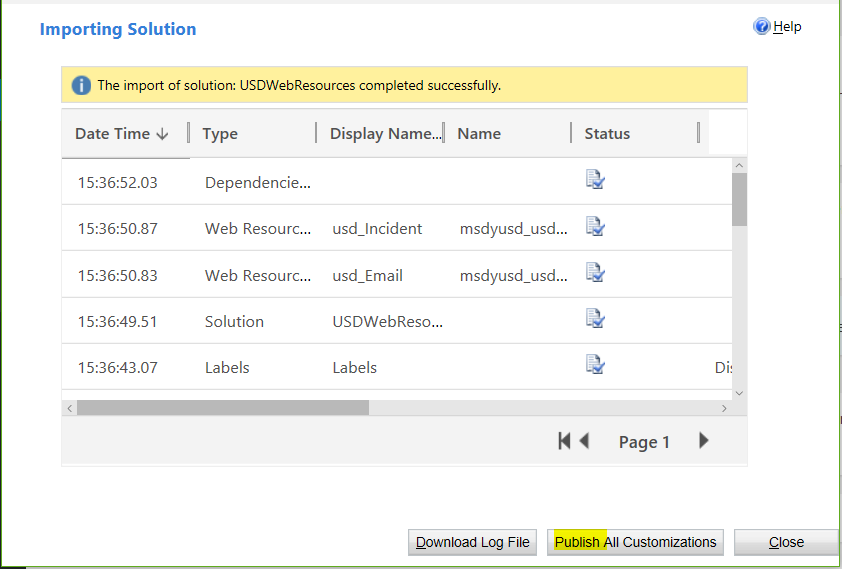
And Publish:
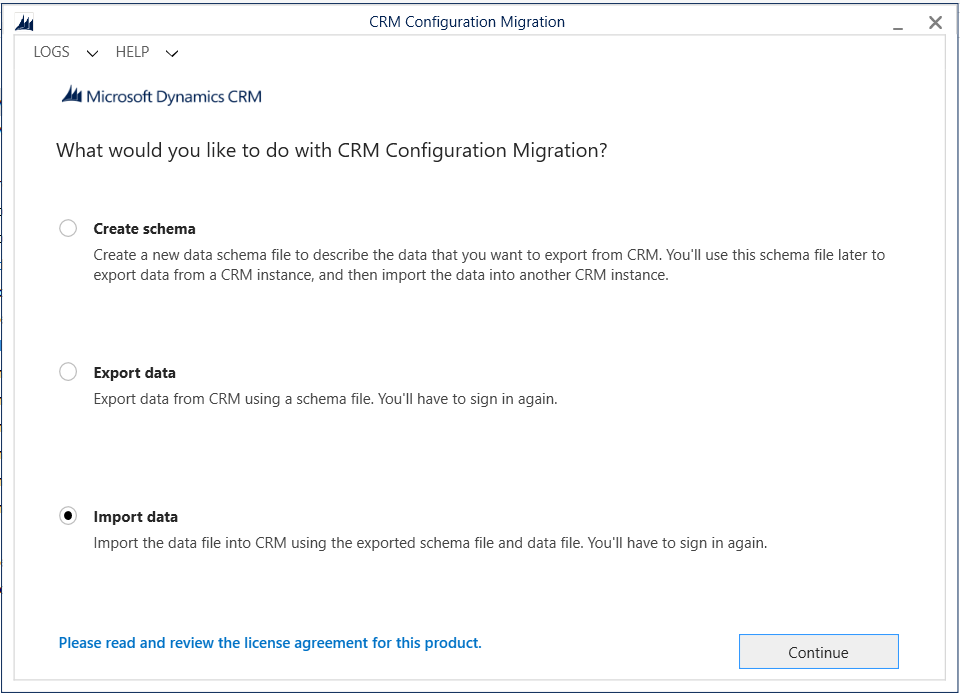
Step 3
The final step is to use the Configuration Migration tool from the Dynamics 365 SDK.
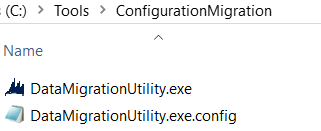
First, download the tool and run DataMigrationUtility.exe:
Select Import Data:
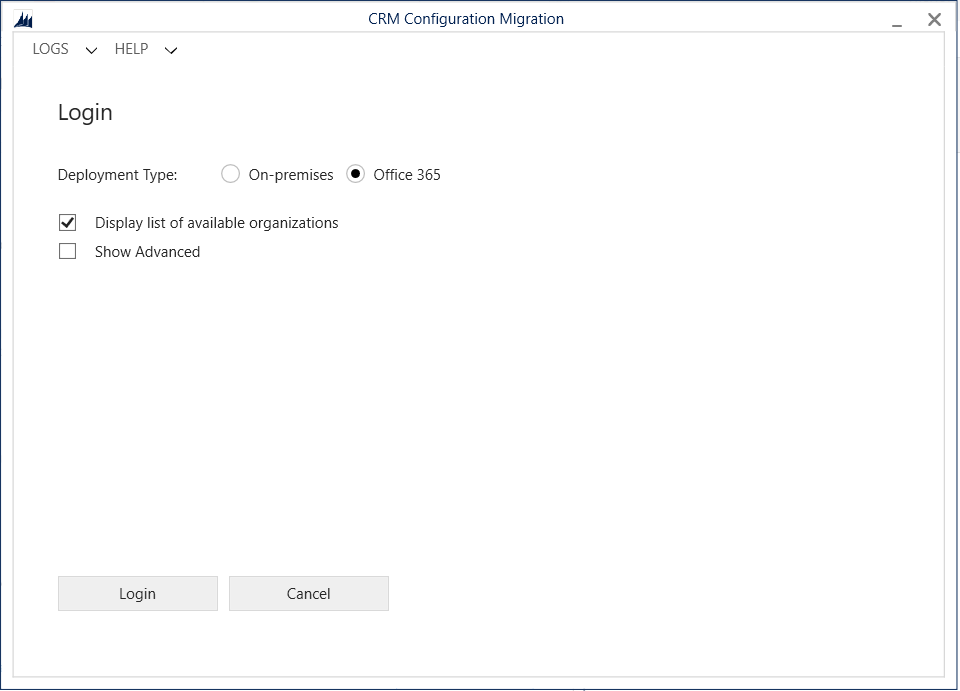
Log into your organization:
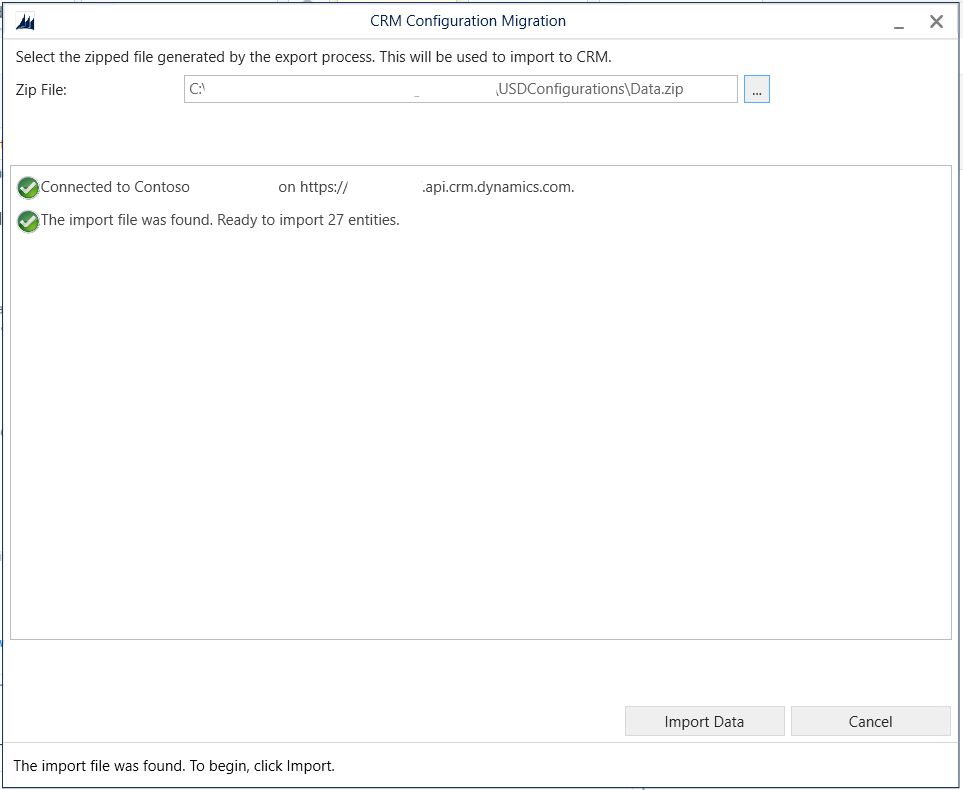
Select the Data.zip file from above and click Import Data:
Once complete, click Exit:
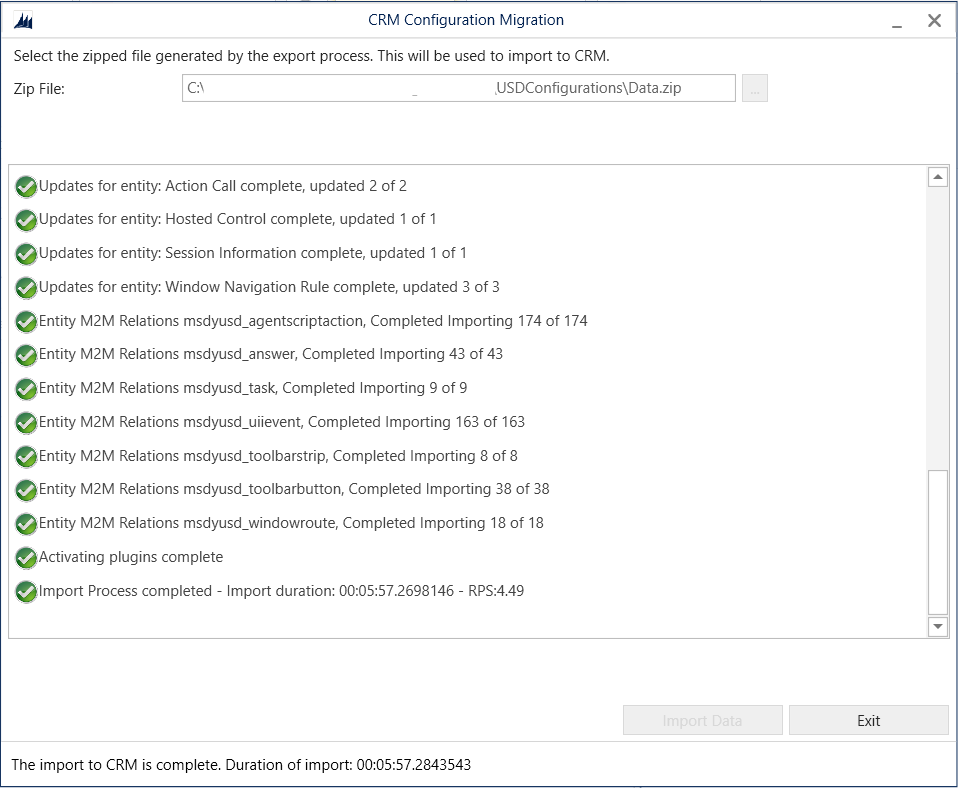
The USD configuration is now using Unified Interface configuration.
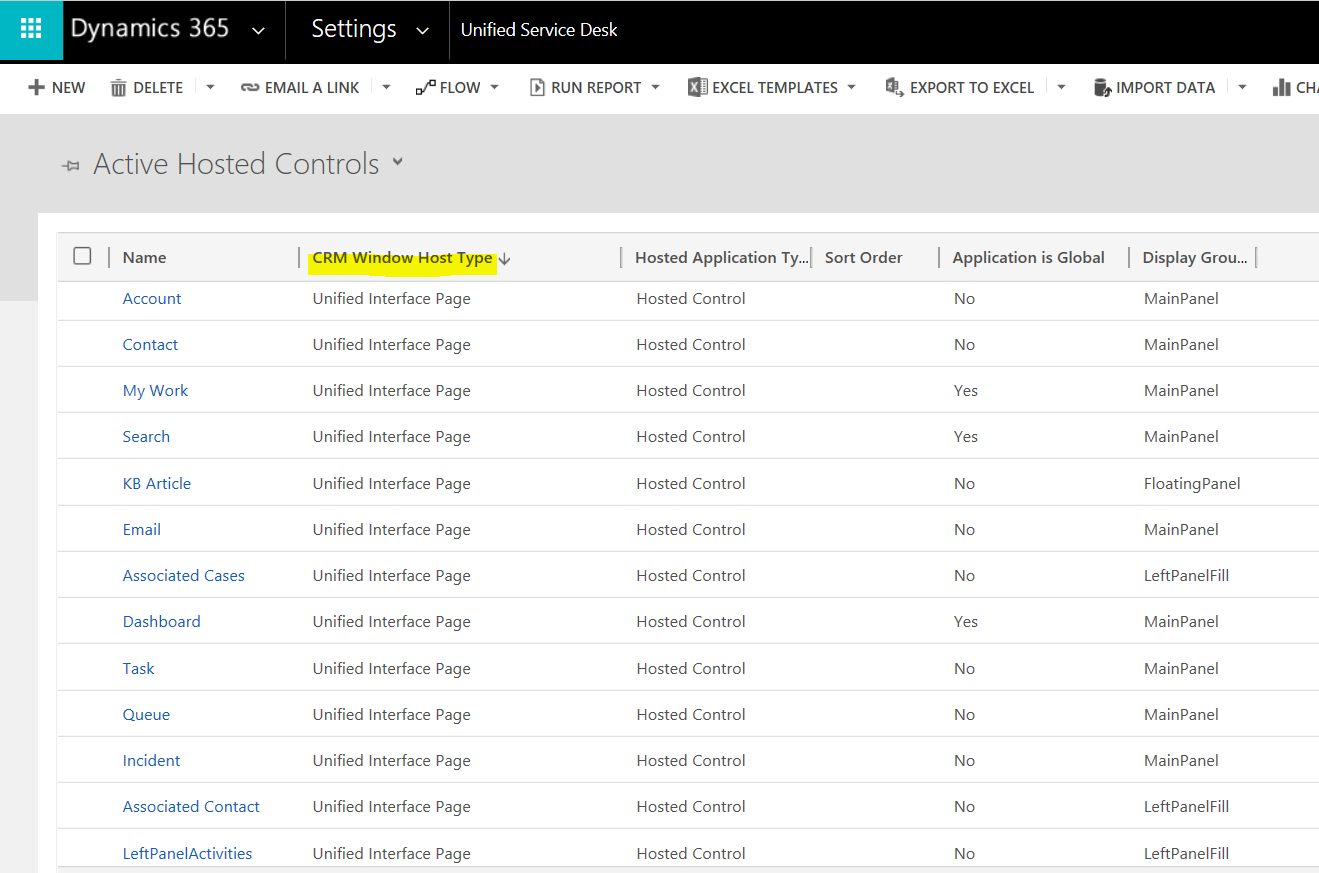
Log into Dynamics 365. Go to Settings->Unified Service Desk. You will see the entities have been modified from CRM Page and KB Control to use Unified Interface Page:
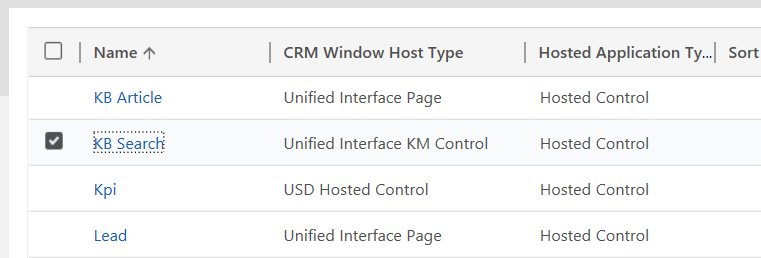
The KB Search control has also been modified to Unified Interface KM Control:
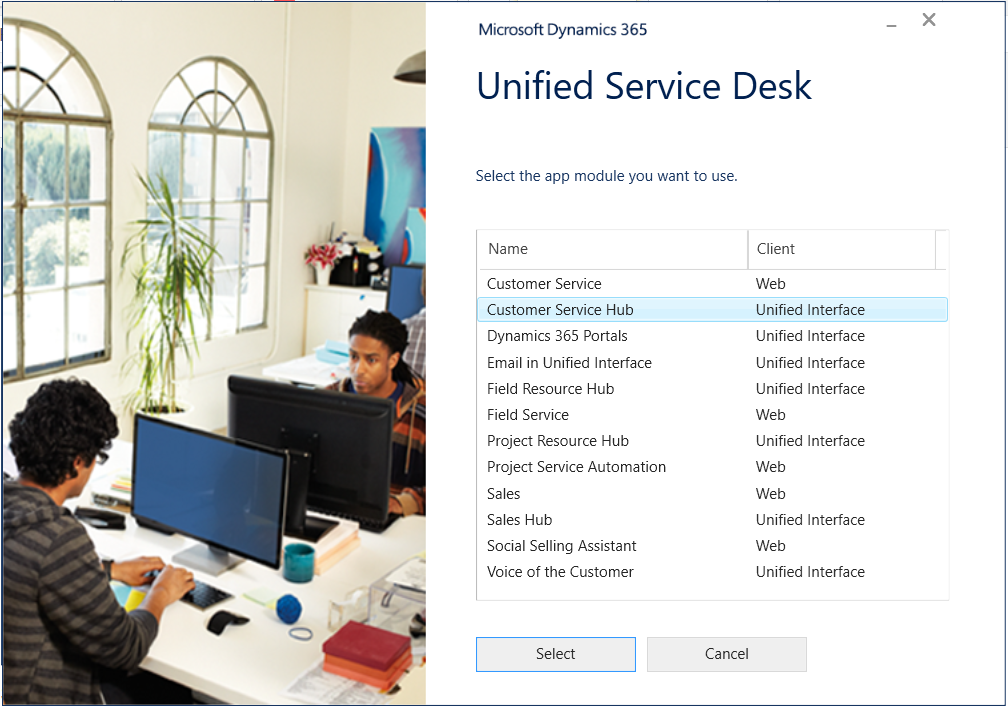
Start Unified Service Desk client and log into the Unified Interface client:
Open a Contact: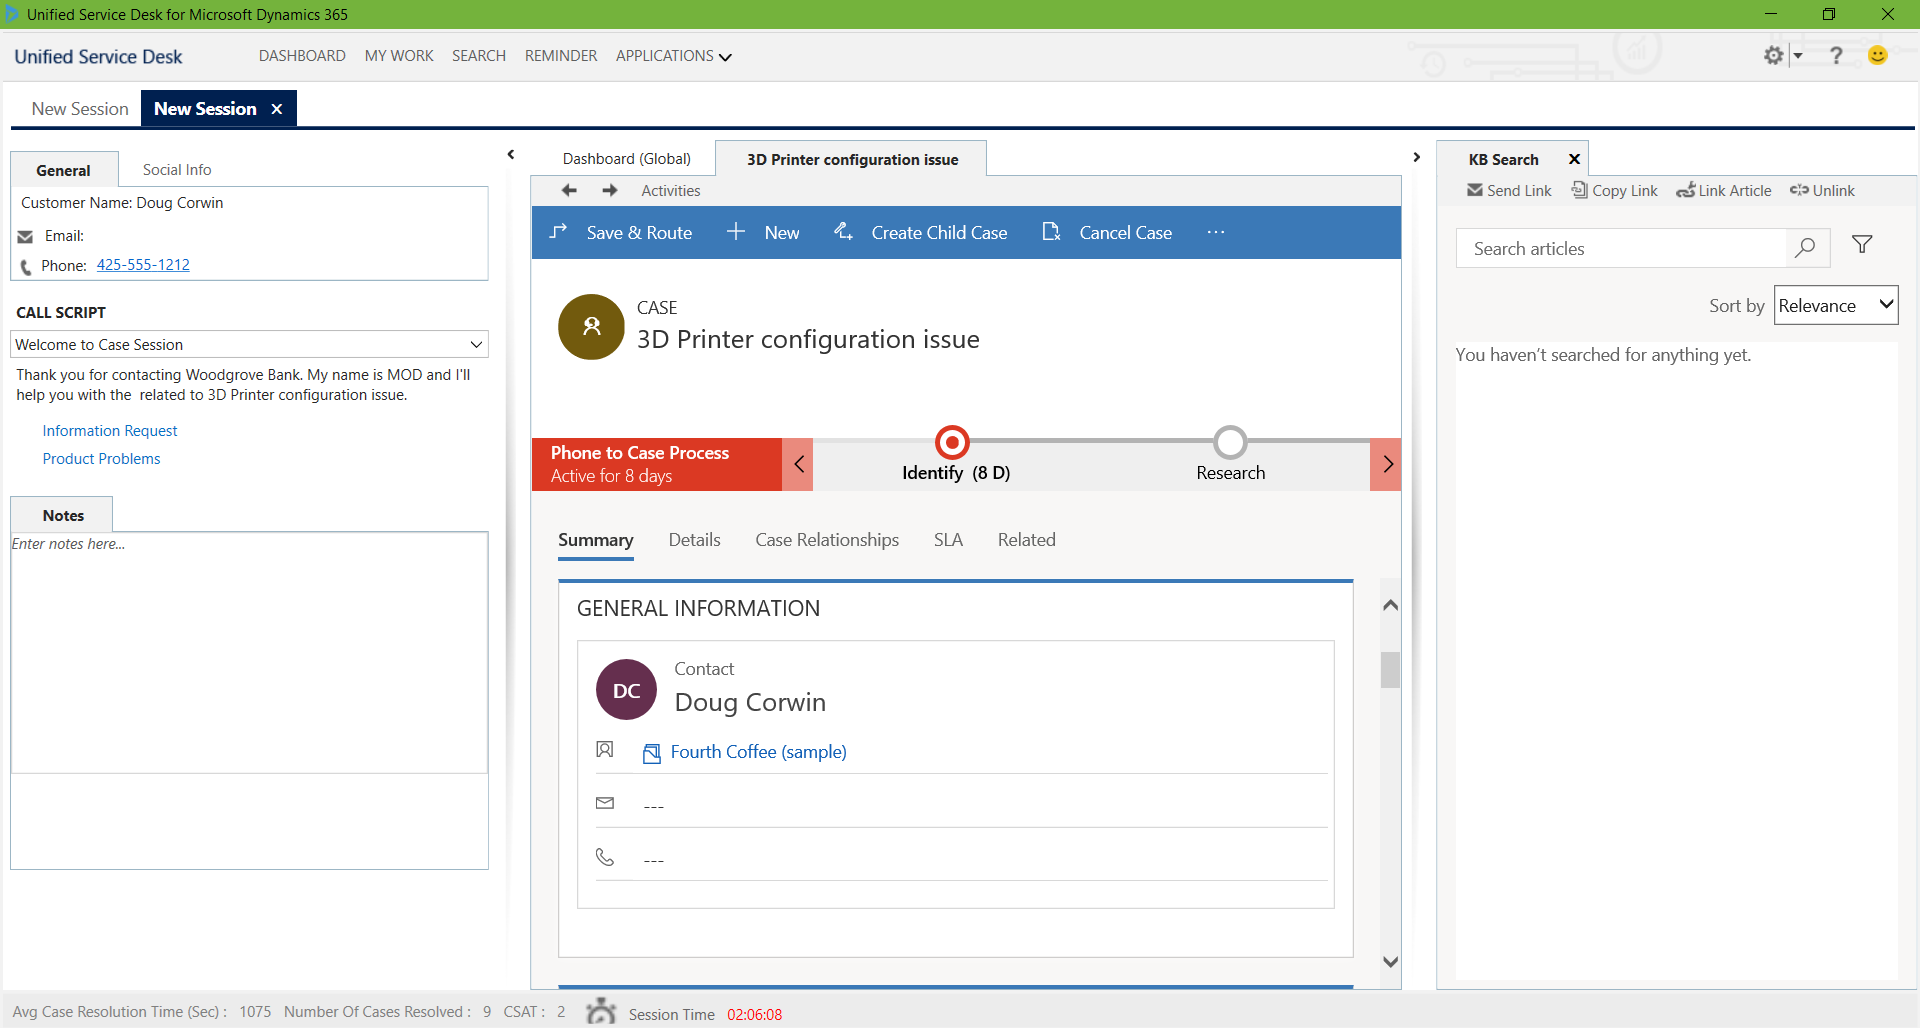
Open the USD debugger, and we can see the Unified Interface Page has events invoked such as NavigationRequested, DataReady and PageReady:

I AM SPENDING MORE TIME THESE DAYS CREATING YOUTUBE VIDEOS TO HELP PEOPLE LEARN THE MICROSOFT POWER PLATFORM.
IF YOU WOULD LIKE TO SEE HOW I BUILD APPS, OR FIND SOMETHING USEFUL READING MY BLOG, I WOULD REALLY APPRECIATE YOU SUBSCRIBING TO MY YOUTUBE CHANNEL.
THANK YOU, AND LET'S KEEP LEARNING TOGETHER.
CARL

Hello Carl,
thank you so much for the information. I have a question about it: Is it necessary to create again HC, NR,..? or just doing that you have them with the correct type?
Hi Aurora,
You don’t need to recreate the HCs. Running this app is optional, but you can do this manually by changing the hosted control type to UCI and then wire to the new events, RunXrmCommands etc.
– Carl