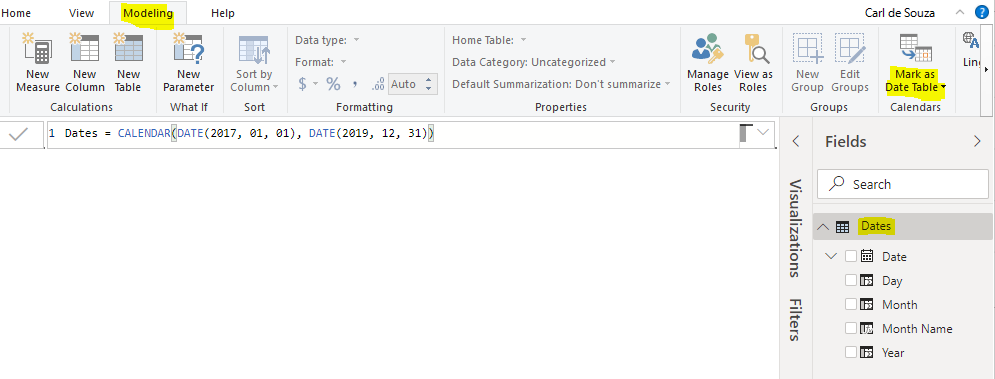
In Power BI, we can create Date Tables to work with time intelligence. One step in this process is to mark the table as a date table, so Power BI knows to use the table for this purpose.
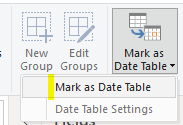
To do this, select your dates table in Power BI Desktop and go to the Modeling tab, select Mark as Date Table:
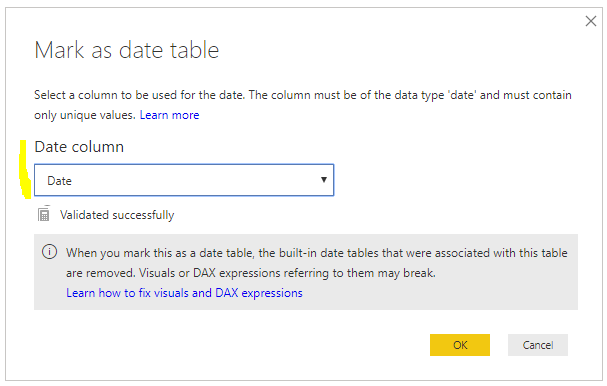
Select the date column from the date table and click OK:
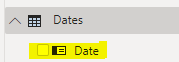
You will see the icon in the Date field of your date table change:
THANKS FOR READING. BEFORE YOU LEAVE, I NEED YOUR HELP.
I AM SPENDING MORE TIME THESE DAYS CREATING YOUTUBE VIDEOS TO HELP PEOPLE LEARN THE MICROSOFT POWER PLATFORM.
IF YOU WOULD LIKE TO SEE HOW I BUILD APPS, OR FIND SOMETHING USEFUL READING MY BLOG, I WOULD REALLY APPRECIATE YOU SUBSCRIBING TO MY YOUTUBE CHANNEL.
THANK YOU, AND LET'S KEEP LEARNING TOGETHER.
CARL

Thank you. I see the “how” but I don’t understand “why” I want to do this? Perhaps there is another article for explaining why these date tables are useful.