In this post, we will look at the installation of Microsoft Omnichannel for Customer Service.
First, we will need to ensure the Dynamics 365 services are purchased and enabled in order to use Omnichannel for Customer Service.
Purchase Services and Assign Licenses
Go to the Microsoft Admin Center at https://admin.microsoft.com/:
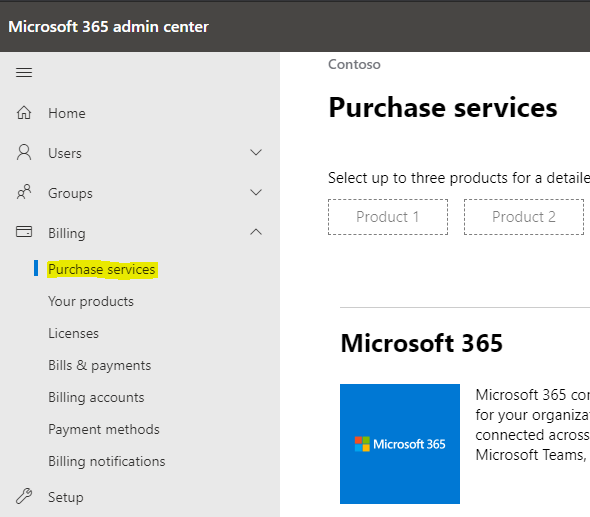
Select Add-Ons:
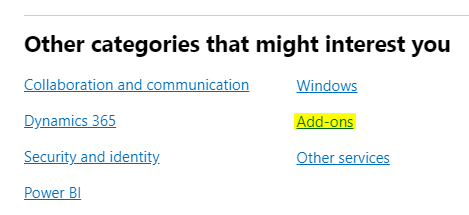
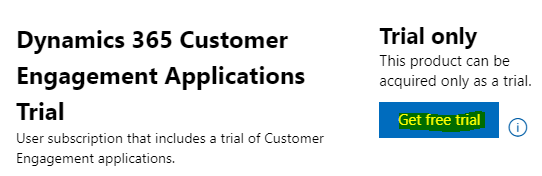
Search for Trials. We will select the Dynamics 365 Customer Engagement Applications Trial:

Click Get Free Trial:
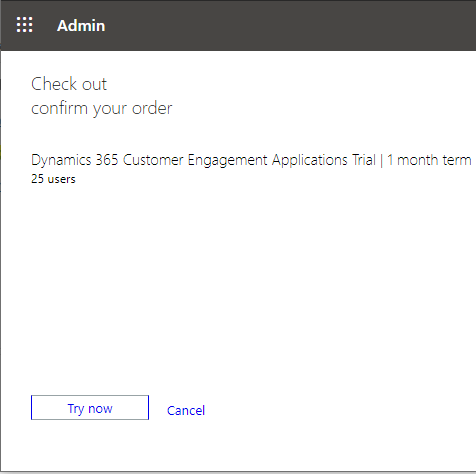
Click Try now:
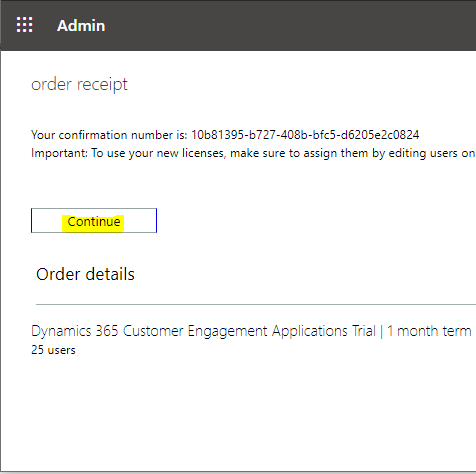
Click Continue:
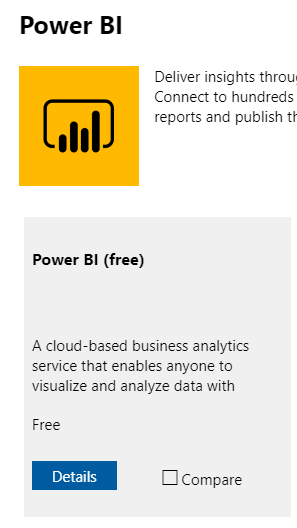
We will also add a Power BI Free License:

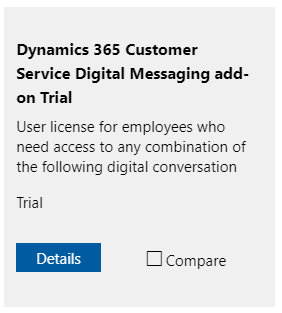
And finally the Dynamics 365 Customer Service Digital Messaging add-on Trial:
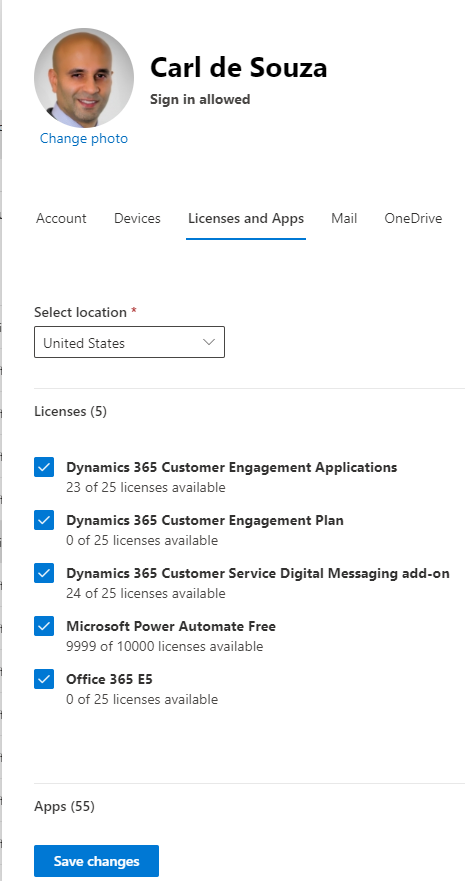
Now, select a user and assign the new licenses to the user:
We now need to set the data consent. Go to the data consent URL at https://go.microsoft.com/fwlink/?linkid=2070932 and click Consent on behalf of your organization, then click Accept:

You should see the message below:
![]()
Installing Omnichannel for Customer Service
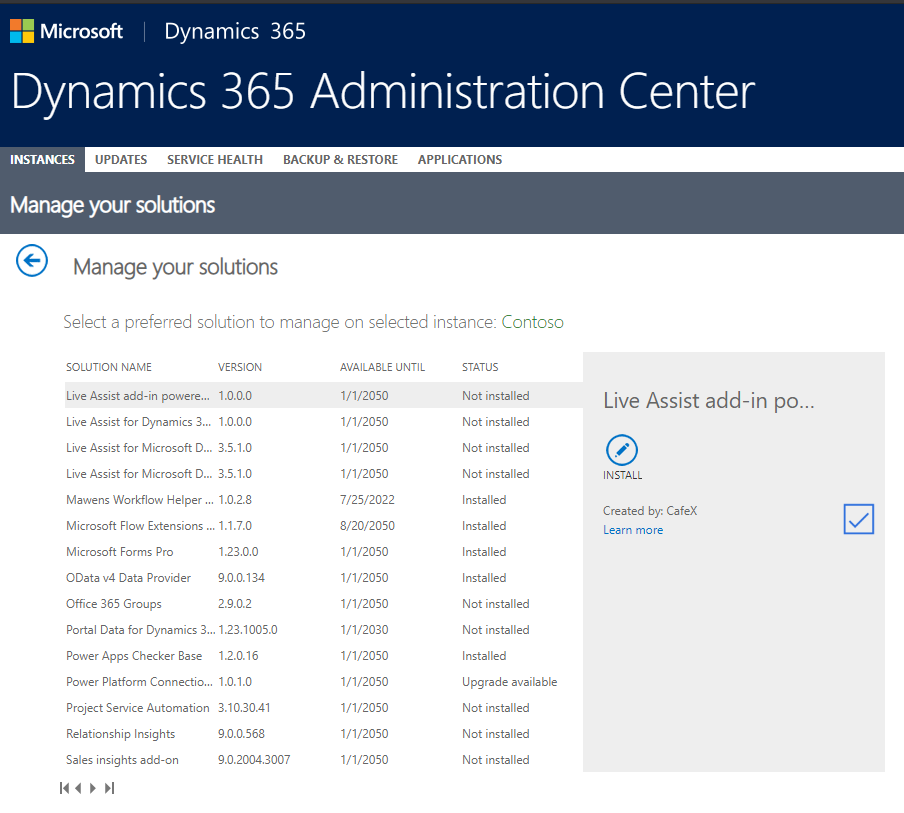
Now, before installing we would see below in the Dynamics 365 Administration Center:
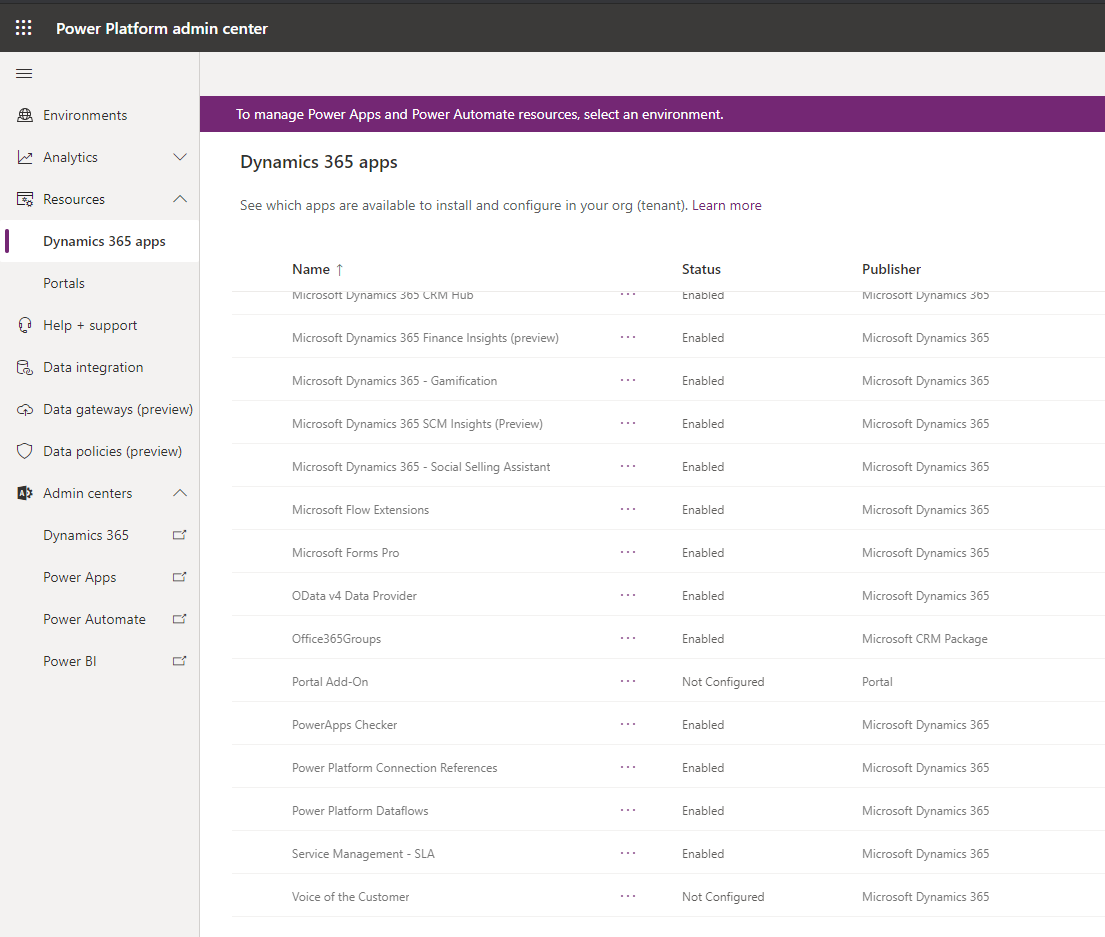
And in the Power Platform Admin Center:
Click on Install.
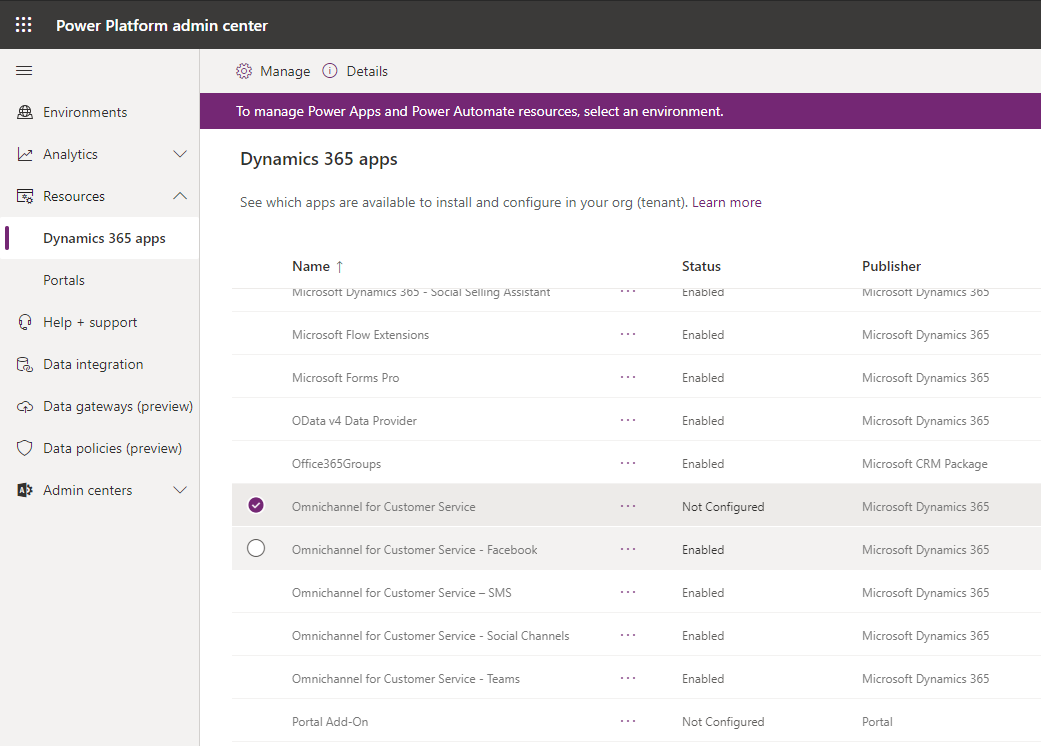
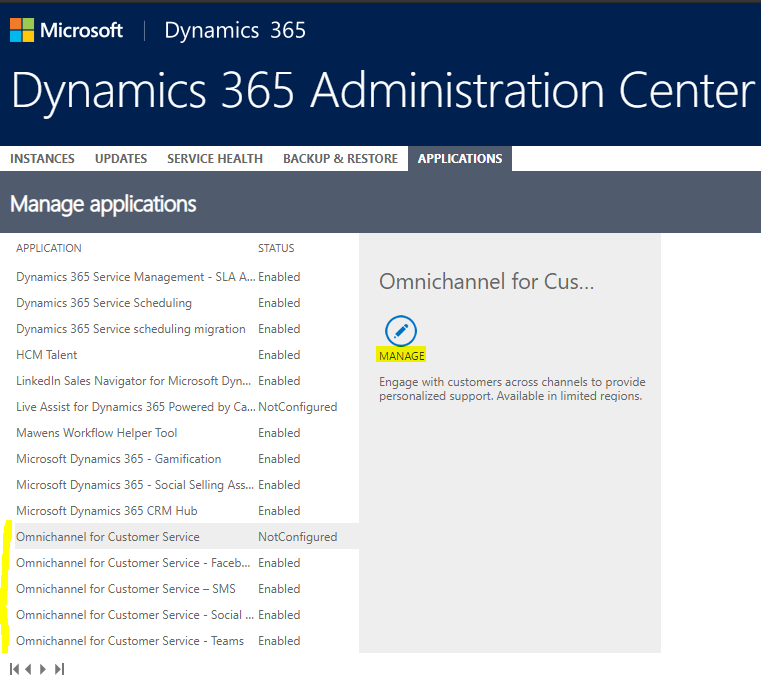
Once the install has finished, if we go to the Power Platform Admin Center, we see Omnichannel for Customer Service and the related apps such as Omnichannel for Customer Service – Facebook, Omnichannel for Customer Service – SMS, Omnichannel for Customer Service – Social Channels, Omnichannel for Customer Service – Teams etc:
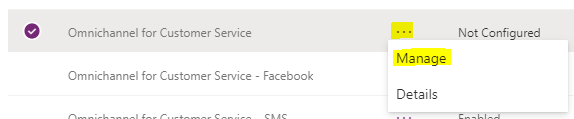
Select the 3 dots, then Manage:
Click OK:

This takes you to the Dynamics 365 Admin Center, where you can select Manage:
Note – in the new version of the Power Platform Admin Center, you will remain on in the Power Platform Admin Center and can configure from there.
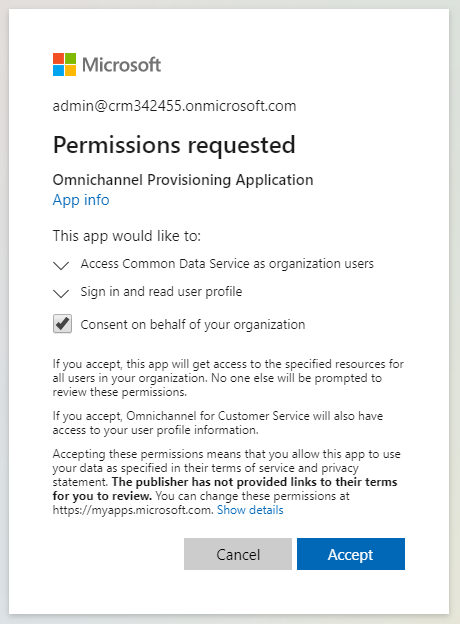
Click Accept to the permissions, with Consent on behalf of your organization selected:
Click Add environment:
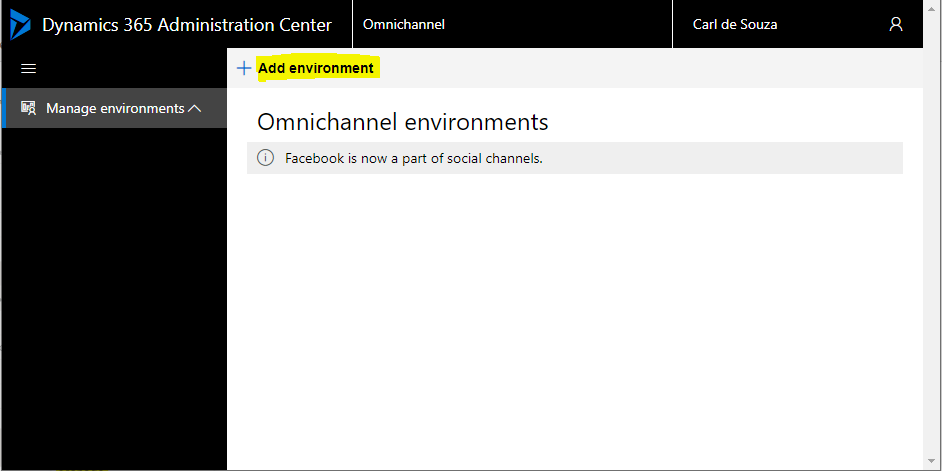
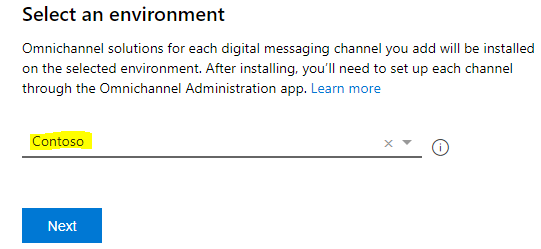
You will see below:
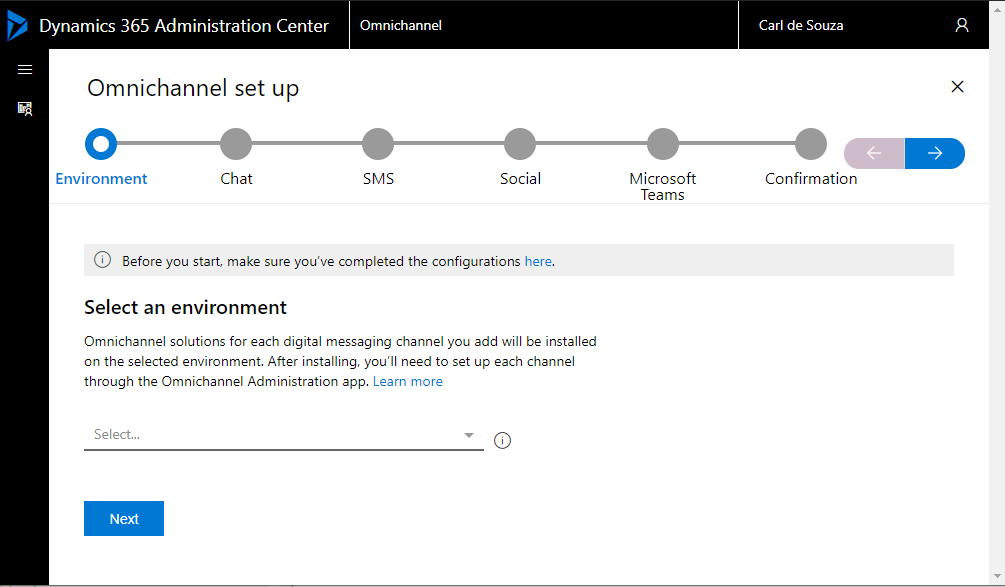
Select your org from the list and click Next:
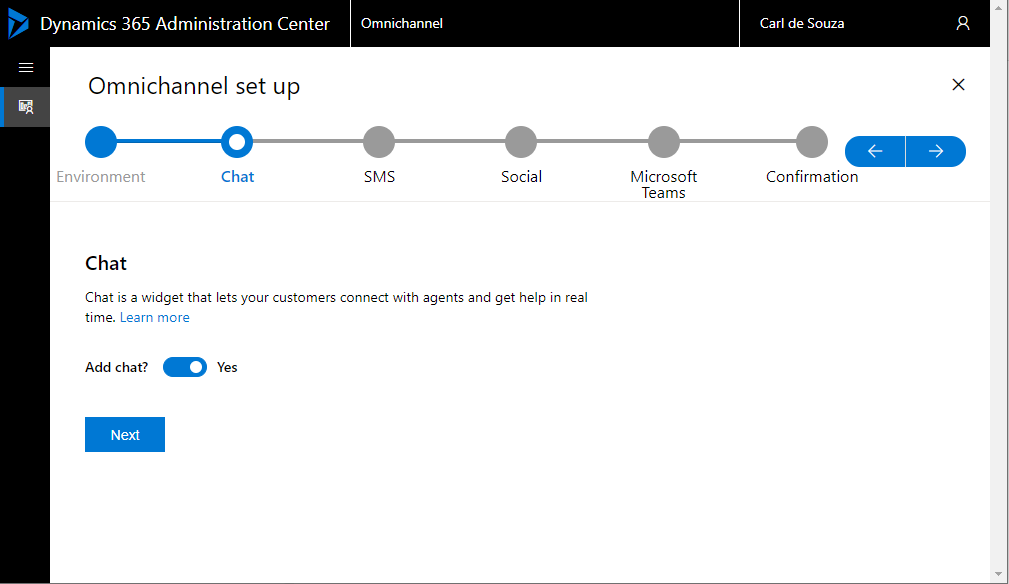
We will enable Chat, then click Next:
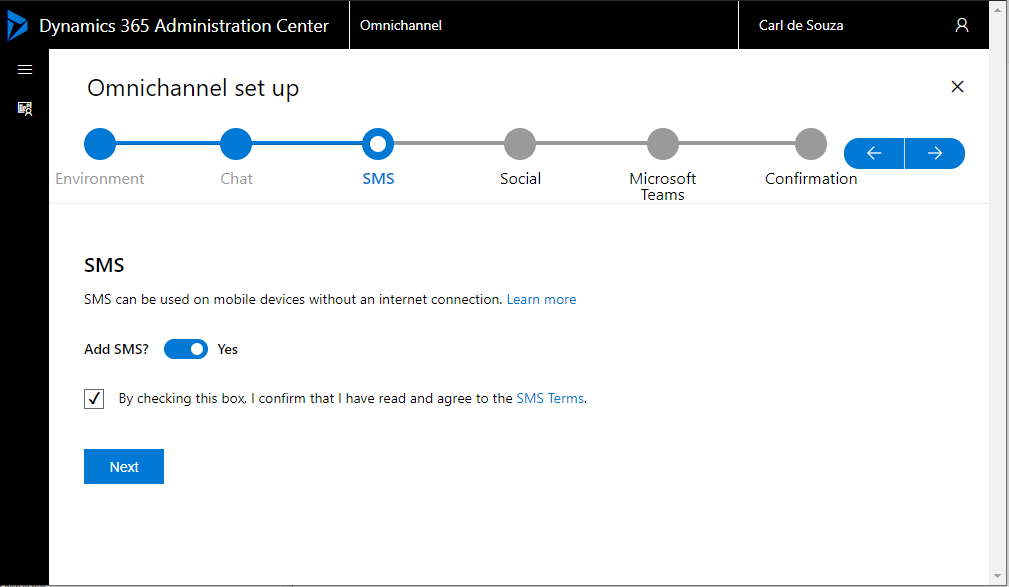
We will enable SMS, then click Next:
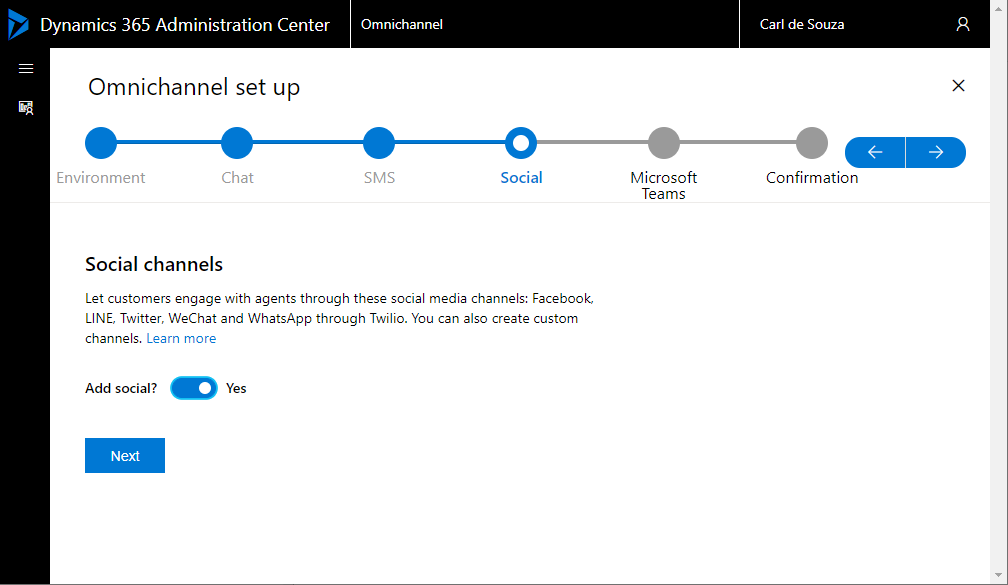
We will enable Social, then click Next:
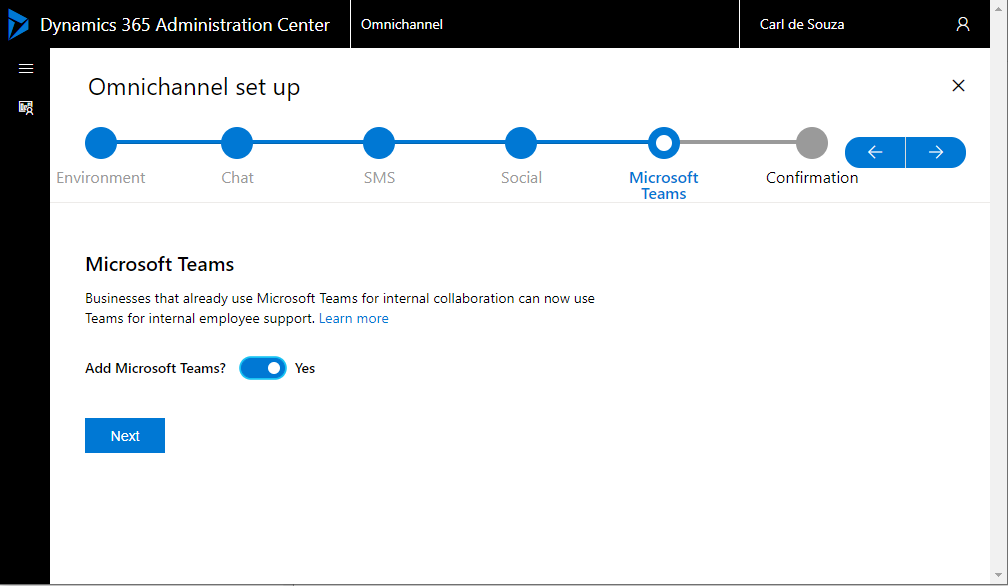
We will enable Microsoft Teams, then click Next:
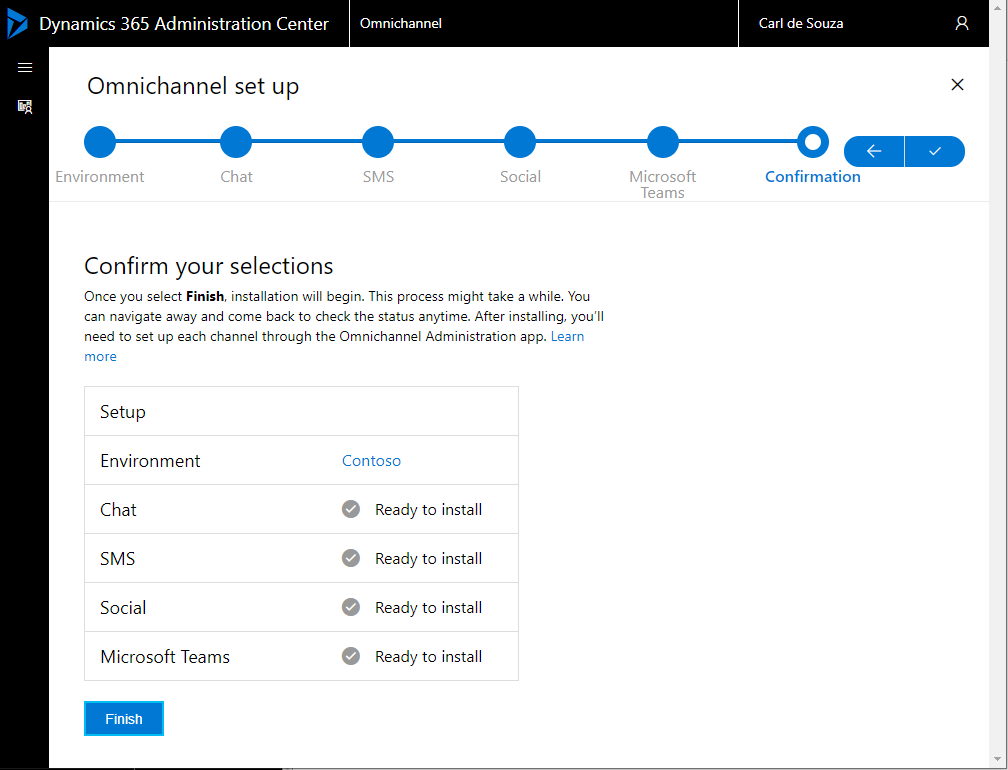
Click Finish:
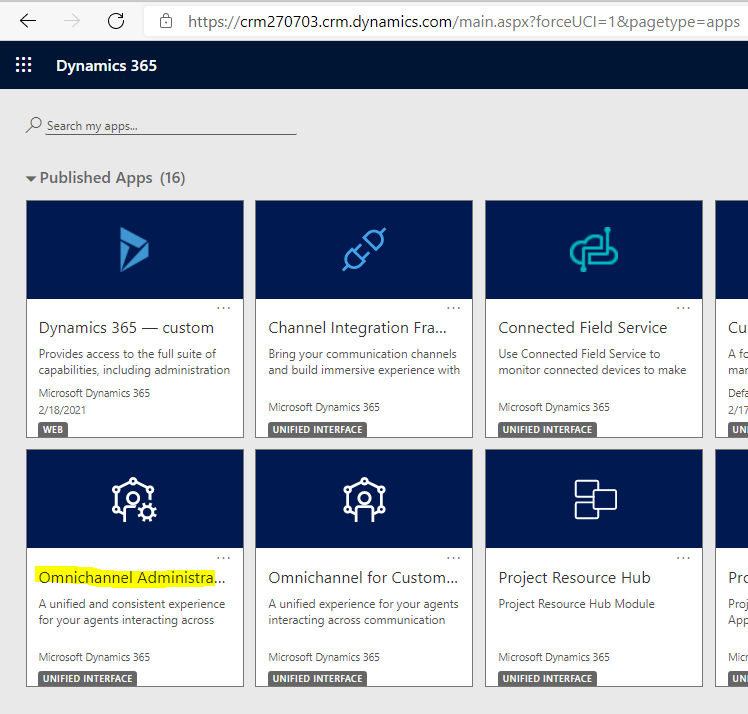
Once complete, you can now set up Omnichannel, which we will do in the next post. You can now head over to yourorg/apps and select the Omnichannel Administration app:
I AM SPENDING MORE TIME THESE DAYS CREATING YOUTUBE VIDEOS TO HELP PEOPLE LEARN THE MICROSOFT POWER PLATFORM.
IF YOU WOULD LIKE TO SEE HOW I BUILD APPS, OR FIND SOMETHING USEFUL READING MY BLOG, I WOULD REALLY APPRECIATE YOU SUBSCRIBING TO MY YOUTUBE CHANNEL.
THANK YOU, AND LET'S KEEP LEARNING TOGETHER.
CARL
