Power Automate Flows have tight integration capabilities with Dynamics 365 and Power Apps. In this post, we will look at how to create a Power Automate Flow that will be used in a Power App / Dynamics 365. We will look at the various options of how to run these flows, including running them on demand in Dynamics 365 / Power Apps and having them trigger on events.
If you prefer to learn by video, check out my YouTube video on how to do this:
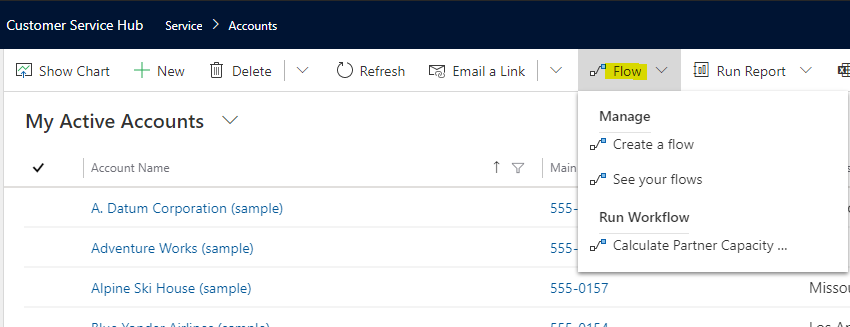
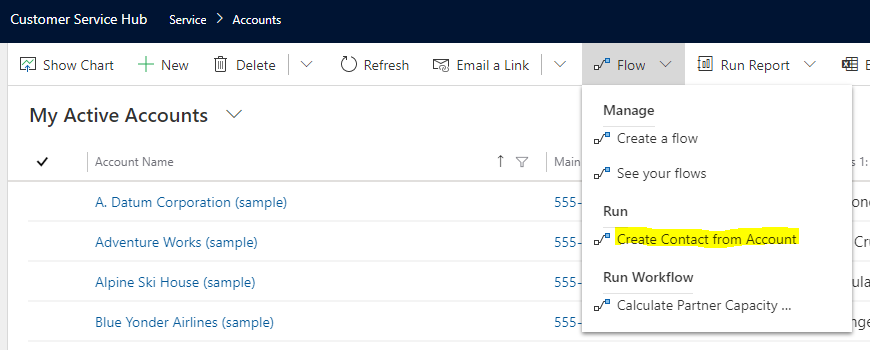
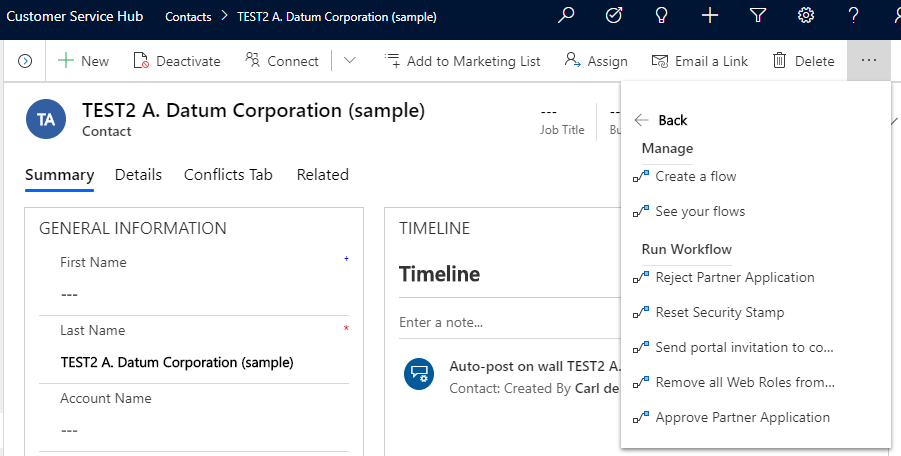
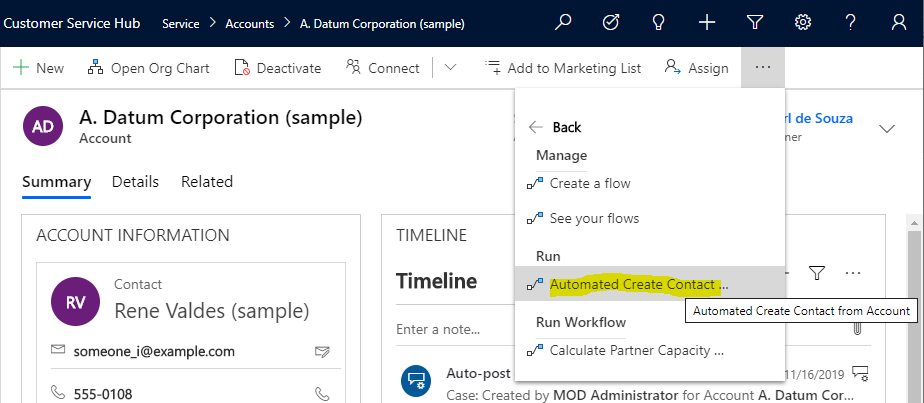
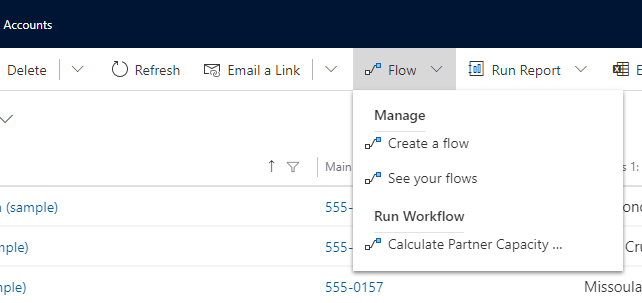
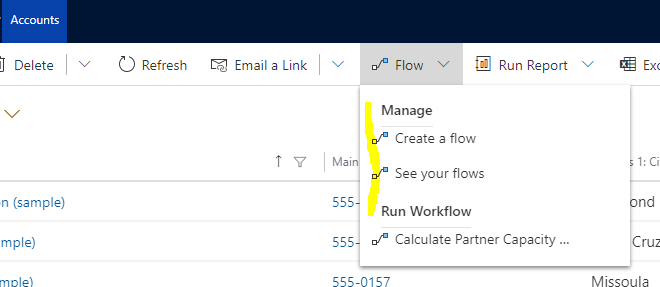
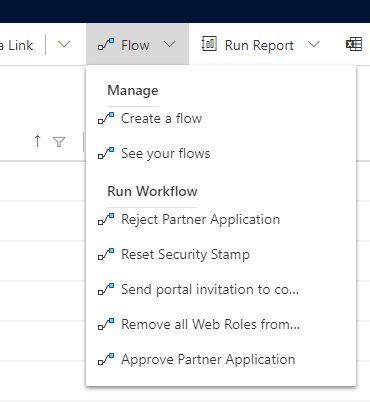
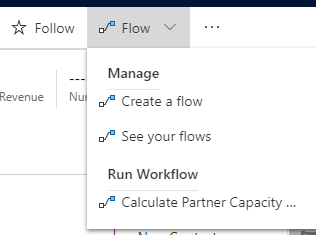
First, let’s look at Power Automate Flows from the Power Apps / Dynamics 365 side. If we go to an Accounts view or record, we see there is a toolbar option called Flow. Under this, we have options to Manage our Flows, which includes Create a Flow and See your Flows:
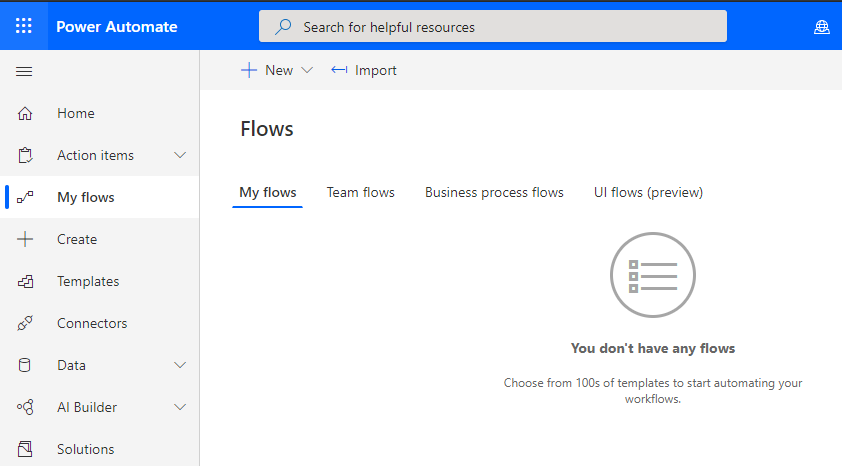
If we select See your Flows, we are taken to Power Automate, where we can create flows, view our existing flows etc:
Creating a Flow from Power Apps / Dynamics 365
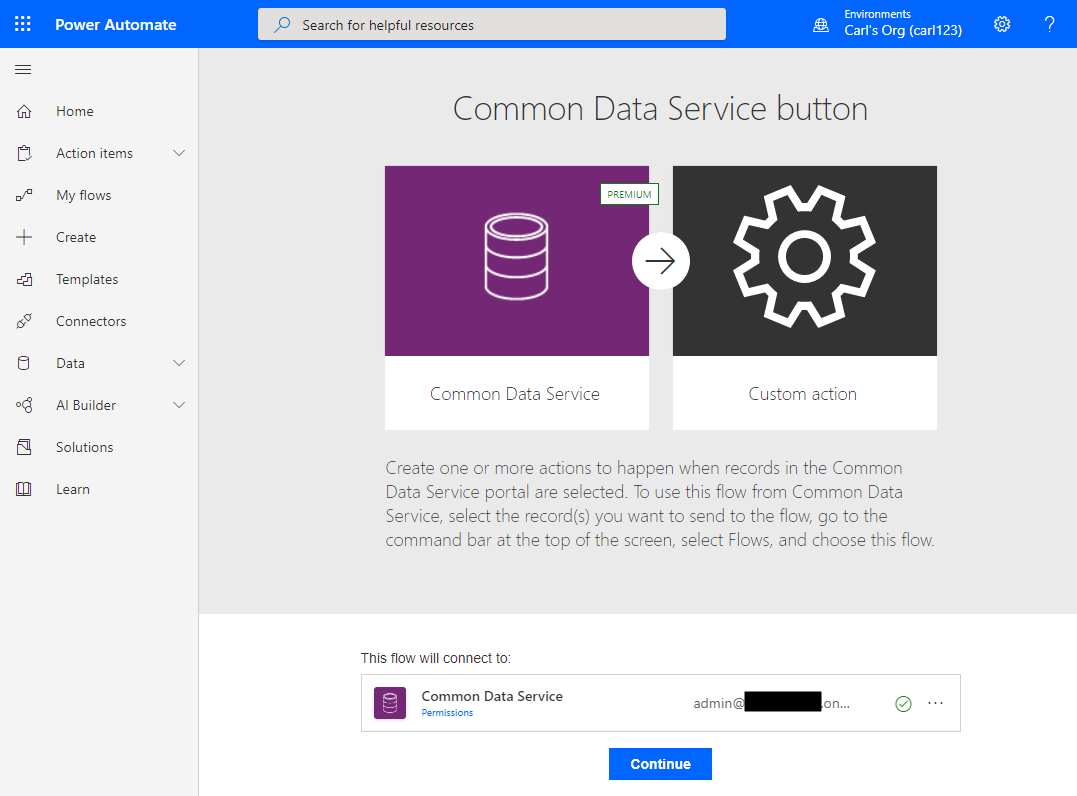
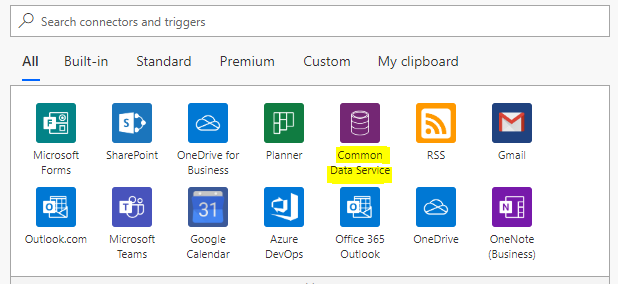
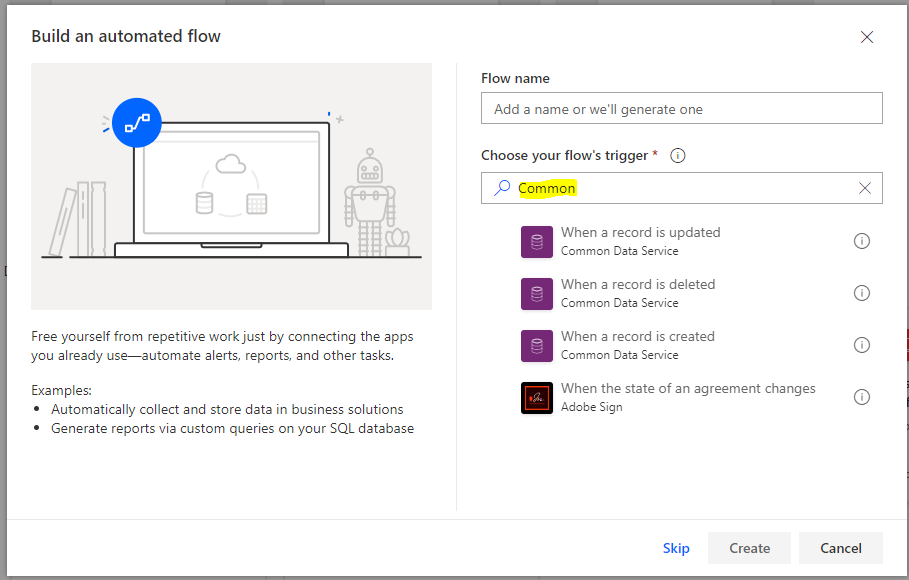
Let’s go back and select Create a Flow instead. What happens here, is we are taken to Power Automate, with a Common Data Service button ready to be customized. As we’re running Dynamics 365 / Power Apps, we are running on the Common Data Service so we will be using that as our source trigger:
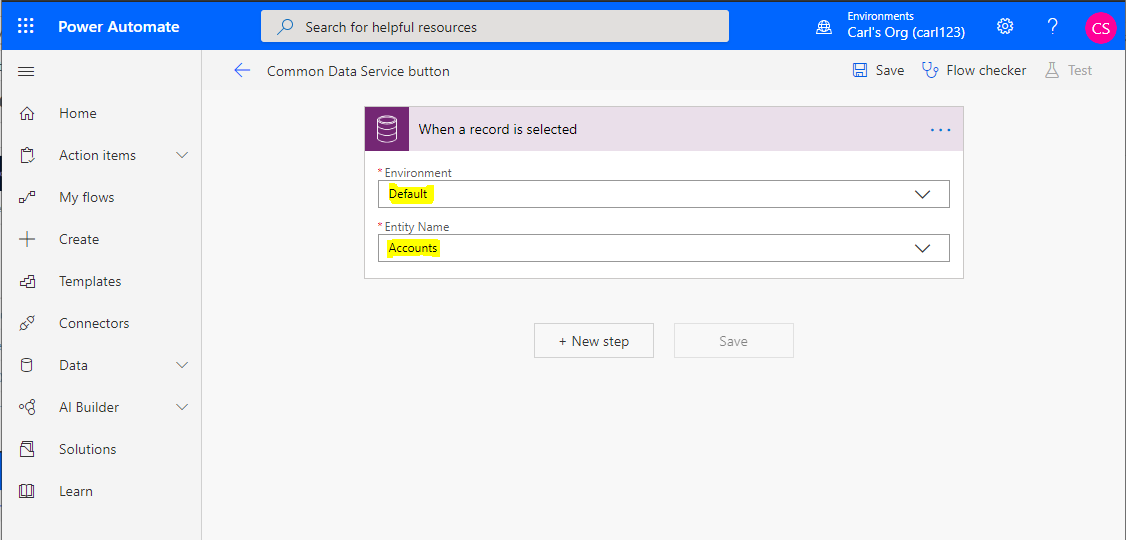
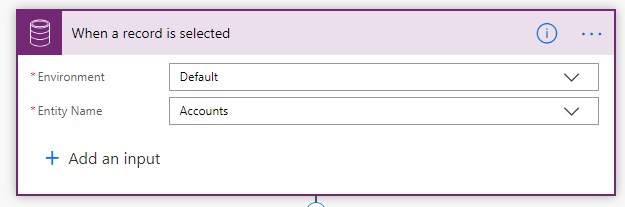
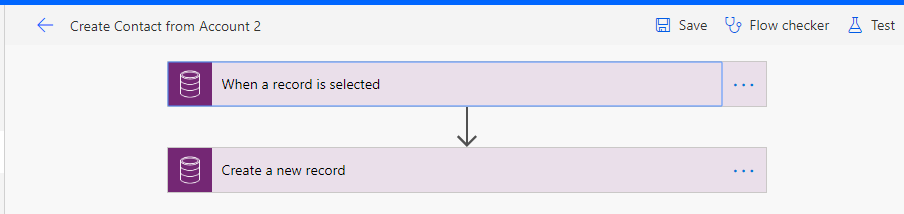
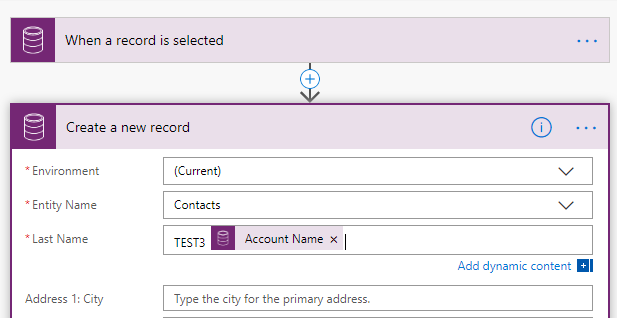
On clicking Continue, we see we are started with 1 trigger of the flow, “When a record is selected”. Let’s set the to use our Default environment (this is a list of our Power Apps orgs) and the Account entity:
We can see there are many entity options available from our org:

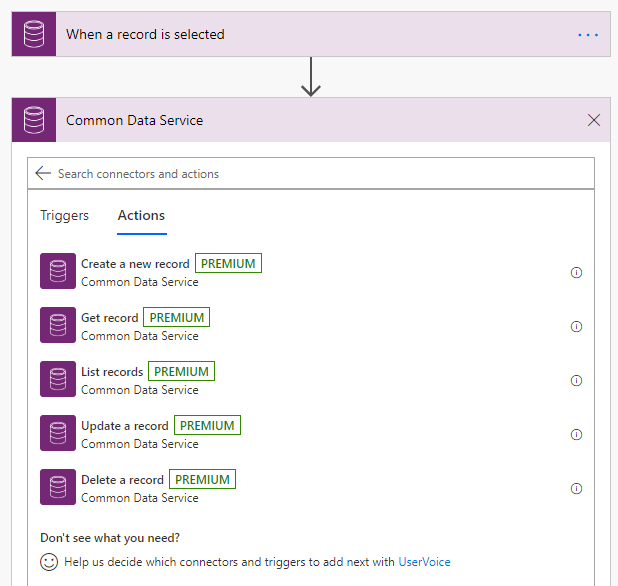
Now let’s do something when the record is selected. We can basically do whatever we want here such as using Flow to update SharePoint, send an email etc. Let’s do something in the Common Data Service org we are in. Add an Action, and note for the Common Data Service, there are the following record options available:
- Create
- Get
- List
- Update
- Delete
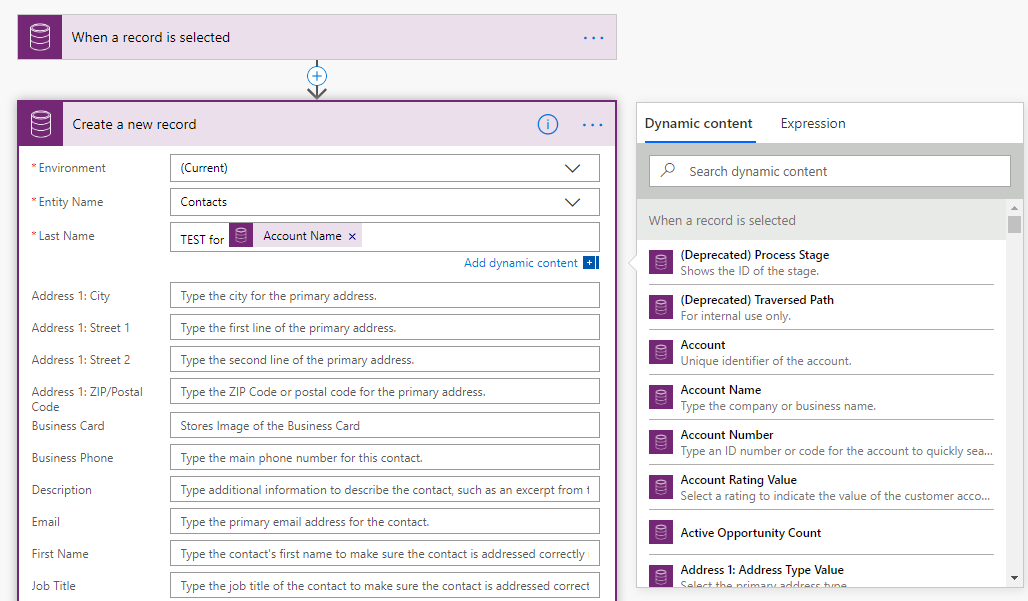
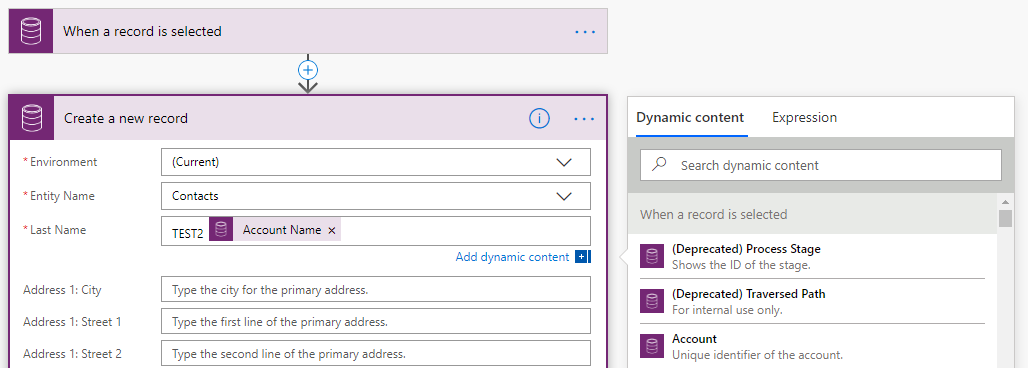
We will do something simple. On selecting an Account, we will create a new Contact record. The name of the contact will be TEST for Account Name, where we will use the account name of the record that is selected:
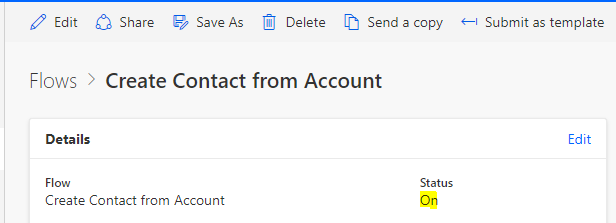
Let’s call the flow Create Contact from Account, and Save it:

Confirm the flow is On:
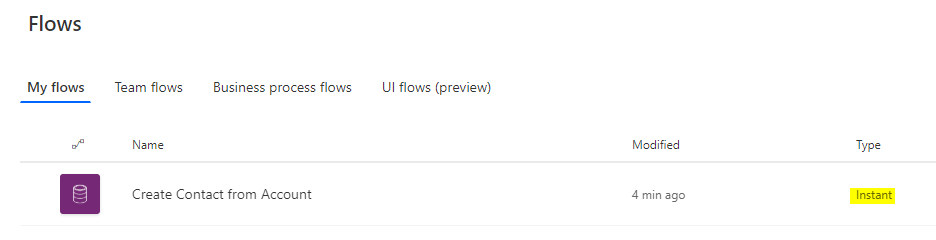
Note the type of flow created for us is an Instant flow, which means it runs on-demand and not from an automated event such as create or update.
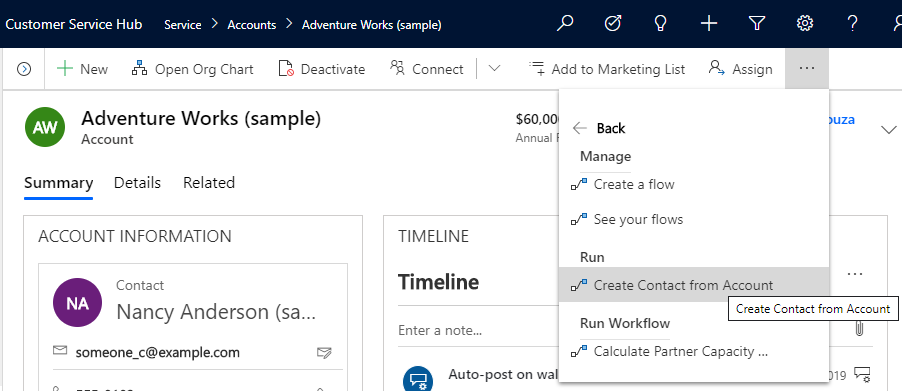
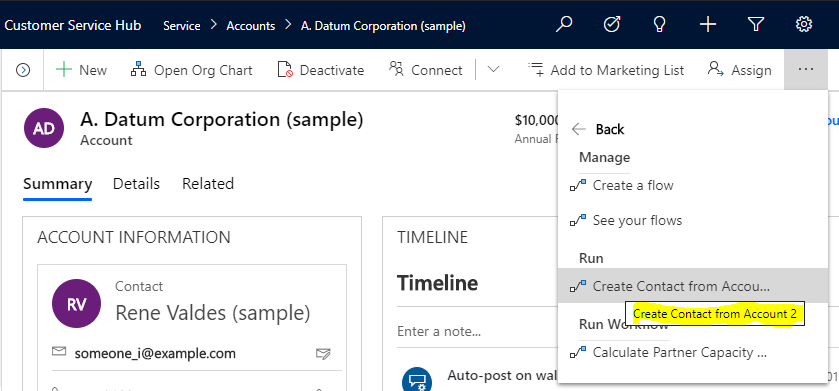
On refreshing Dynamics 365 / Power Apps, we see this flow now appears in our list of Flows for Accounts under the Run. The types of flows that appear here are instant flows for “record selected”. If you create a flow and expect it to appear here, confirm it is an instant flow for the specified entity:
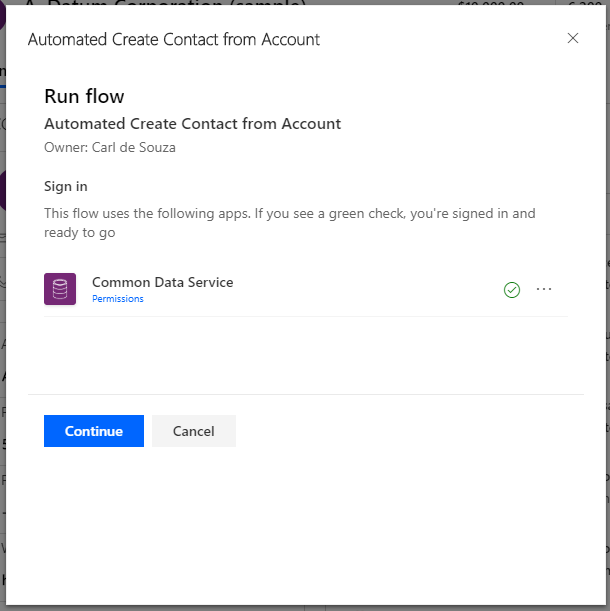
Let’s select an Account and run the flow:
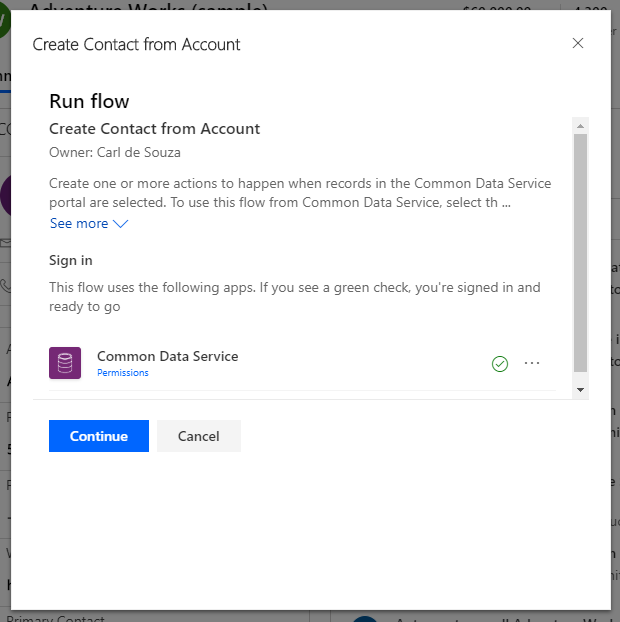
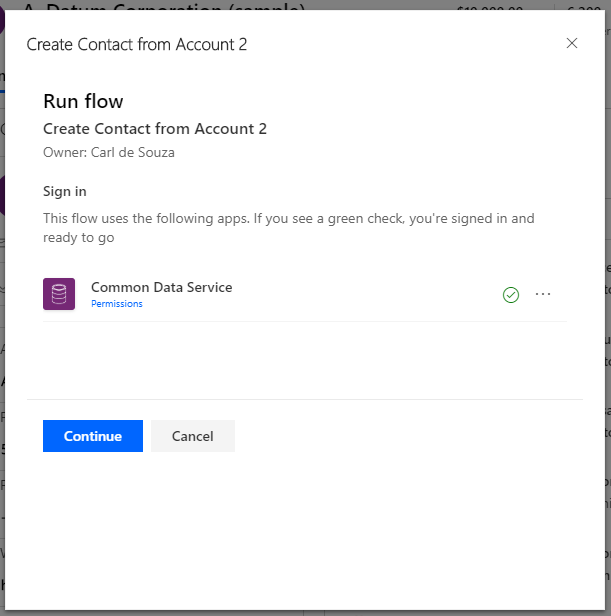
We get this screen to Run the flow:
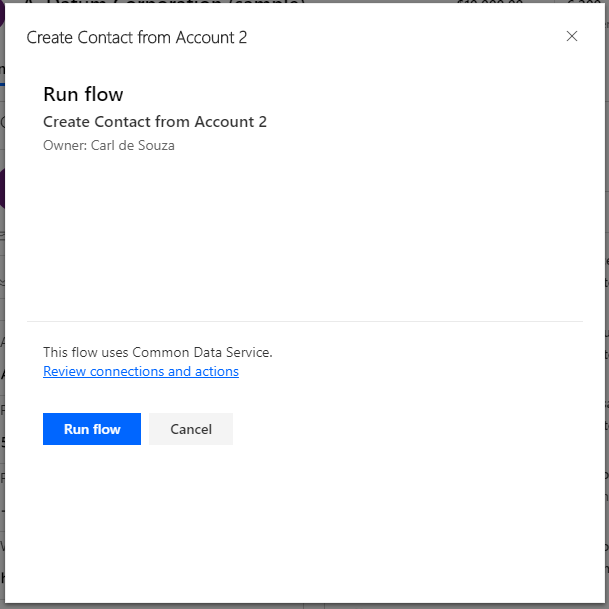
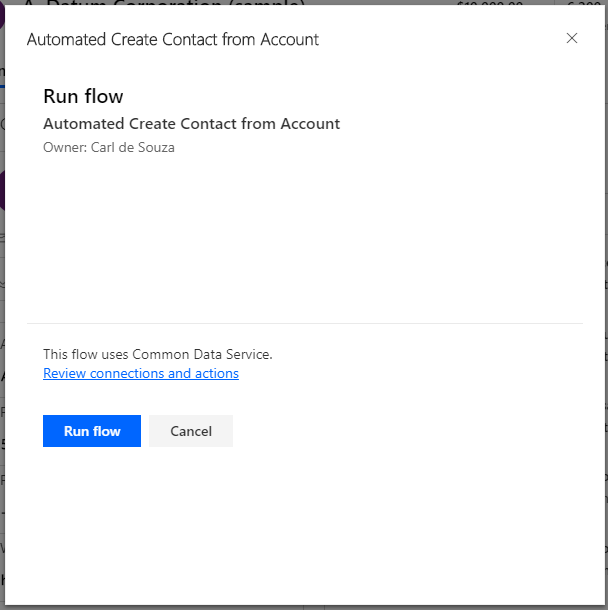
And Run Flow:
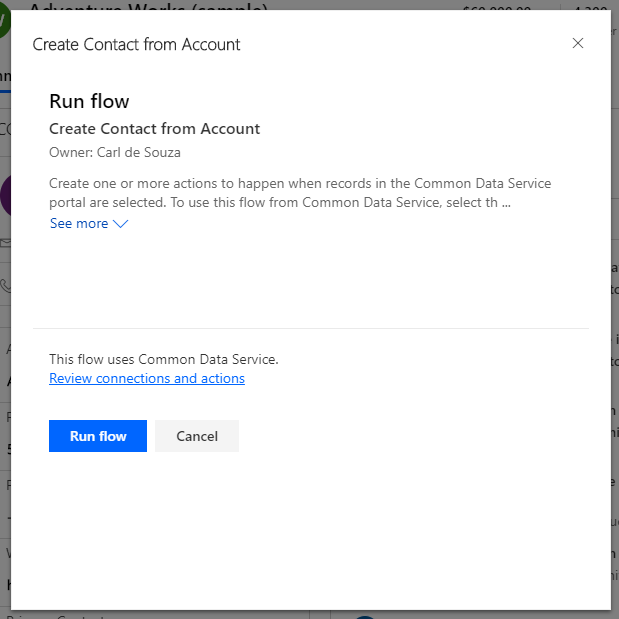
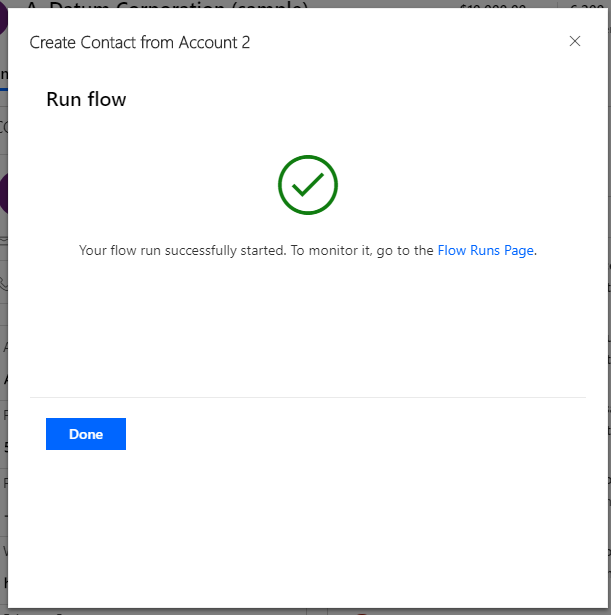
And finally a confirmation that the flow is running:
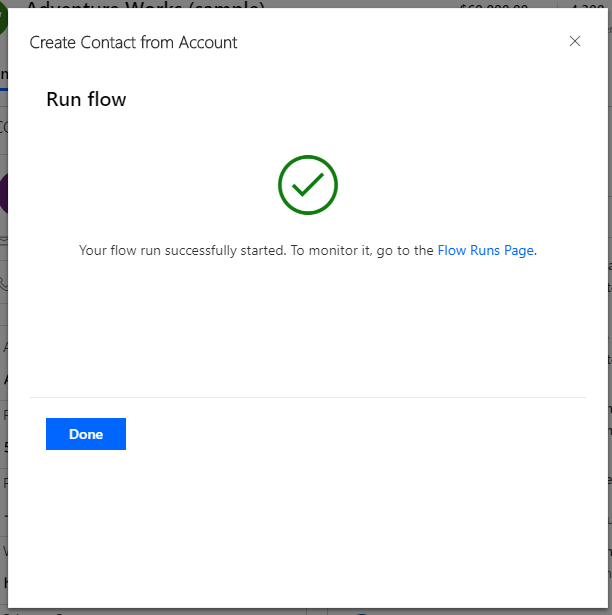
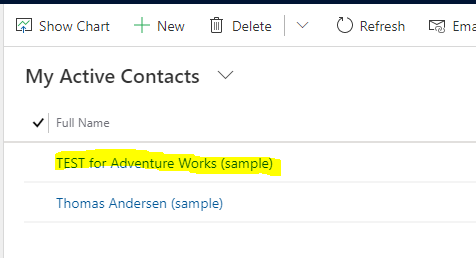
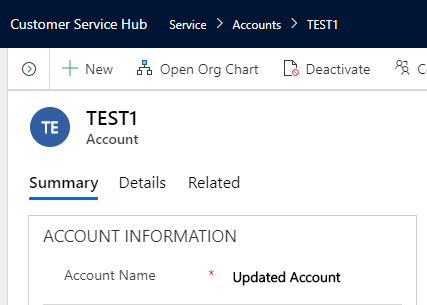
We can see that this flow successfully ran, creating a new contact when we manually ran the flow:
Creating a Flow from Power Automate
Let’s do the same thing, but this time we will start the process by creating a new flow from the Power Automate side, not the Dynamics 365 / Power Apps side. This way we can see that it works from both sides if we do it properly.
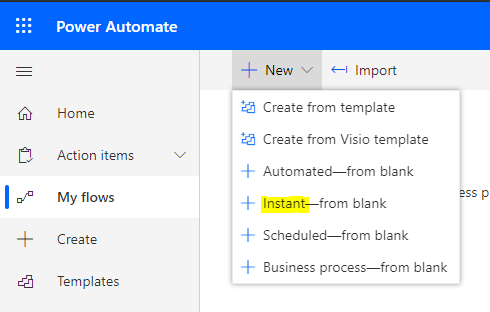
Delete the old Flow, and create a new Instant Flow:
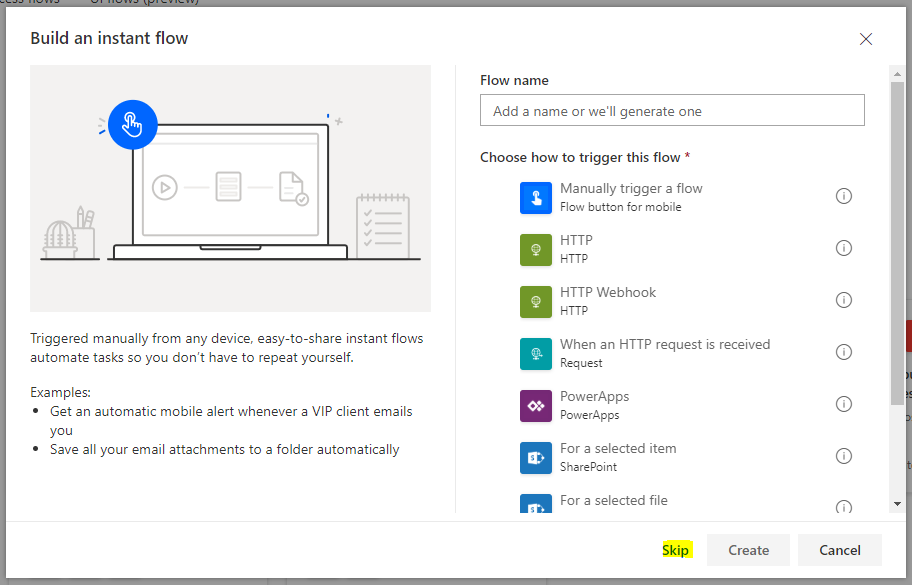
Click Skip:
And select the Common Data Service connector:
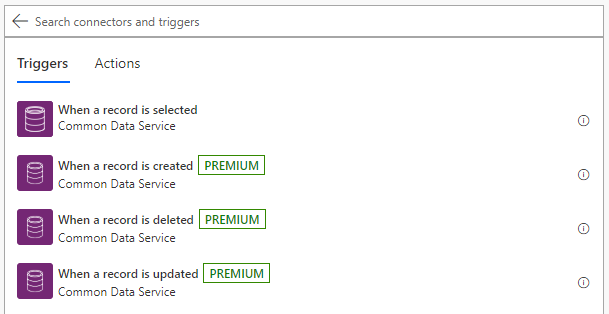
We see there are several options for the triggers. We will recreate the exact same flow as above, so we will select When a record is selected:
Choose Environment = default, Entity = Accounts:
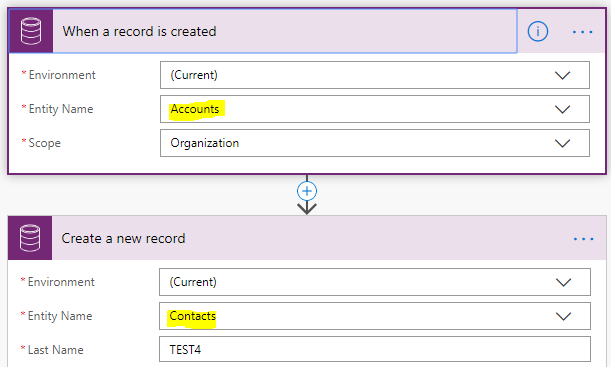
And create a new record:
Save the new Flow:
Now when we refresh the Dynamics 365 / Power Apps side, we can see our Flow appearing in the list of Flows for Accounts which we can run on-demand:
Let’s run it:
Click Run Flow:
Click Done:
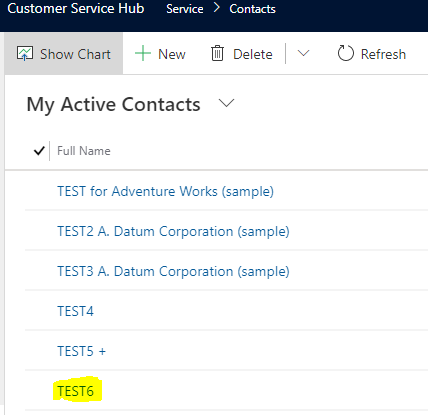
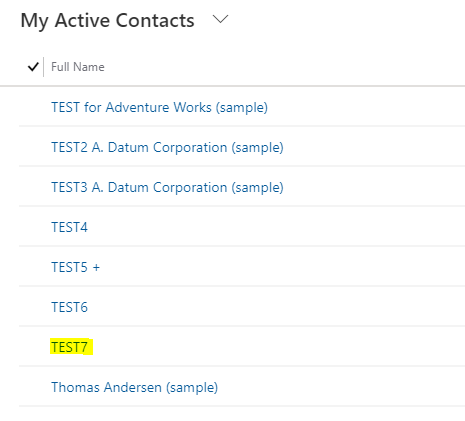
Click Refresh on Contacts. We see our flow has run and a new contact has been created as we ran our flow manually:

Notice also this flow only appears for the entity we selected in the flow. For example, it does not appear in Contacts (only under Accounts):
Automated Flows Changing to Instant Flows
Let’s delete this flow and create an Automated Flow, which is a flow that is triggered automatically based on an event. If we were to search for Common Data Service we see there are 3 triggers available – record created, updated, deleted. Let’s skip this:
And let’s create the exact same flow, instead using Record selected:
What happens here, is as we are triggering off “record selected”, we are running the flow as an Instant flow, not an Automated flow, and Power Automate knows this, so it flips the type back to Instant. As it’s an Instant flow, we see it in our list of available flows to run on the Account record:
And we can run it:
Click Run Flow:
The flow runs and the Contact record is created:

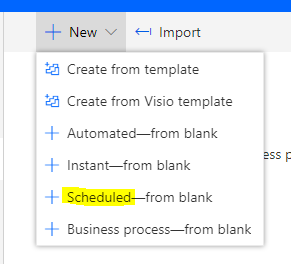
Scheduled Flows
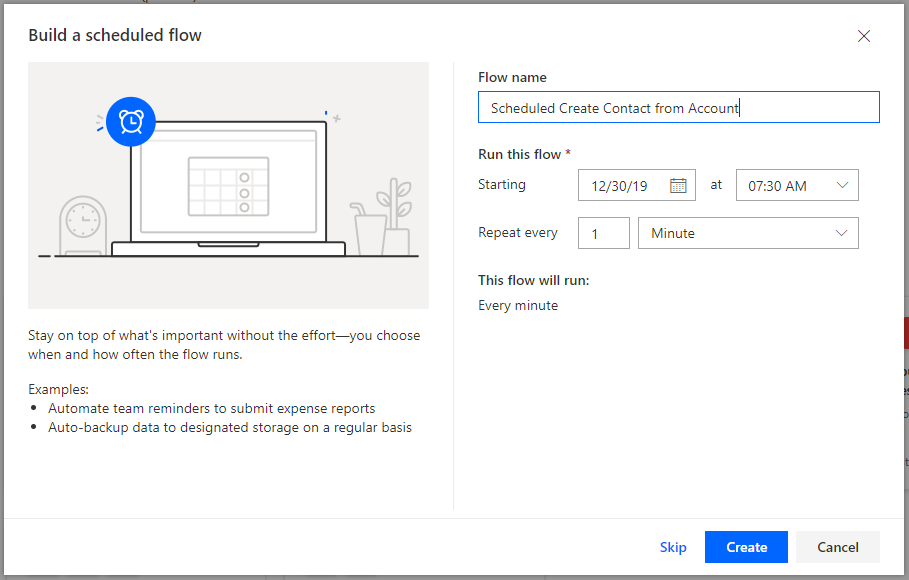
Let’s try creating a Scheduled Flow and see what happens:
We are presented with an option of when the flow should run:
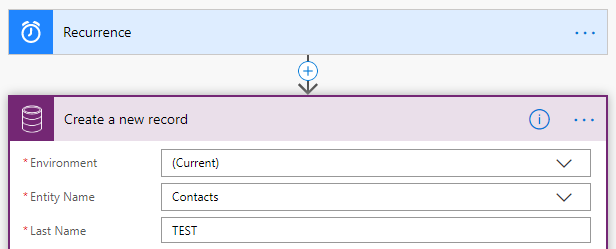
In the flow, the first step is a Recurrence of when the flow runs, and we will add a new step to create a Contact record:
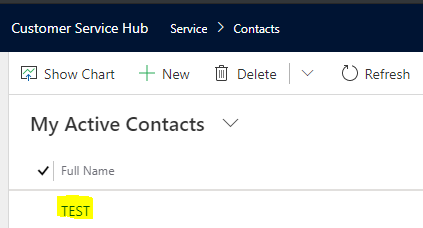
As the flow is a Scheduled flow and not an Instant flow, we don’t see it in the list in Dynamics 365 / Power Apps:
The Flow does run on schedule as expected:
So we have looked at triggering flows from Record Selected, as well as Instant, Automated and Scheduled flows. How about the other triggers such as Create, Update and Delete? These are actually automated flows as they occur on a system event. Let’s look at each of these to see what happens.
Events and Automated Flows
Create
When an Account is Created, we will create a Contact, same scenario as above:
On our Dynamics 365 Power Apps side, we don’t see it in the flow list to run manually:
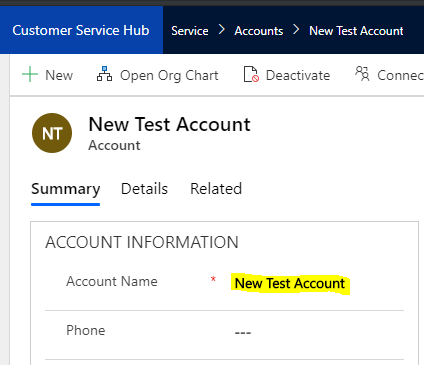
Let’s test it. On creating a new account:
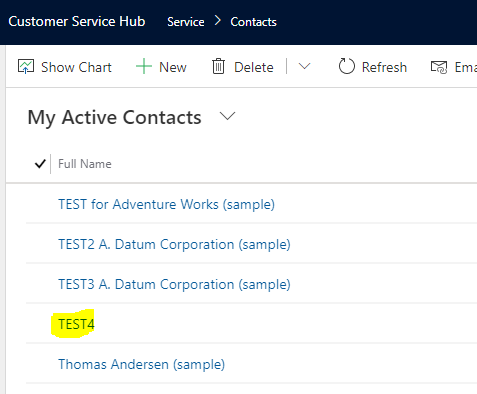
The contact is created and the flow has run:
Deleted
Let’s do the same with deleted:
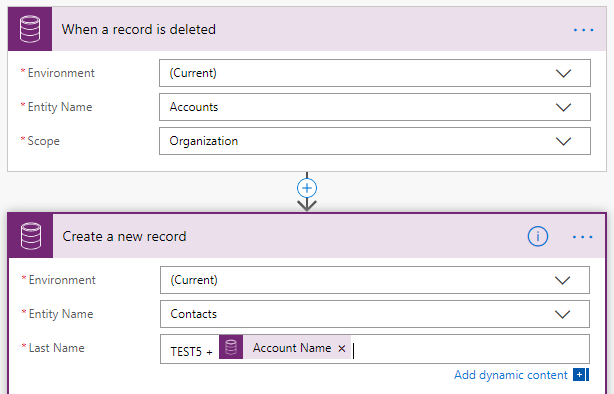
It also doesn’t appear in Dynamics 365 Power Apps:
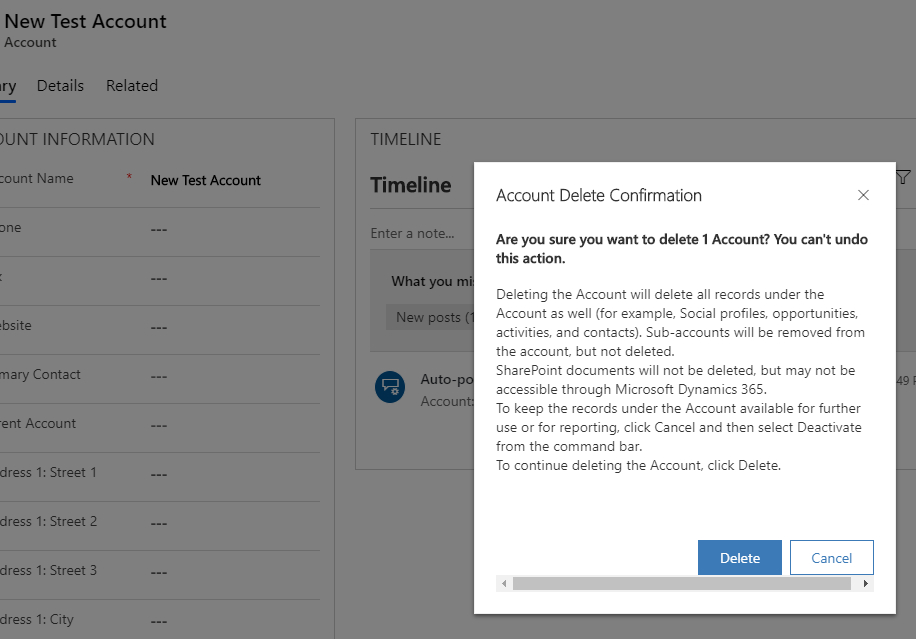
Delete a record:
The flow runs. Interestingly the deleted account name is blank when it gets to run the create part of the flow:

Update
Same scenarios:
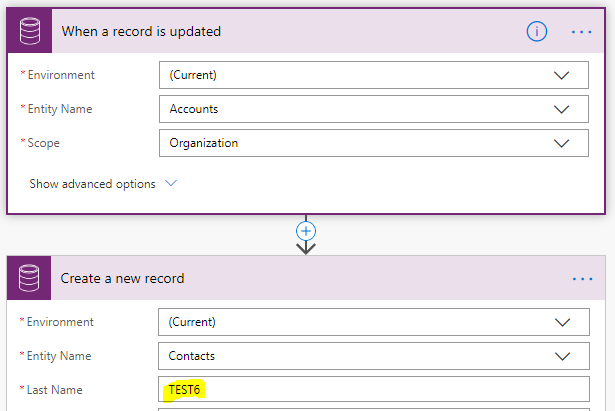
The flow does not appear in Dynamics 365 Power Apps:
On updating an Account, the flow runs:
And the contact is created:
Dynamics 365 Connector (Deprecated)
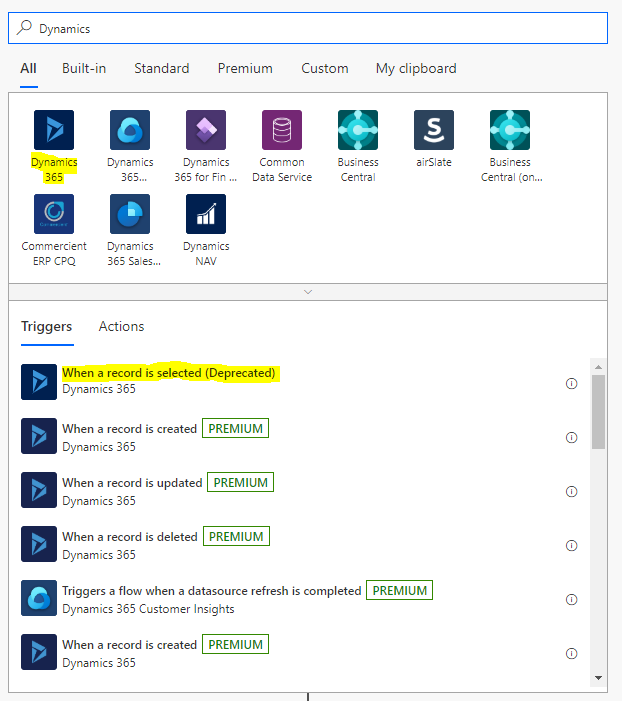
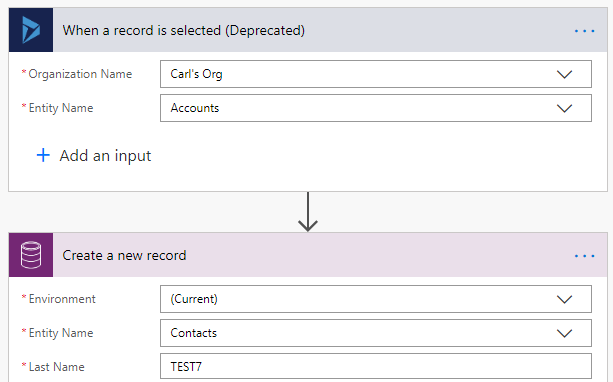
We can also see there is another connector available, the Dynamics 365 connector. Let’s do a test where use Record Selected, which we can see below is Deprecated:
Same test:
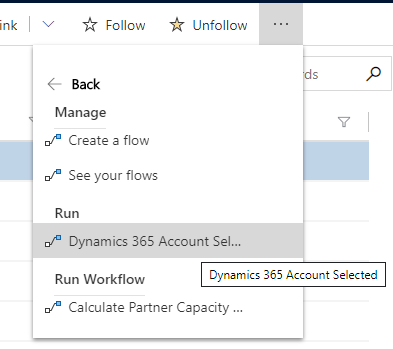
We see our flow appearing in Dynamics 365:
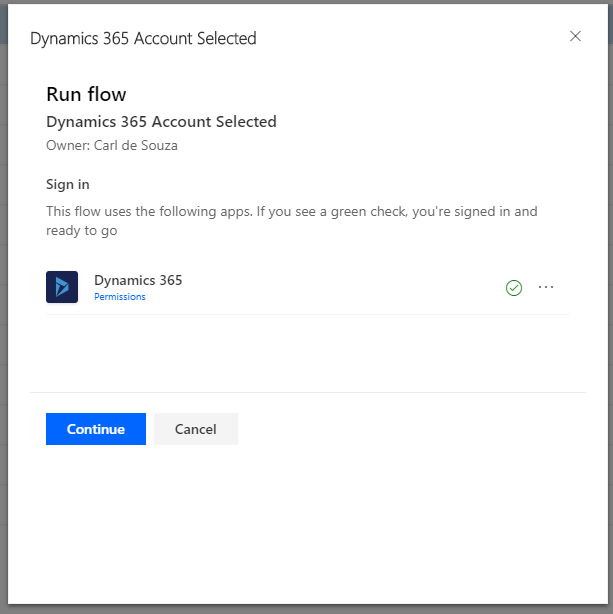
On running it:
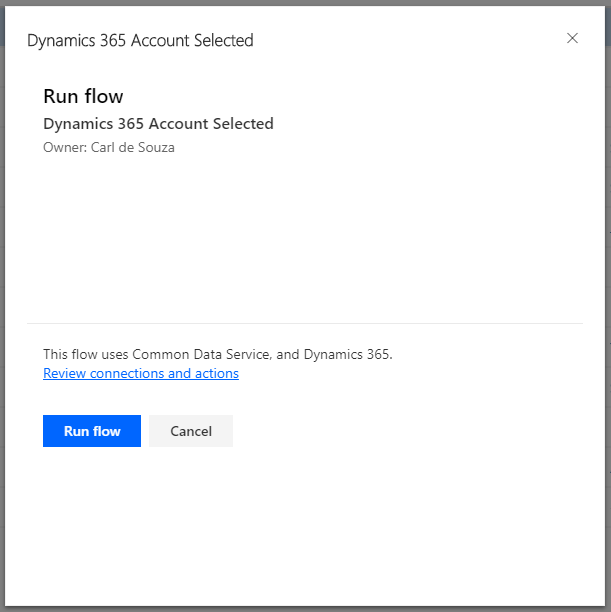
The contact is created:
And if we try a Created/Deleted/Update trigger using the Dynamics 365 connector, we get the same behavior where it does not appear in the list on the Dynamics 365 / Power Apps side to run manually, but it does run per the Dynamics 365 event.
In conclusion, Power Automate has tight integration with Dynamics 365 and Power Apps. Look for more features in the future.
I AM SPENDING MORE TIME THESE DAYS CREATING YOUTUBE VIDEOS TO HELP PEOPLE LEARN THE MICROSOFT POWER PLATFORM.
IF YOU WOULD LIKE TO SEE HOW I BUILD APPS, OR FIND SOMETHING USEFUL READING MY BLOG, I WOULD REALLY APPRECIATE YOU SUBSCRIBING TO MY YOUTUBE CHANNEL.
THANK YOU, AND LET'S KEEP LEARNING TOGETHER.
CARL


Thank you so much for the information and I have indeed been looking at your videos – great stuff there.
I have created an instant flow from Power Automate that will send out a notification and capture comments when a document has to be reviewed. (Automatic or scheduled is not an option as documents may be have different triggers.) But I do have one question that I just can’t seem to find the answer to, maybe you can help?
Here it is – right now I have 5 instant flows running for 5 documents. When I look at the run history it tells me when Start, Duration and Status which is all fine and good but it does’t tell me what document this flow is running from (on?) meaning I have to open the flow and then drill down to see what this flow applies to. Is there an easier way to do this? I noticed that when I opened the flow to track the progress I see a “Untitled Ran at 5/20/2020 1:12:19 PM” banner at the top. Can I change that from Untitled to something else? It may be an obvious answer but I just can’t seem to find it.