Power Automate Flows can now be embedded inside Power BI reports, which opens many possibilities for performing functions within a Power BI report. In this post, we will look at this cool new feature. In a previous post, we showed how to embed a canvas app inside Power BI. Let’s take a look at embedding a flow. Note this functionality will reach General Availability in April 2024 and is part of the Power Platform 2024 wave 1 release plans.
Check out the YouTube video walkthrough of this on Power Platform TV below:
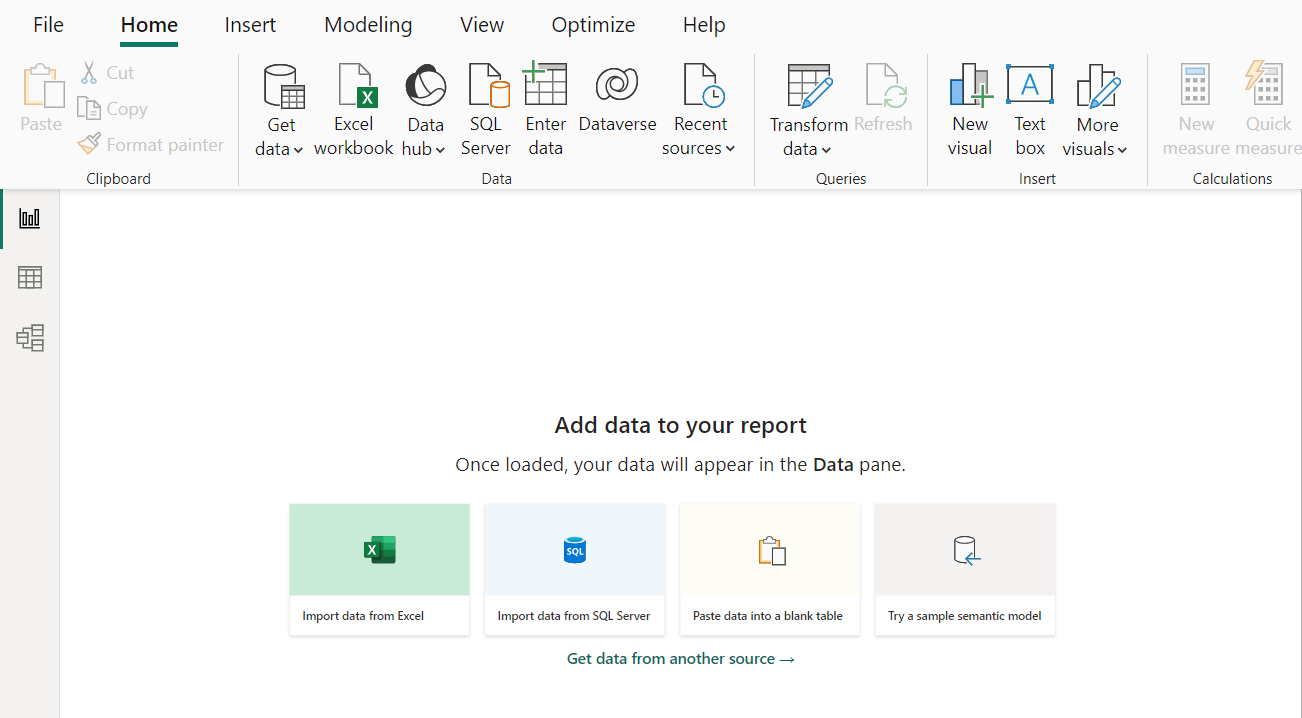
First, open the latest version of Power BI desktop, and create a new report and get data from another source:
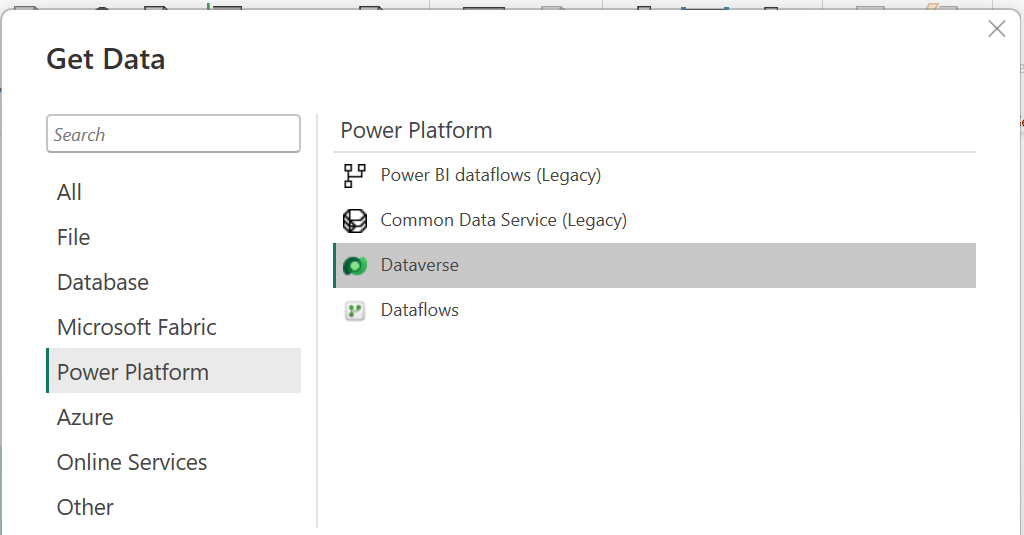
We will connect to the Power Platform->Dataverse:
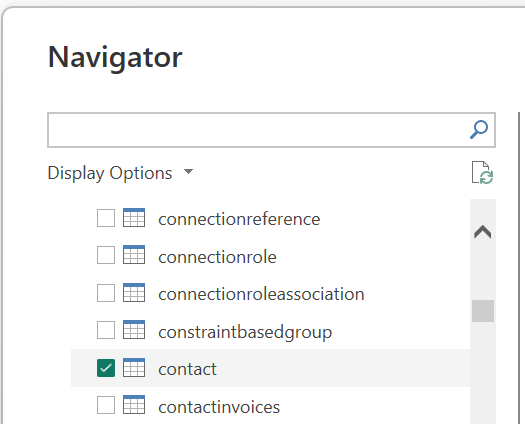
I will grab data from the Account and Contact tables:
We will use Direct import and set a simple relationship just like with the canvas app example. In the same way, we will add a couple of visuals to the dashboard, where clicking on the account name filters to show the associated contacts:

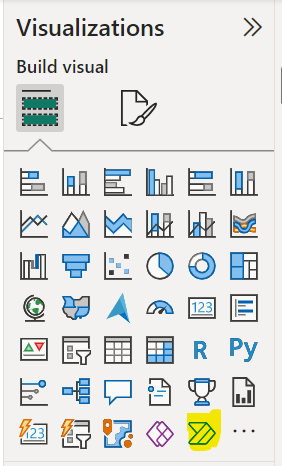
Now let’s add a new Power Automate visual:
We see:
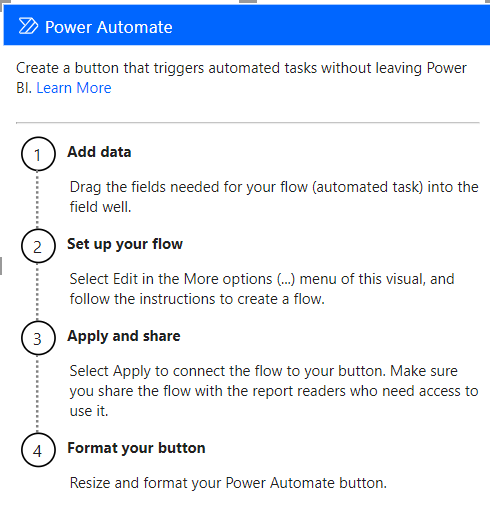
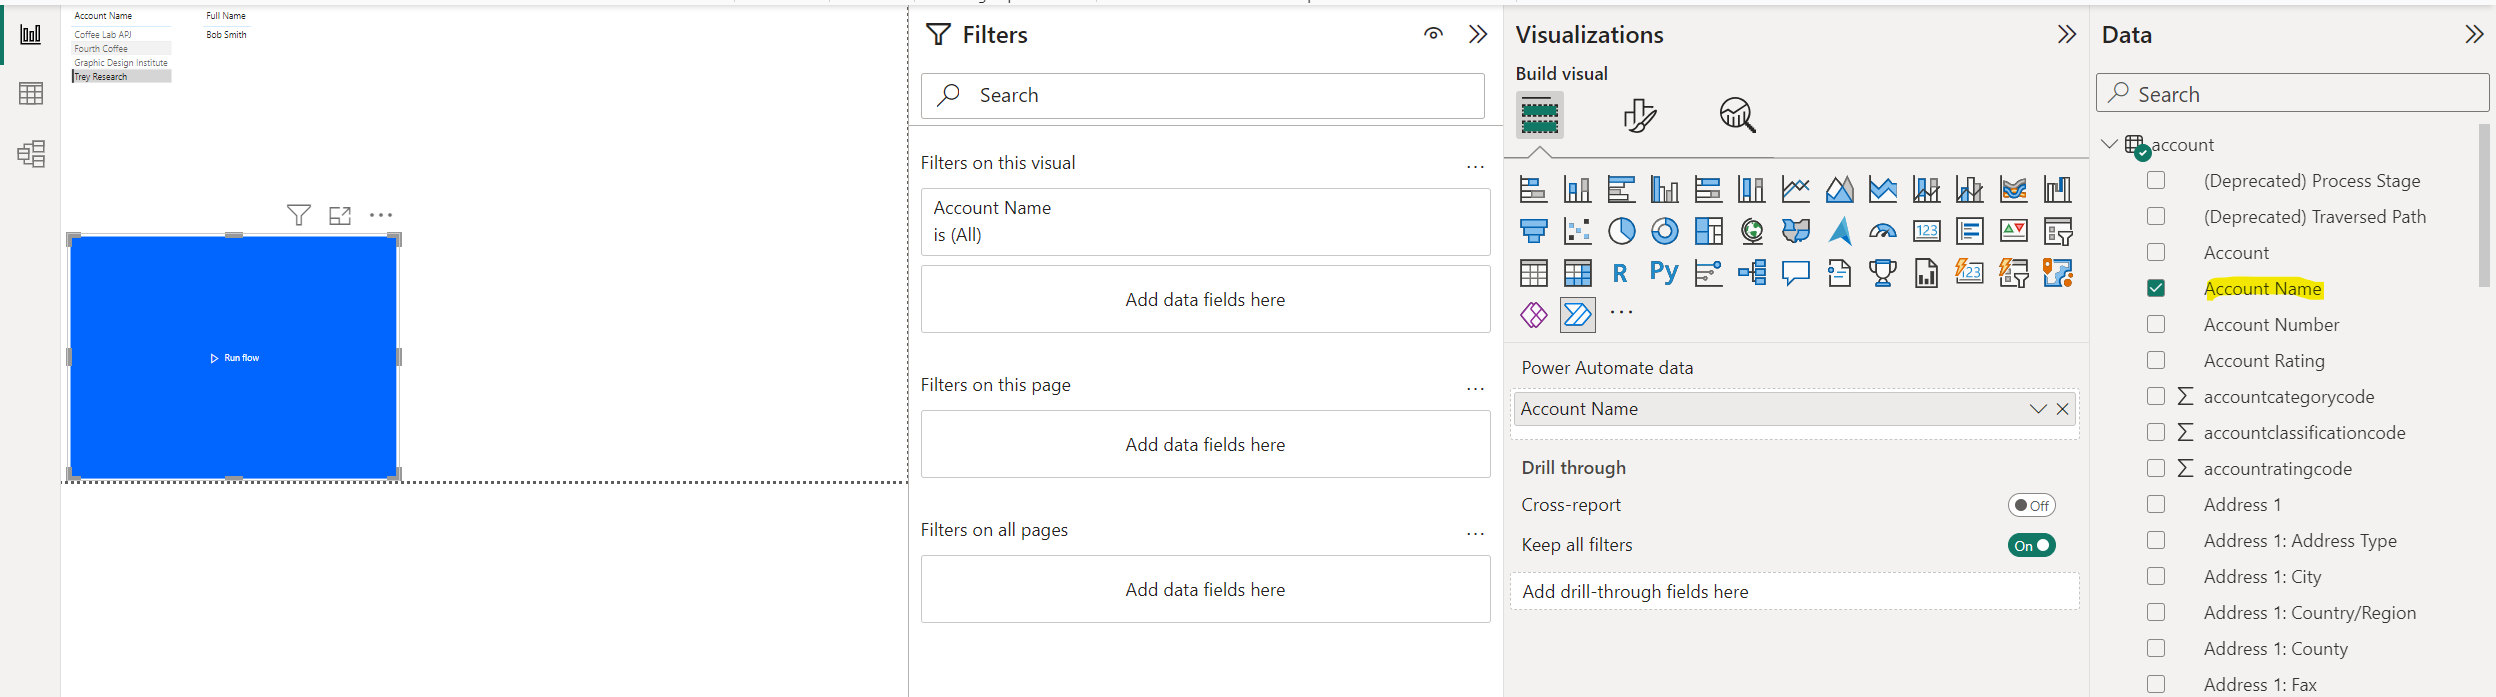
At this point, we can add our fields to this Power Automate button, or edit. Let’s add the Account Name field and the Contact full name:
Now let’s Edit:

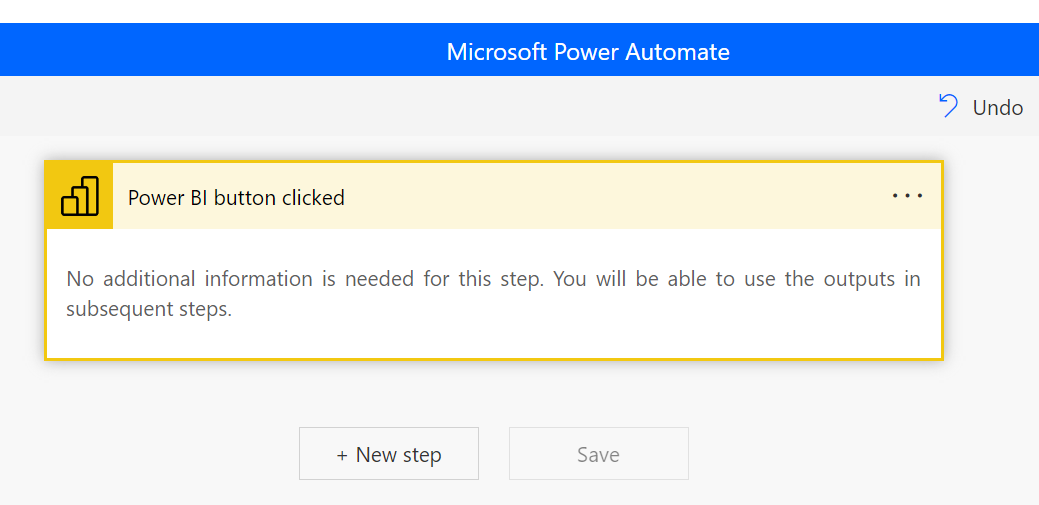
And Power Automate surfaces inside Power BI. Let’s create a new Instant cloud flow:

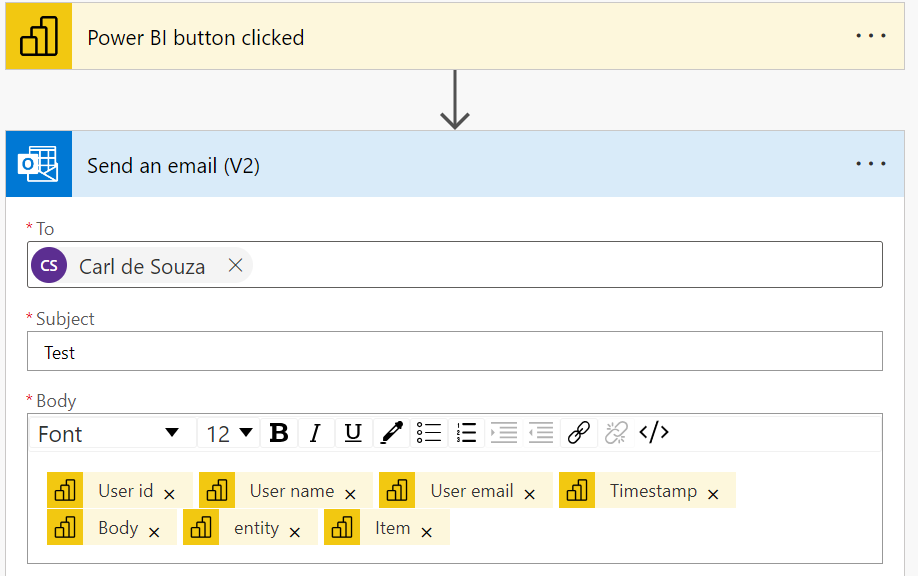
Let’s create a new step:
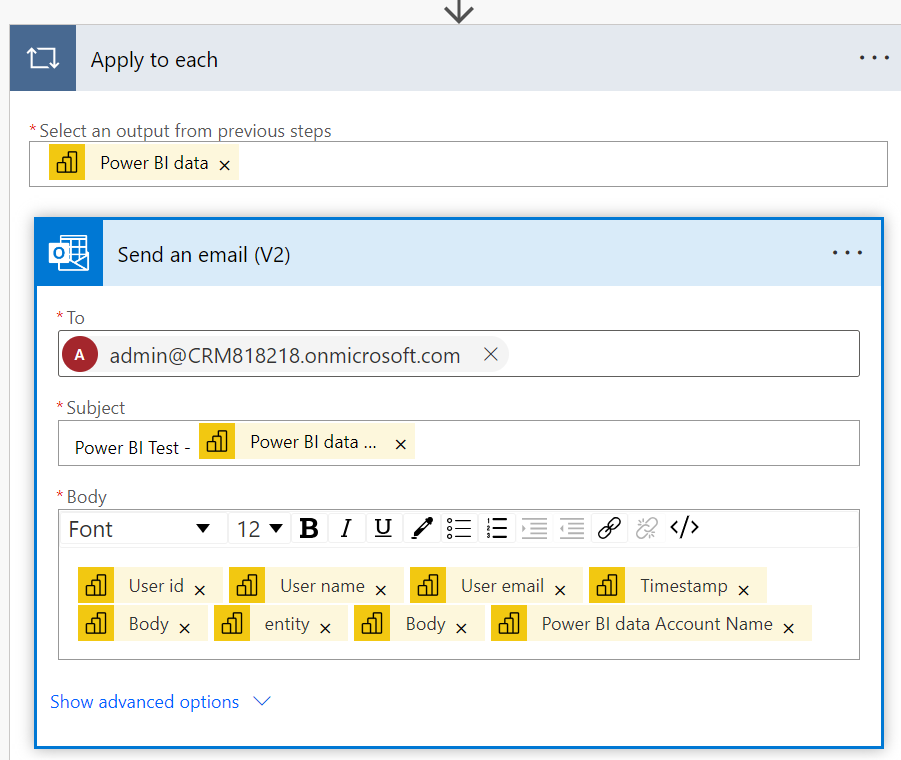
We will add some of the available fields here to the Body so we can see what is available in our flow. Our available parameters are below, we see there is the Power BI data Full Name and Power BI data Account Name, both coming from the fields we selected above, as well as other fields:

We will add all fields apart from the Power BI fields (we will add those back in later):
Click Save and Apply:

It should see “You successfully applied” your flow:

Note you will want to share the flow with whoever needs to run it:

Click on Back to Report, and our report now looks like this:
Now let’s select the button visual and we will select the Account Name field at the same time. This tells our button that we want to send this field’s values to the Power Automate flow:
Now let’s run the flow. Click CTRL+ Click over the “Run Flow” text to run the flow, we see it says “Triggering”:

The flow has now run, and we have received an email with the values. When I ran the flow, I had only Trey Research selected as an account:

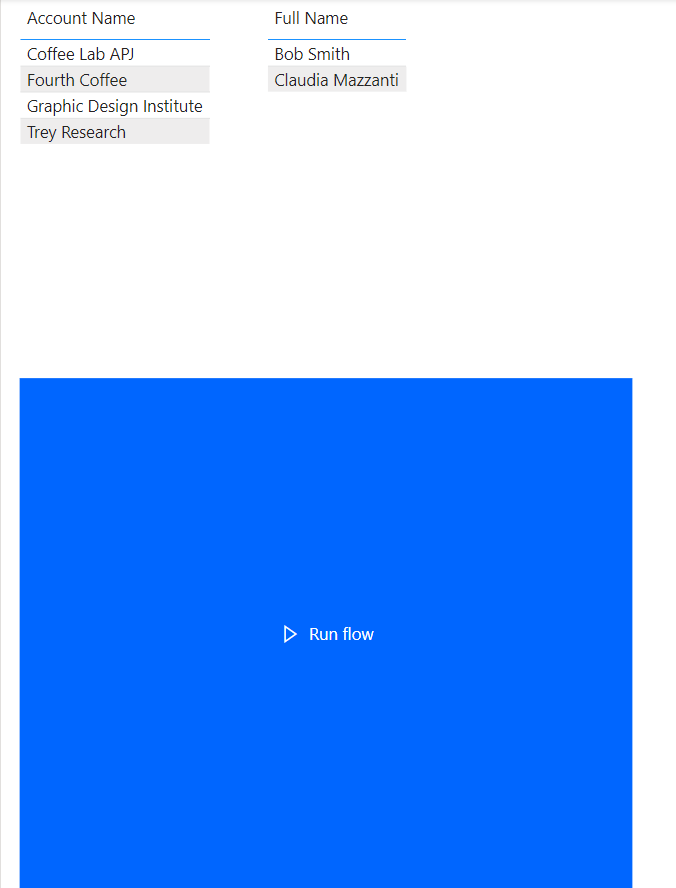
If I add the Full Name field of Contact to the button and click it, we see we get both account and contact information coming through:

And if we remove Account Name and have 2 contact fields, we see both those fields sent through to the flow:

Now let’s add the Power BI fields back in. If we do this, we get are now in an Apply to Each loop, as the data has multiple rows. Let’s add the name to the title of each contact of the email:
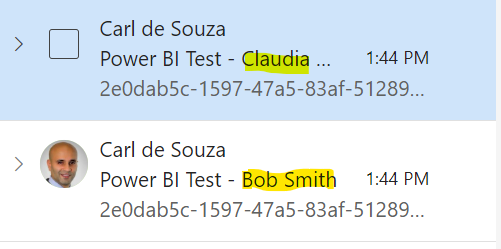
Now if we run this again, for 2 contacts we get 2 emails:
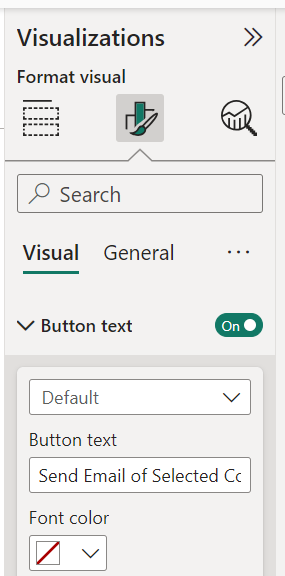
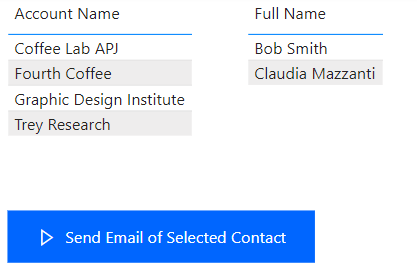
Finally, you can customize the look and feel of the flow. Let’s change the button text to be “Send Email of Selected Contact”:
And make it look a bit more button-like:
There could be some interesting use cases here, being able to perform actions within Power BI with Power Automate opens a lot of possibilities.
I AM SPENDING MORE TIME THESE DAYS CREATING YOUTUBE VIDEOS TO HELP PEOPLE LEARN THE MICROSOFT POWER PLATFORM.
IF YOU WOULD LIKE TO SEE HOW I BUILD APPS, OR FIND SOMETHING USEFUL READING MY BLOG, I WOULD REALLY APPRECIATE YOU SUBSCRIBING TO MY YOUTUBE CHANNEL.
THANK YOU, AND LET'S KEEP LEARNING TOGETHER.
CARL


