In this post, we will look at how to deploy Microsoft Automate Flows from one environment to another.
Let’s say we have a Flow we have created in our Development environment and we want to deploy it to our Production environment.
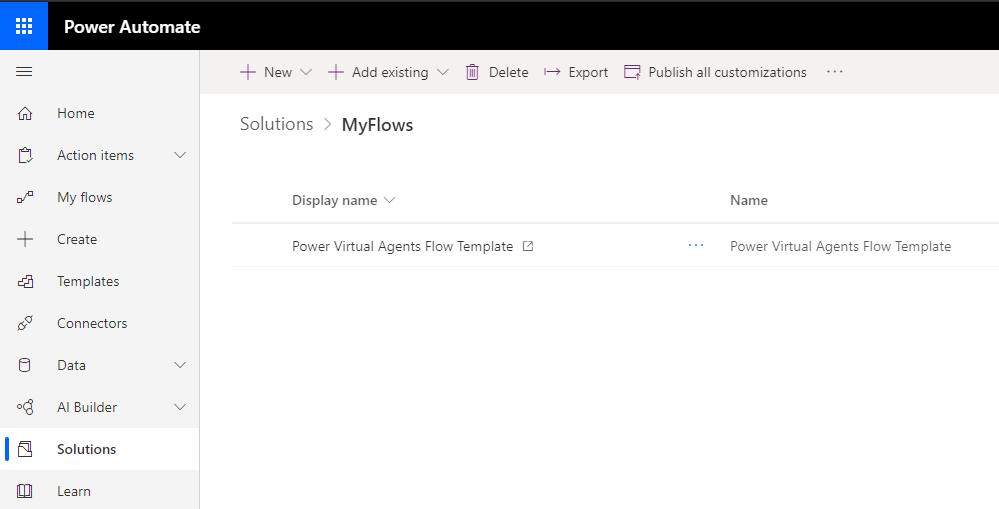
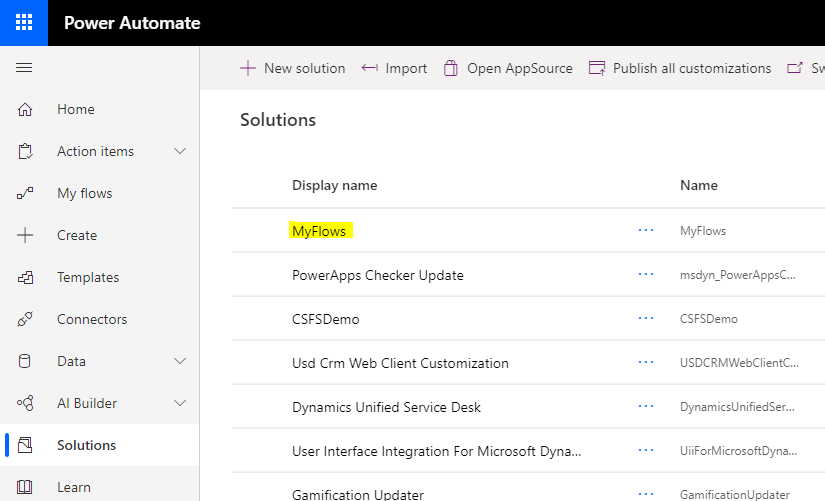
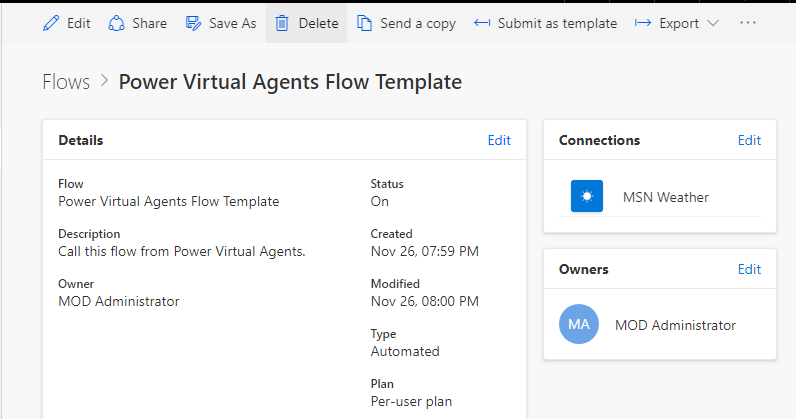
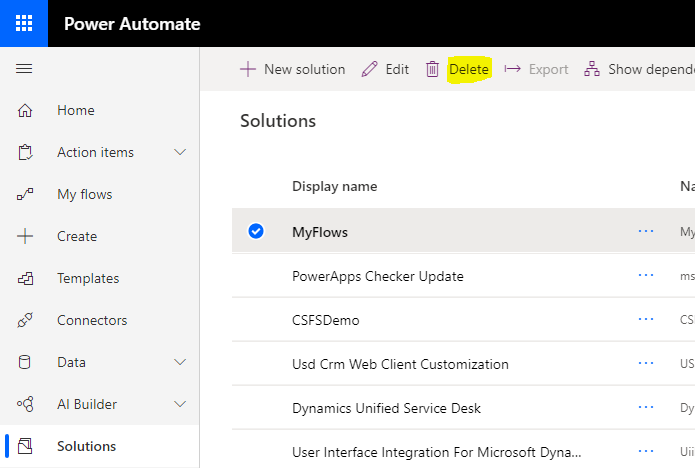
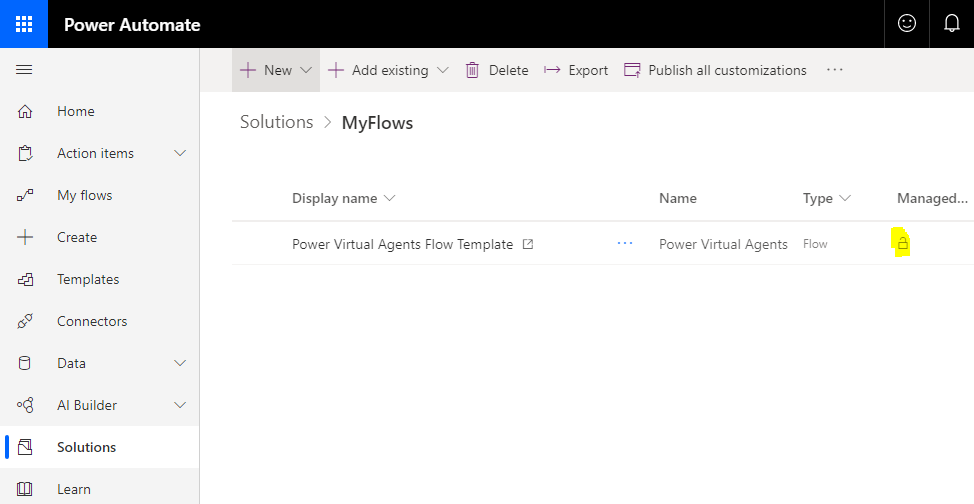
In our Development environment, we have a flow called “Power Virtual Agent Flow Template”, which we happened to create from a Power Virtual Agent bot. This flow is in a solution called MyFlows:
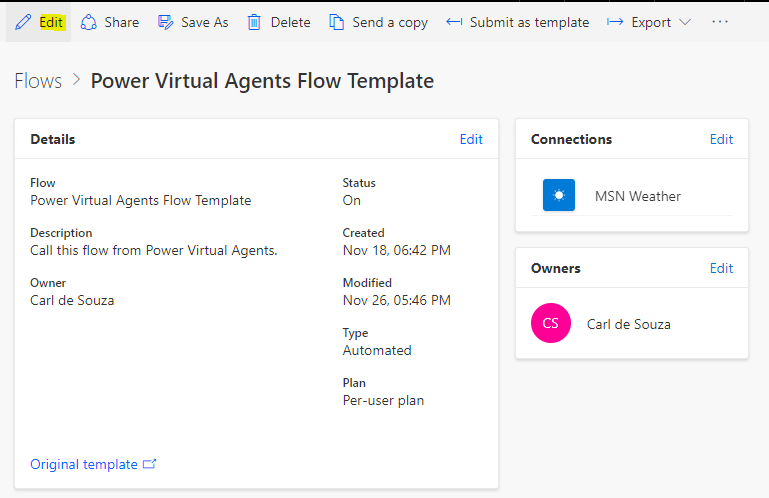
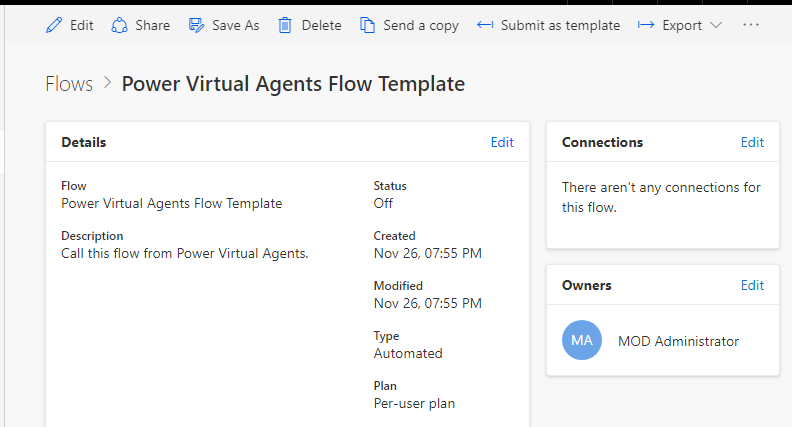
Let’s open the Flow and click Edit to see what’s inside it. Note we have one Connection here to the MSN Weather connector:
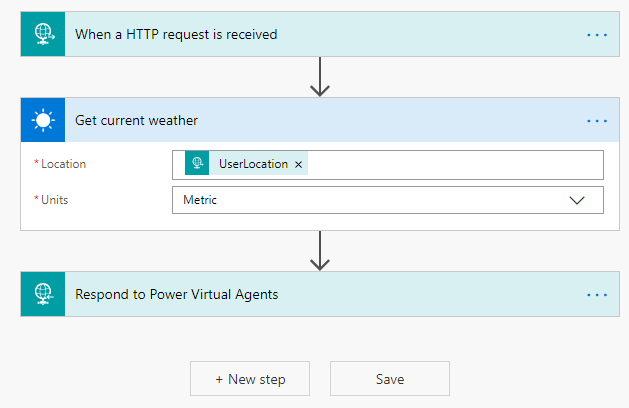
We see the flow looks like below:
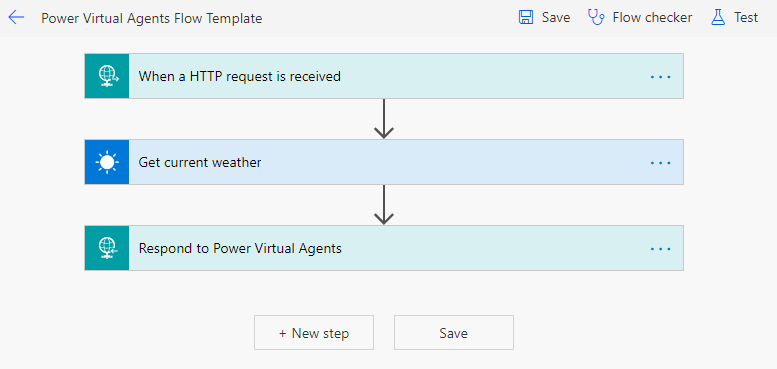
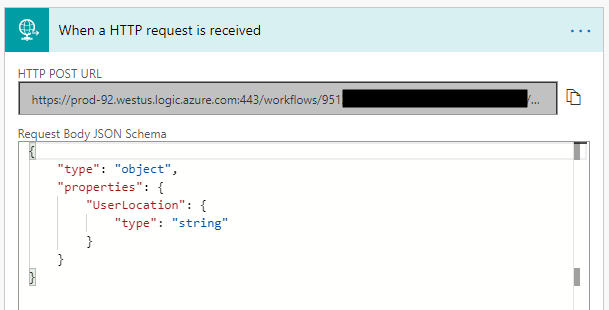
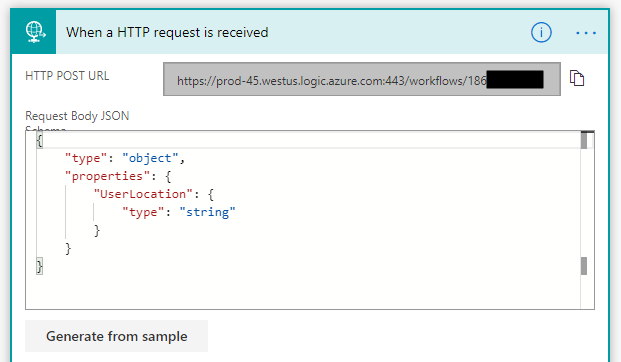
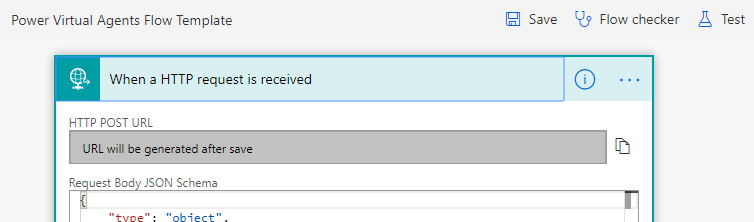
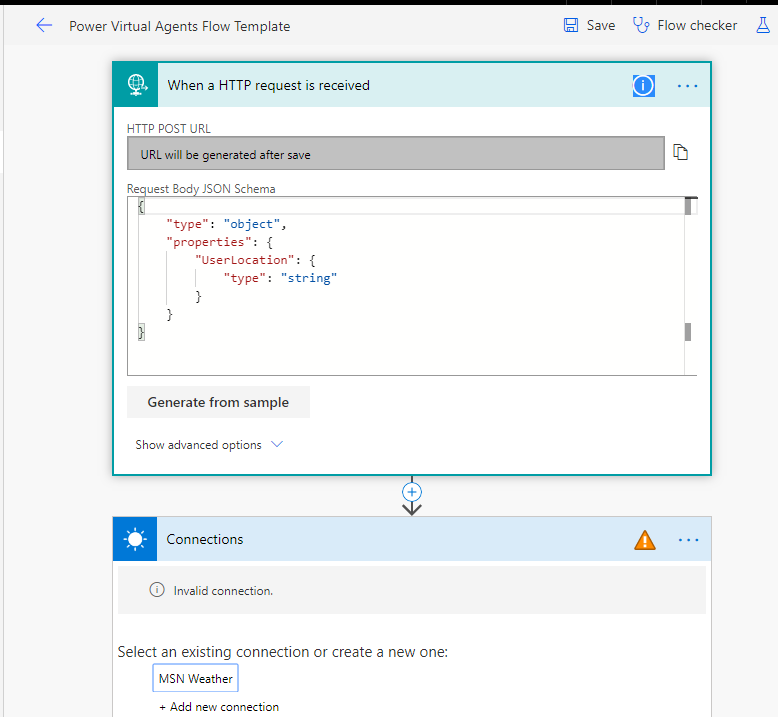
With the first step running an HTTP received request:
Microsoft has different ALM ways to deploy flows. These include exporting flows one at a time or using solutions to export multiple flows. Let’s start with exporting a flow one at a time.
On the Flow screen, let’s export the flow to a Package so we can deploy it in our other environment. Click Export->Package.zip:
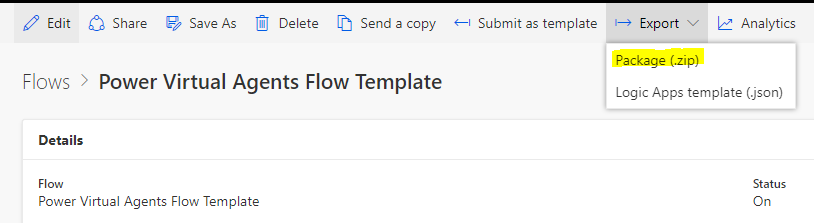
We get the screen below. Enter a package name. We see the flow is defaulting to Update – click on it:
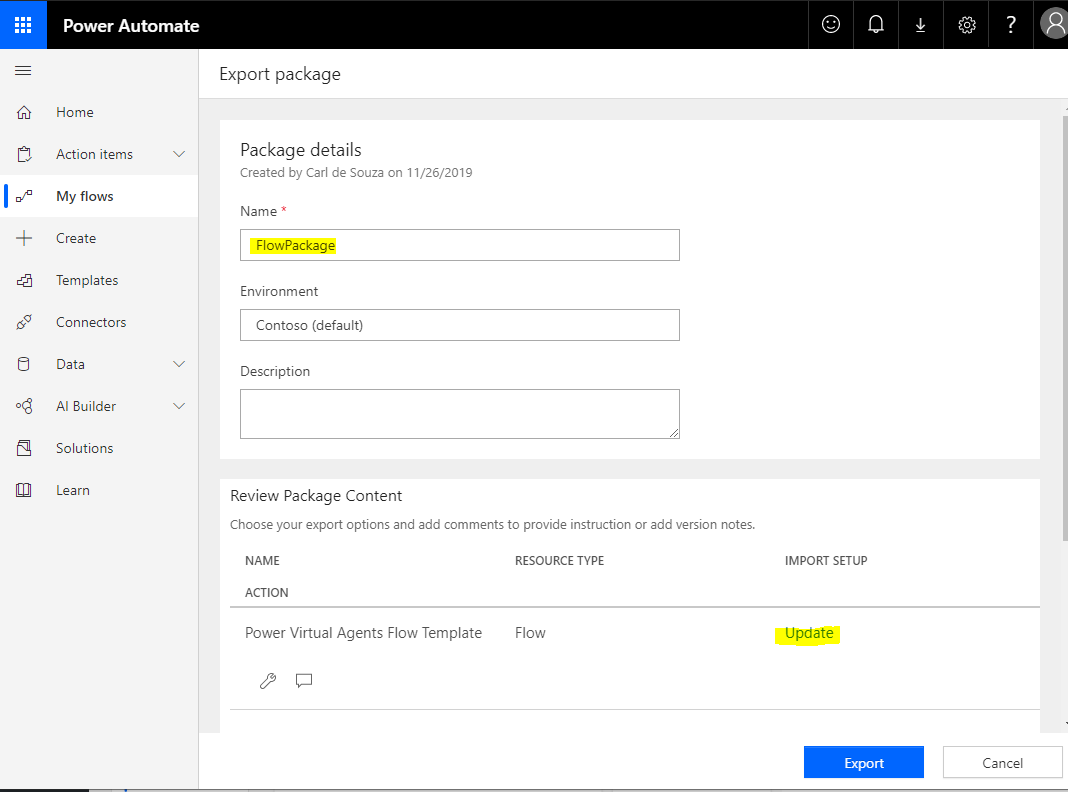
We see the options below, Create as New and Update:
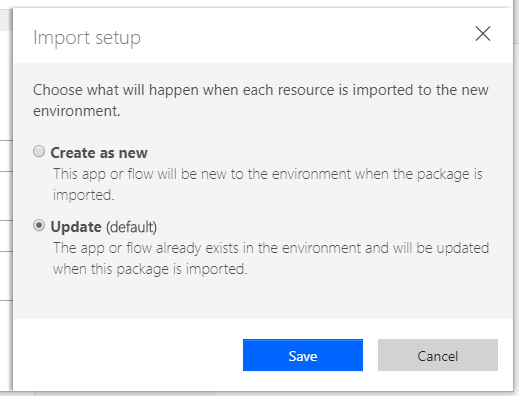
We will use Create as New, as the flow does not exist in the environment we are exporting to. Click Save.
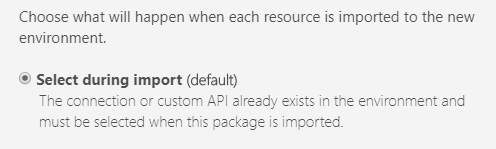
Scrolling further down, we see there is one connection, MSN Weather, with Select during import selected. Click on it:

We see there are no other options:
Click Save on the package. The Flow package is created and a file is created:
![]()
Now let’s go to the target organization, e.g. our Production environment. Go to Flows->Import:
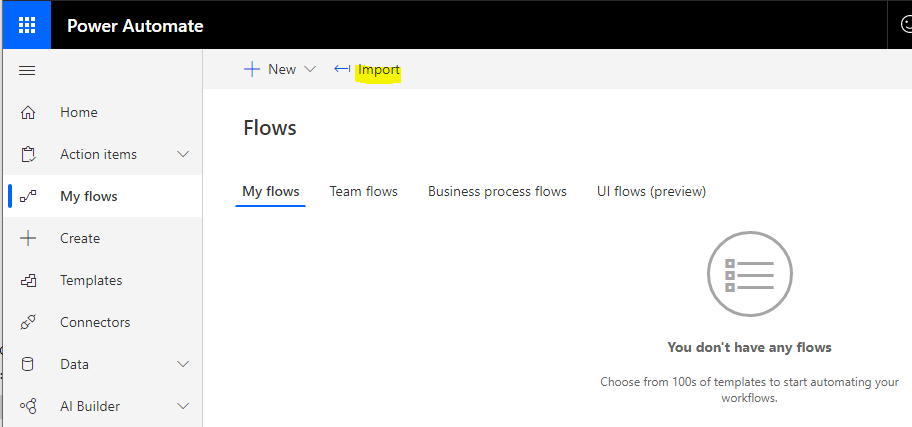
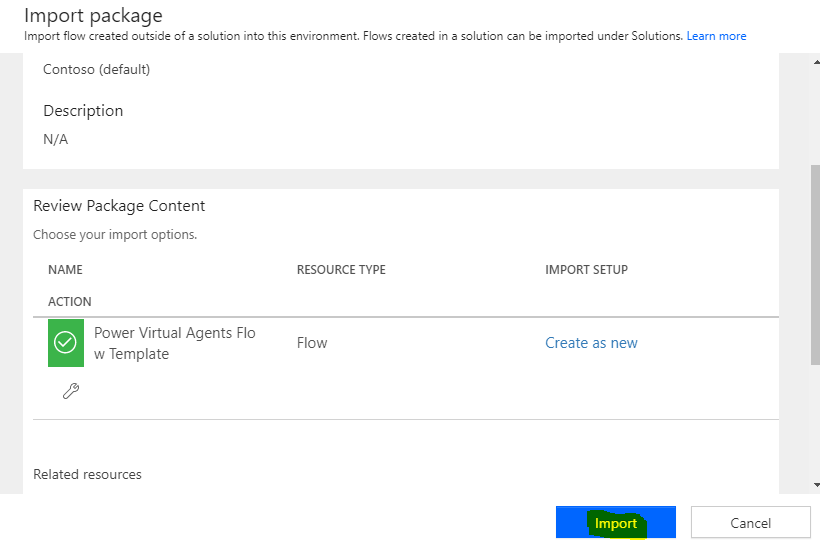
Select the file we created. You will see below:
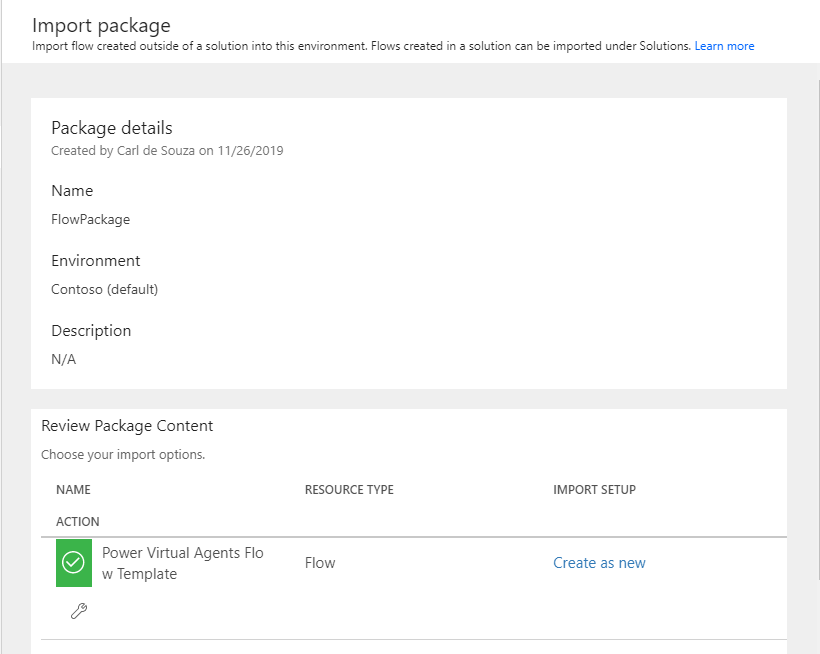
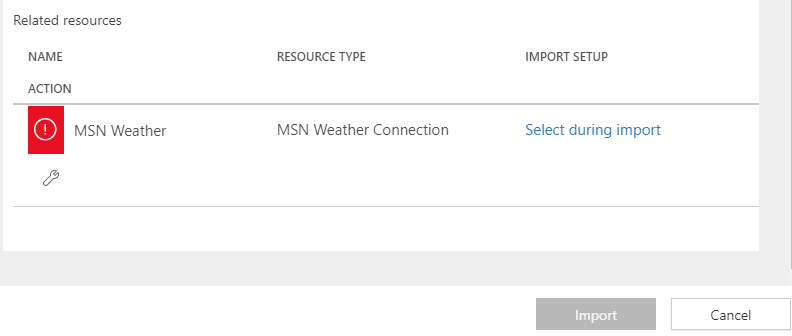
The Import button is greyed out. We need to click on Select during Import, which opens the screen below. Then click Create New to create a new connection:
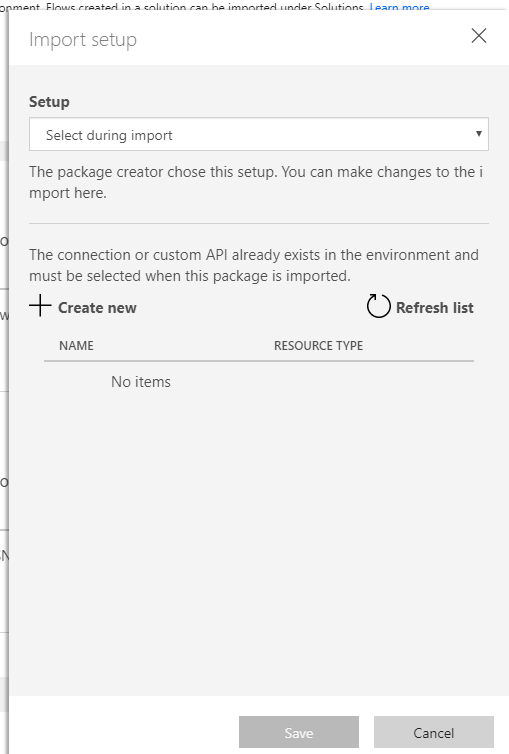
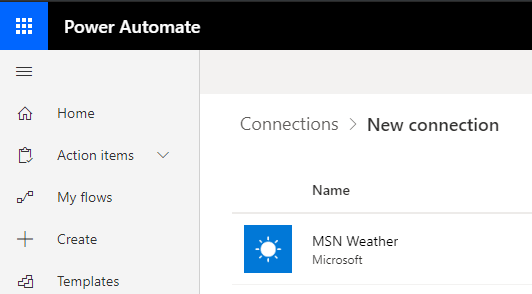
Click Create connection:
Search for MSN Weather and select it:
Click Create:
We see the connection is “connected”:
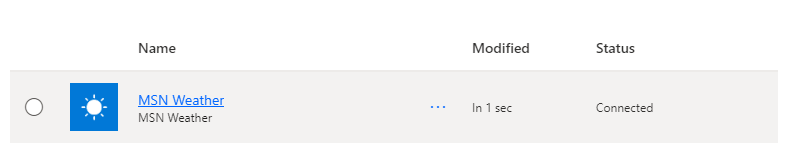
Click Refresh List to see our new connection, then Save:
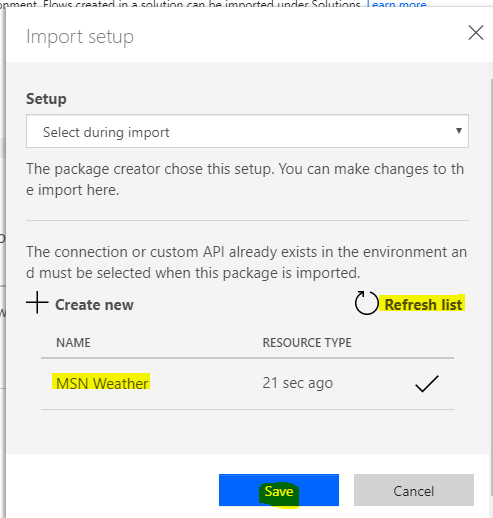
Click Import to finish the import process:
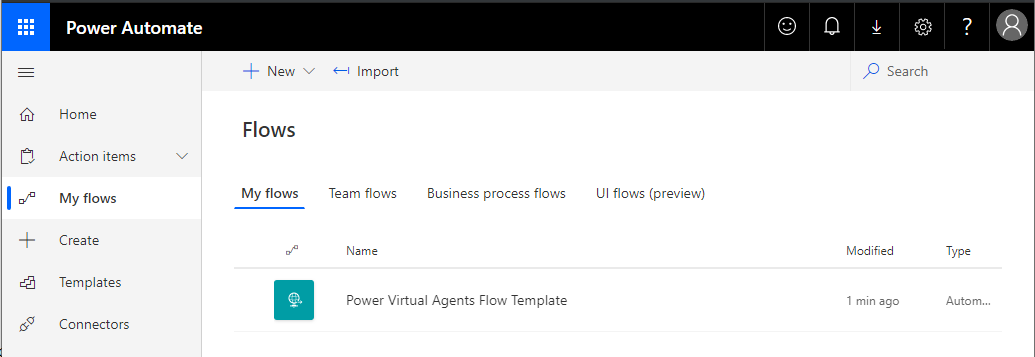
Now let’s go to Flows in this target environment. We see our new flow has been created:
Click on it. We see our connections. Click Edit:
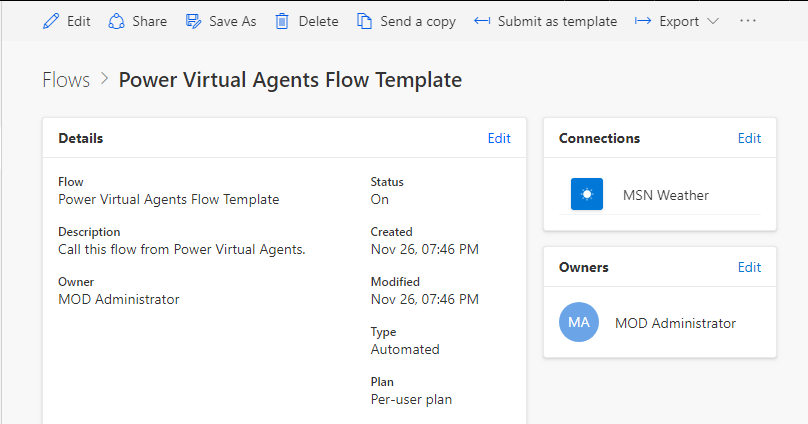
Note we see the HTTP Request URL here has changed:
We now have separate flows running in different independent environments.
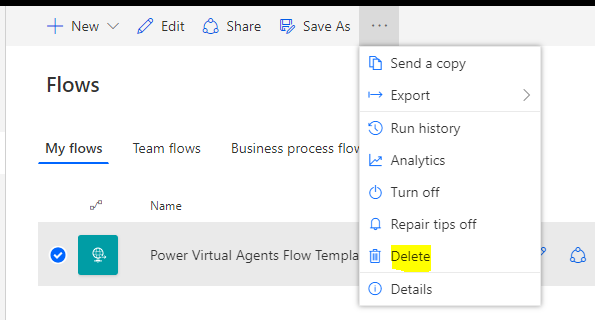
Let’s delete the from the target environment and try another method of deployment.
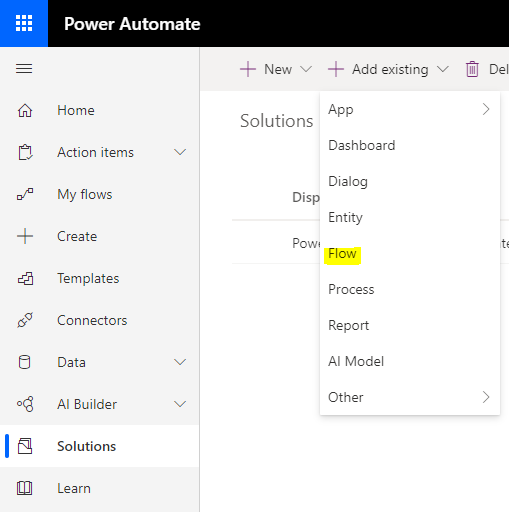
Let’s add our flow to a solution and export the solution. To do this, create a solution and then click Add->Flow. Our solution is called MyFlows:
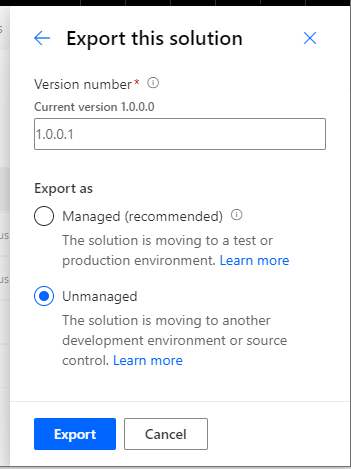
Then Export the solution:
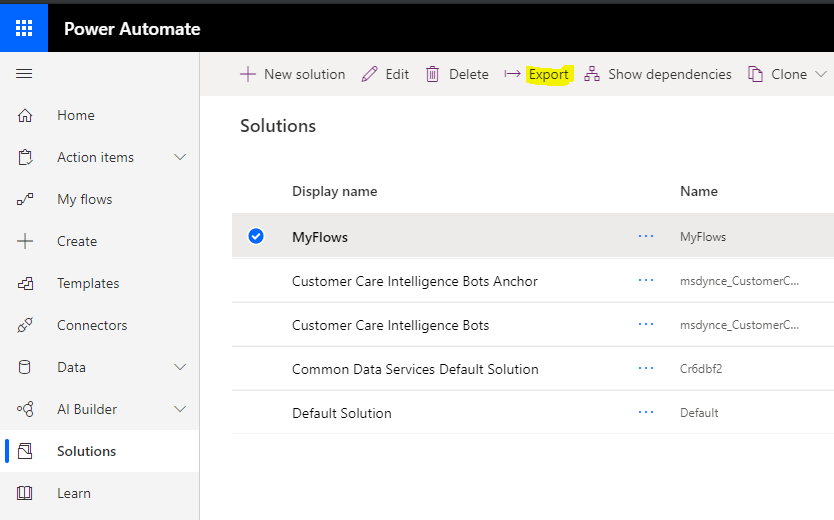
Click Next:
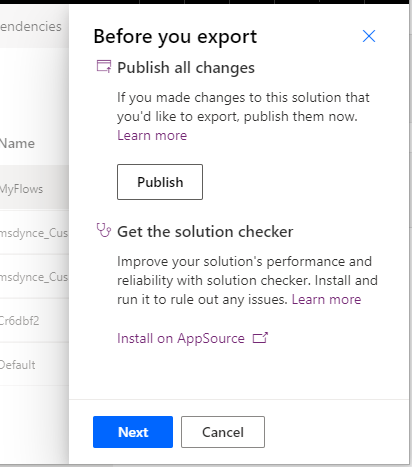
Select a Managed or Unmanaged deployment. Much has been written about the differences and benefits of each approach. For this demo, we will first use Managed, then try Unmanaged later:
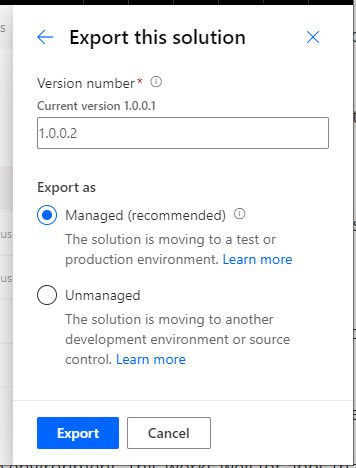
This displays :
![]()
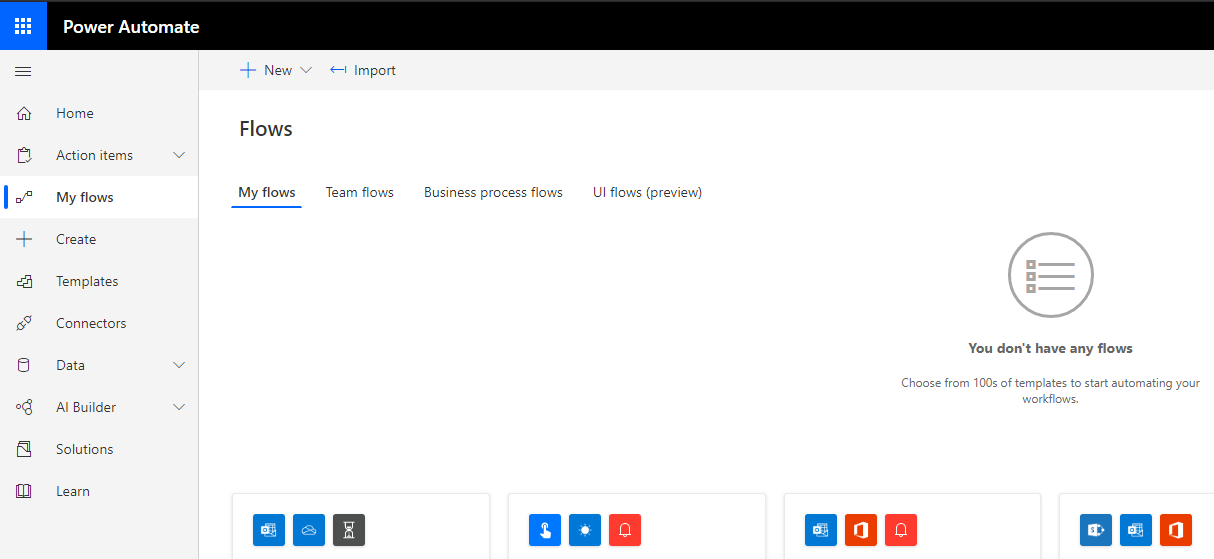
Now log into the Production org. We see there are no Flows. Our solution does not exist yet:
Go to Solutions and click Import:
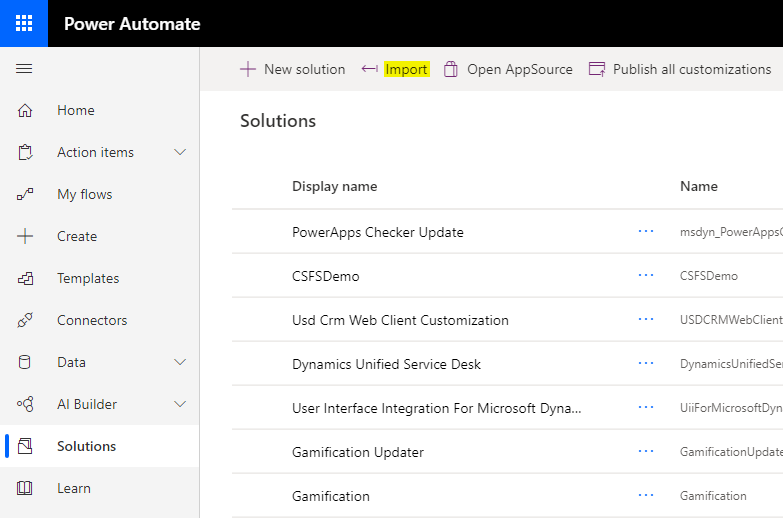
Select the solution we exported and click Next:
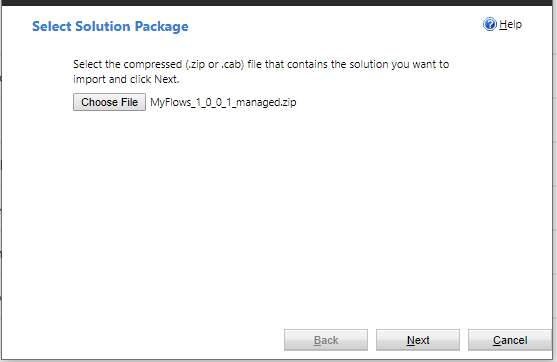
Click Next:
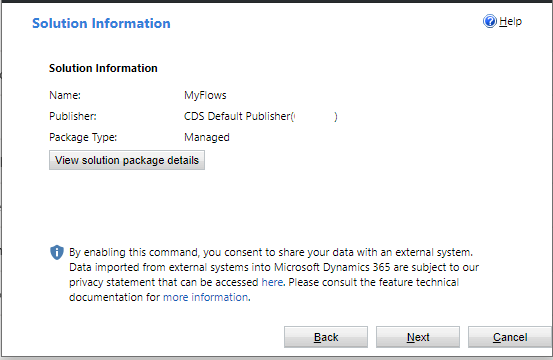
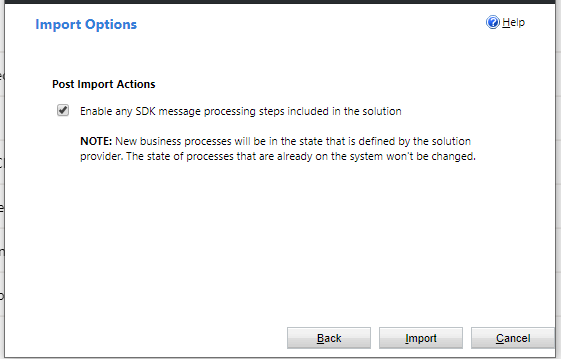
Click Import:
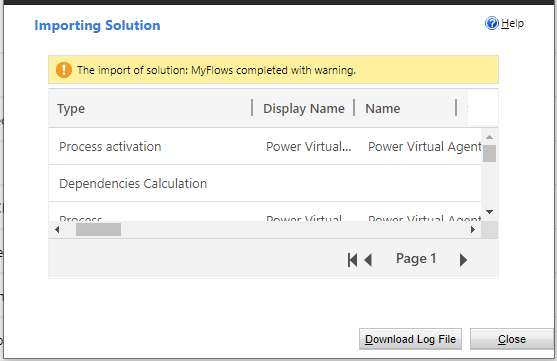
We see there was one warning. Click Close:
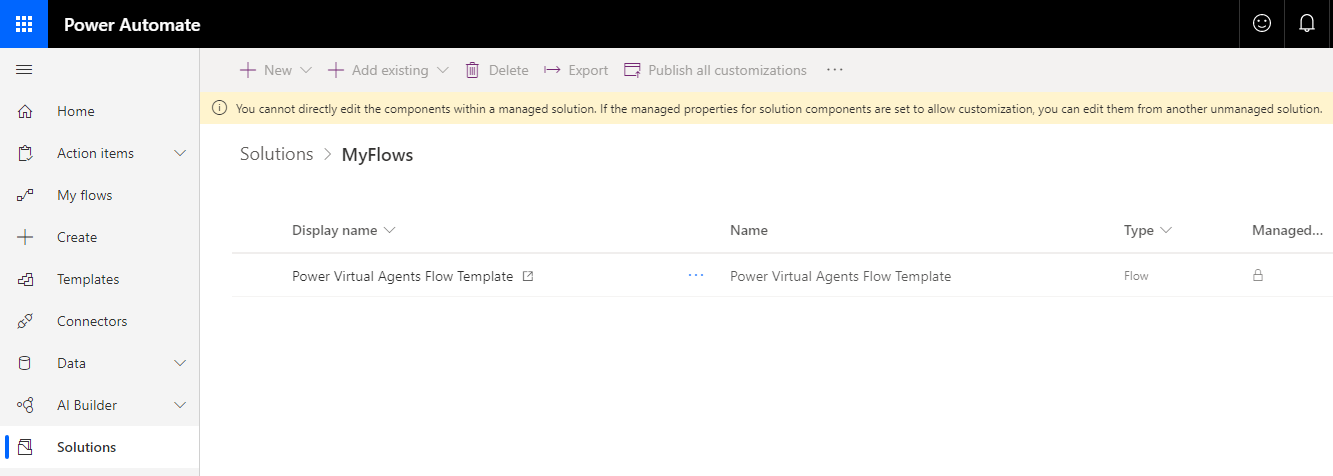
Now select the imported MyFlows managed solution:
We see there is one flow. Also note the message “You cannot directly edit the components within a managed solution. If the managed properties for solution components are set to allow customization, you can edit them from another unmanaged solution”:
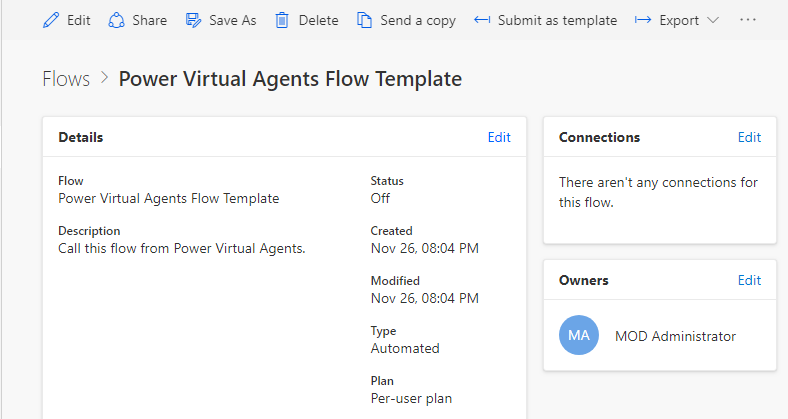
If we select the flow, the page opens, with no connections:
On editing the flow, we see:
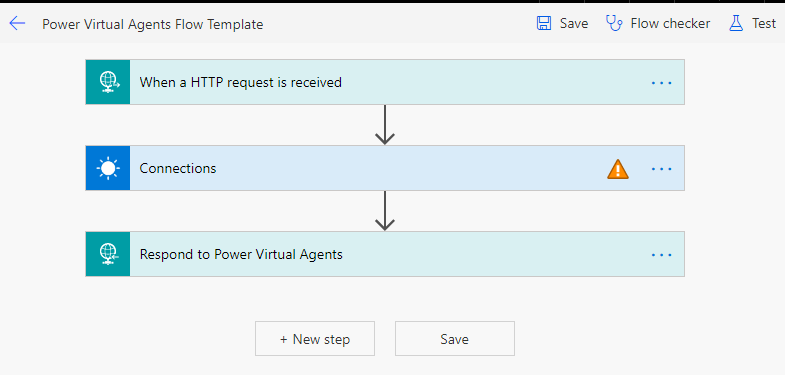
With:
Click to fix the MSN Weather connection:
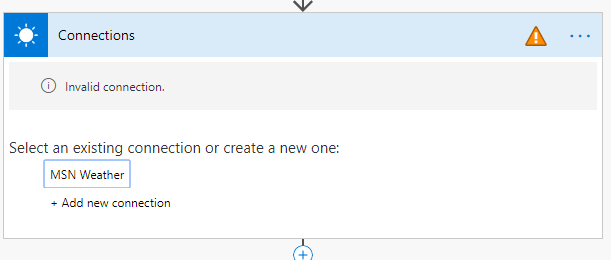
The flow is now looking good, with the status = On:
Now let’s delete this flow try an Unmanaged solution. To delete the flow, delete the solution as the flow doesn’t appear under My Flows:
Go through the steps above to delete the flow, then export to Unmanaged:
This produces an Unmanaged zip file:
![]()
Which we can import to the target environment as before. After importing, we see the flow in the solution is showing as not Managed Externally:
Clicking on the flow, it also shows no connections:
With the steps below that can be resolved as above:
I AM SPENDING MORE TIME THESE DAYS CREATING YOUTUBE VIDEOS TO HELP PEOPLE LEARN THE MICROSOFT POWER PLATFORM.
IF YOU WOULD LIKE TO SEE HOW I BUILD APPS, OR FIND SOMETHING USEFUL READING MY BLOG, I WOULD REALLY APPRECIATE YOU SUBSCRIBING TO MY YOUTUBE CHANNEL.
THANK YOU, AND LET'S KEEP LEARNING TOGETHER.
CARL

Thanks for the great step-by-step instructions! It does leave a big question though – what is the best practice to deploy then, one by one with the export to zip package or within a solution package? And furthermore, managed or unmanaged? Thanks in advance!!
I have created a Flow on “HTTP request received” and using JavaScript on button click I am passing this HTTP URL to trigger the flow.
In that JavaScript a have provided HTTP trigger URL in static way.
But when I deployed in target environment the HTTP URL Got changed and I need to modify the URL in that JavaScript, but we don’t want to do unmanaged changes on our target environment.
Is there any way to construct that HTTP trigger URL in JavaScript?
or what I need to do to resolved my issue?
Thanks,
Could we deploy it using powerShell any other sort using scripts without UI ?
Hi, my floew were created outside solution and i cannot add them to one as they are not seen in the list of available flows.
Is there any workaround rather than recreate the flows? Thank you
Note
They have connections