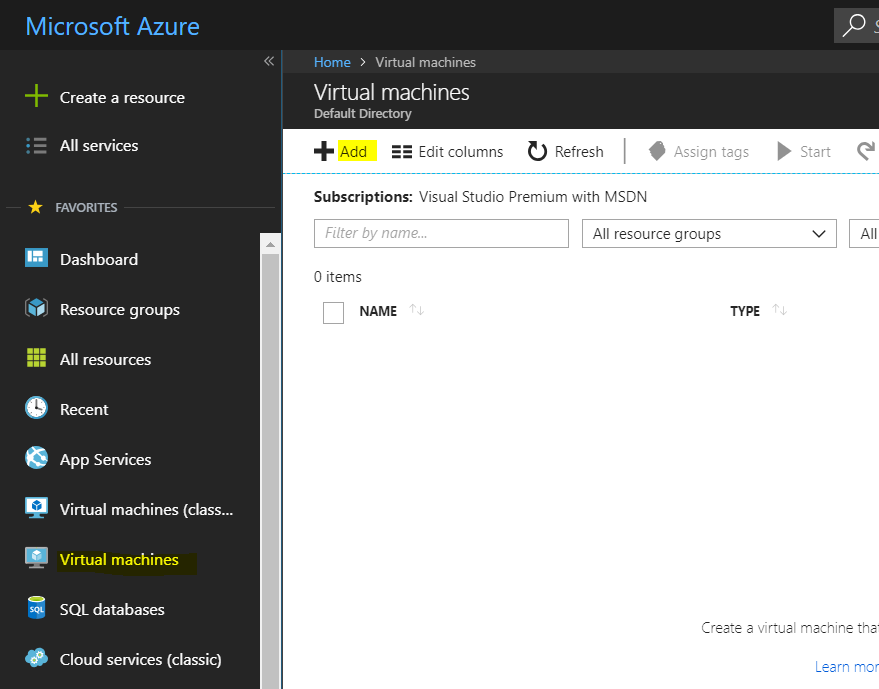
Log into https://portal.azure.com/ and select Virtual Machines. Click Add:
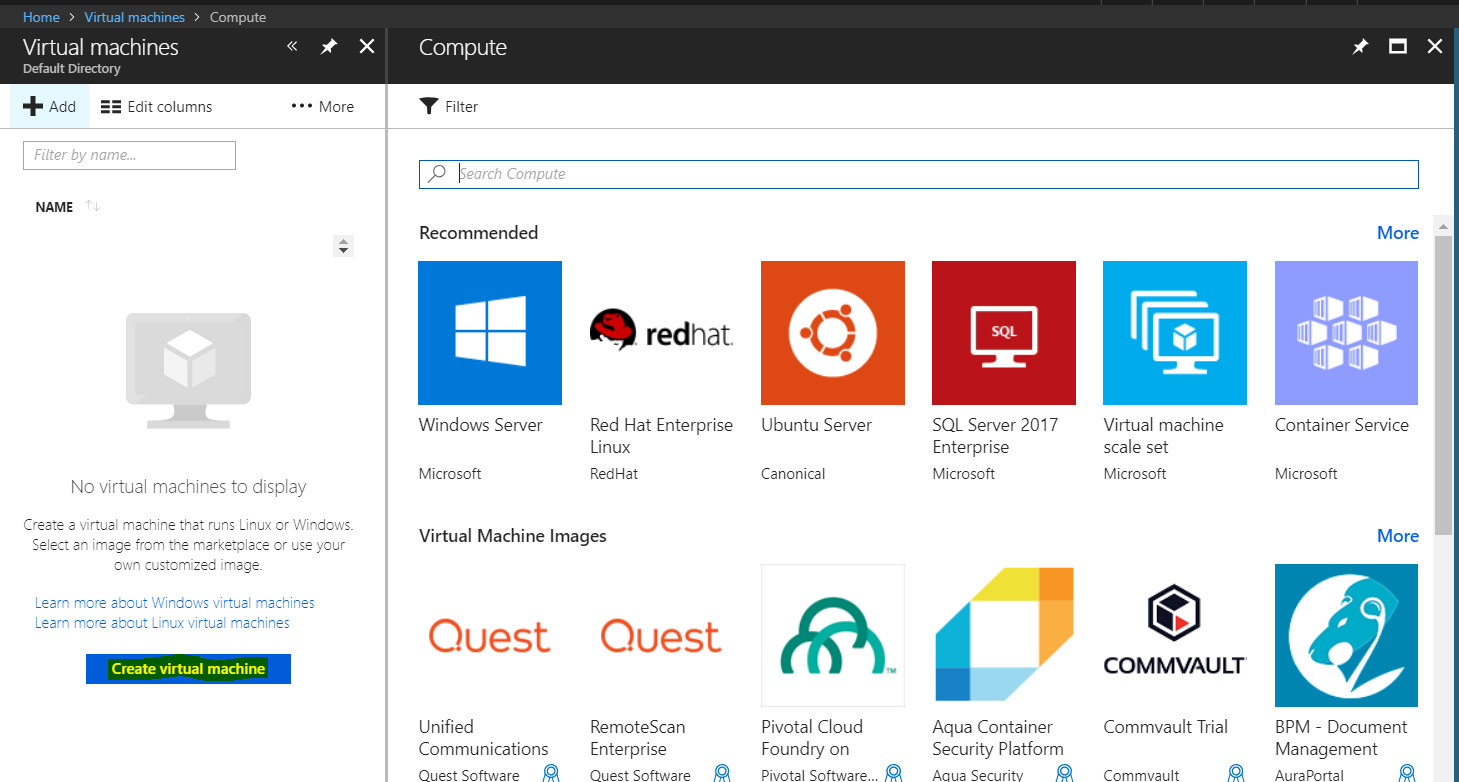
And Create Virtual Machine:
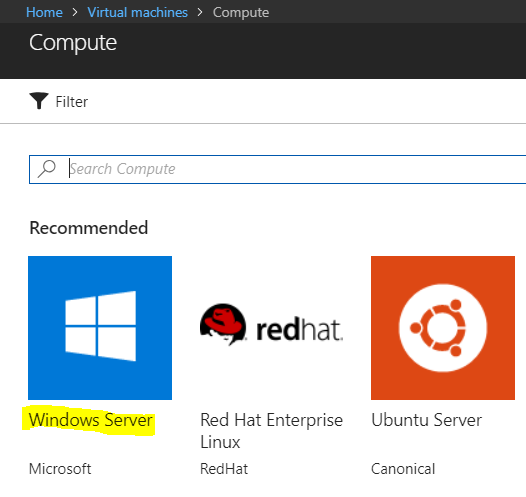
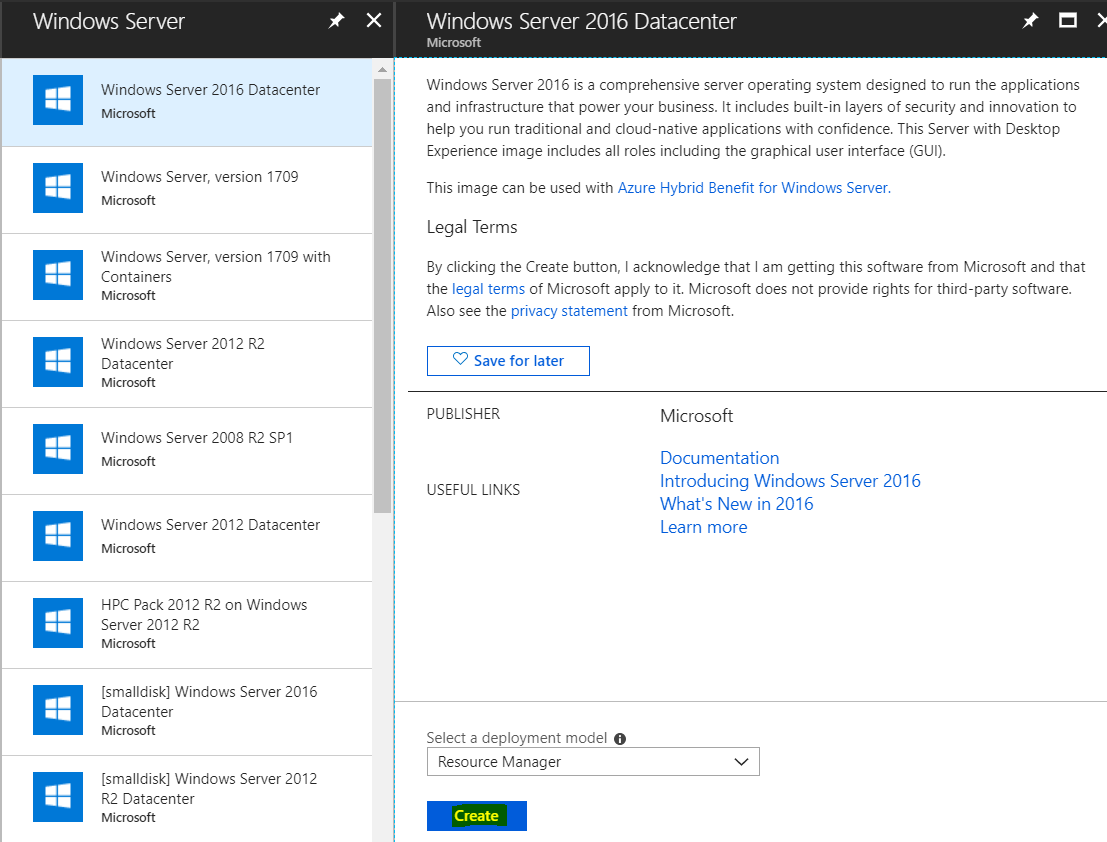
There are several machine images to choose from. We will select Windows Server:
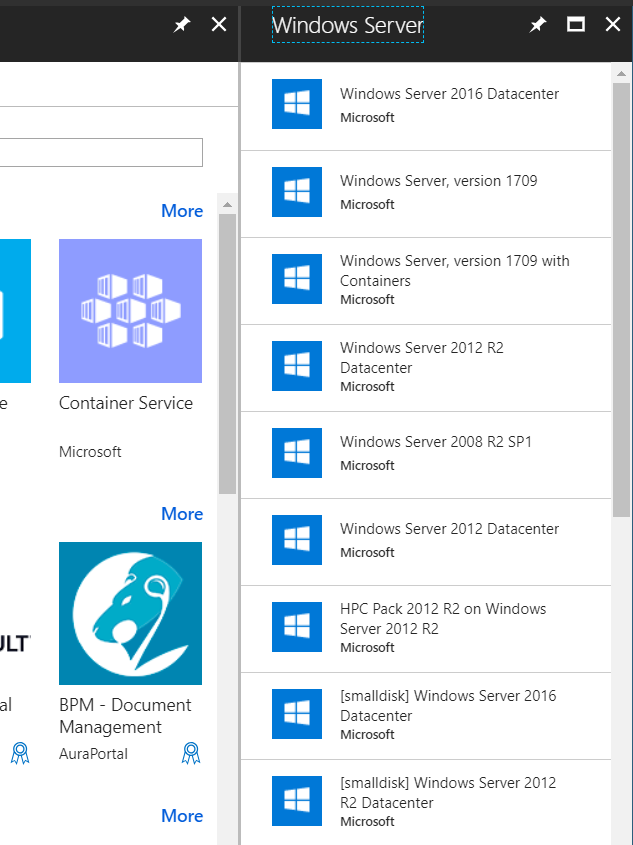
And then the build – Windows Server 2016 Datacenter:
Click Create:
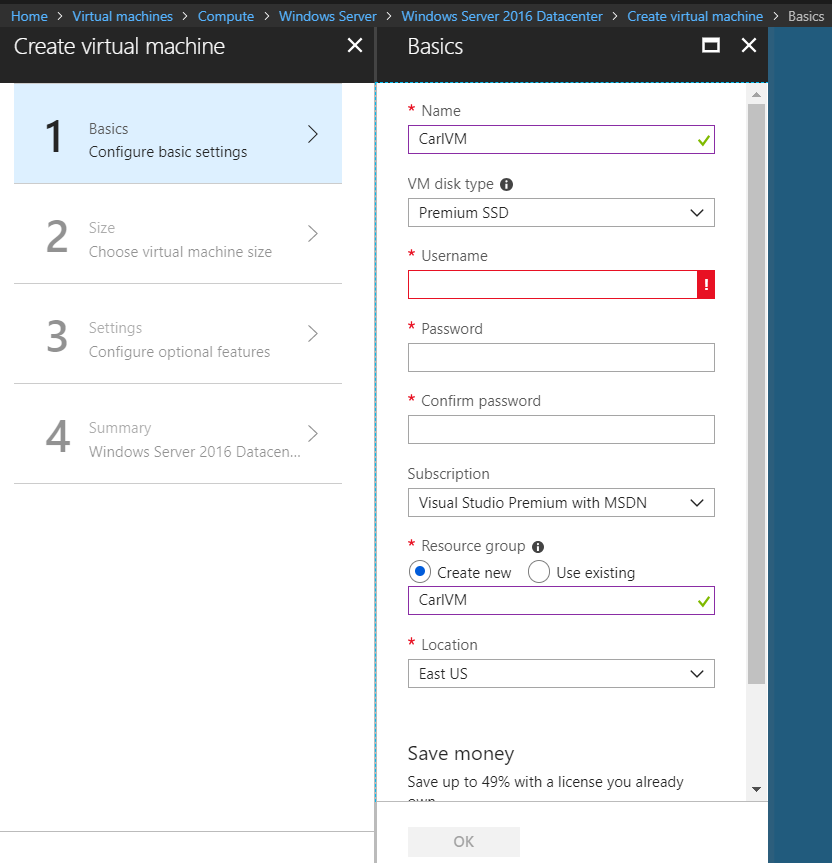
Enter information such as the machine name, disk type (premium SSD or standard HHD), username and password:
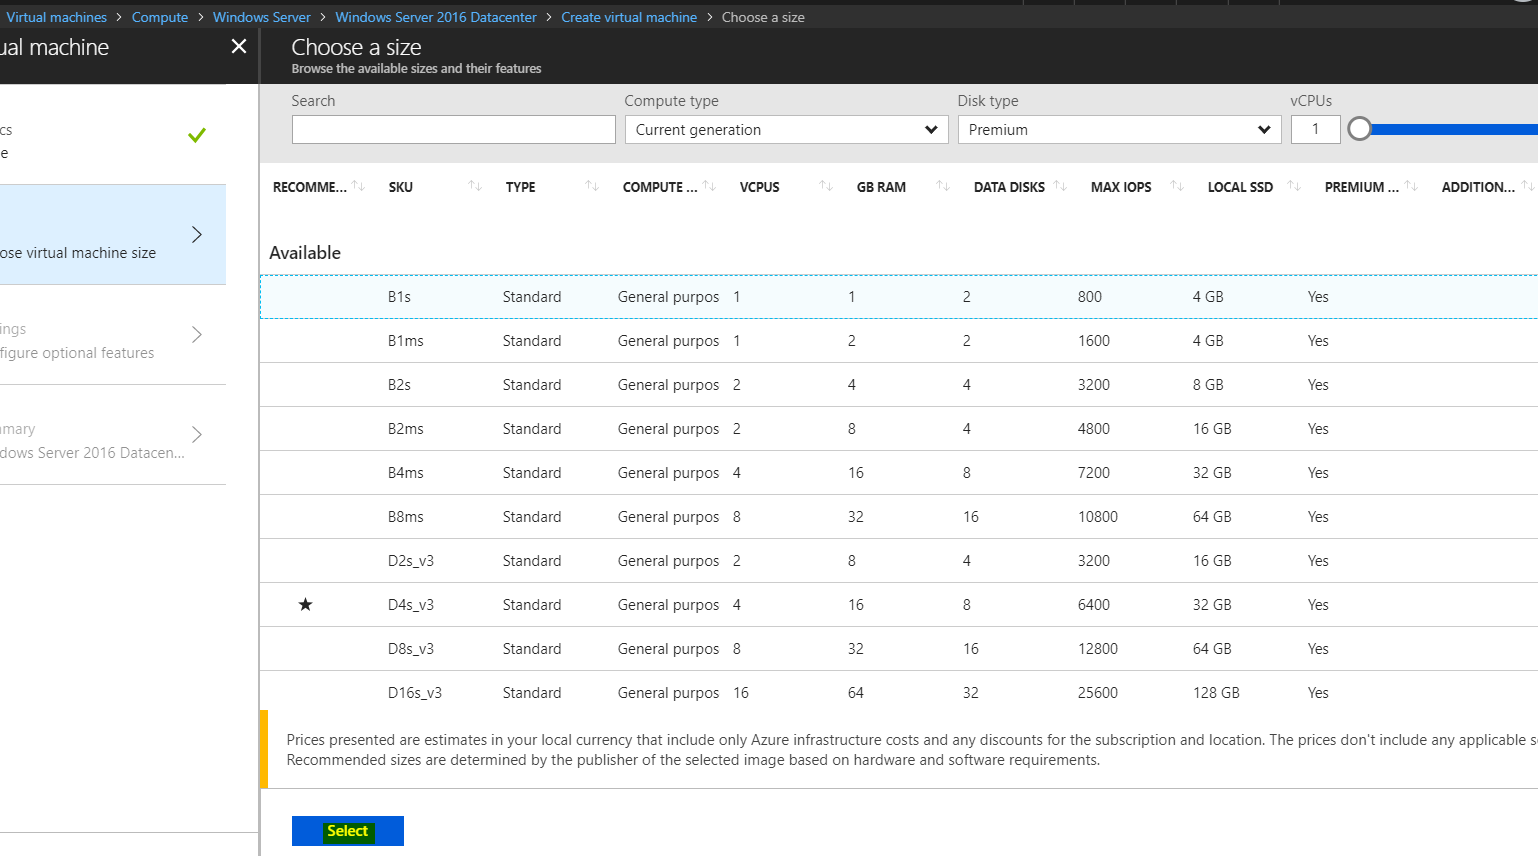
Select the compute type:
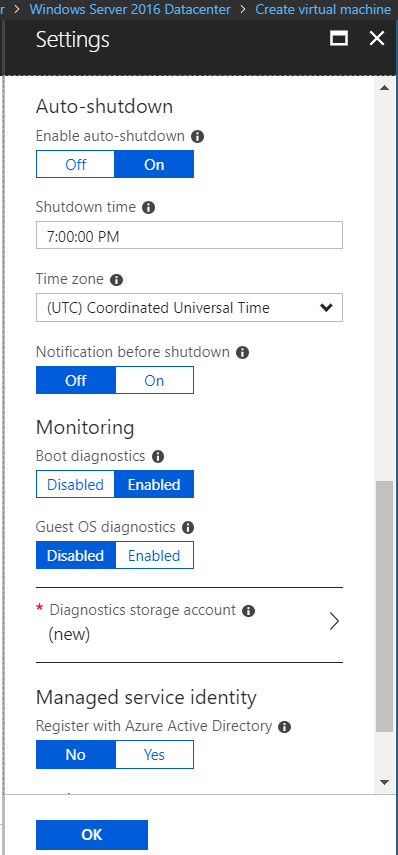
And now the Settings:
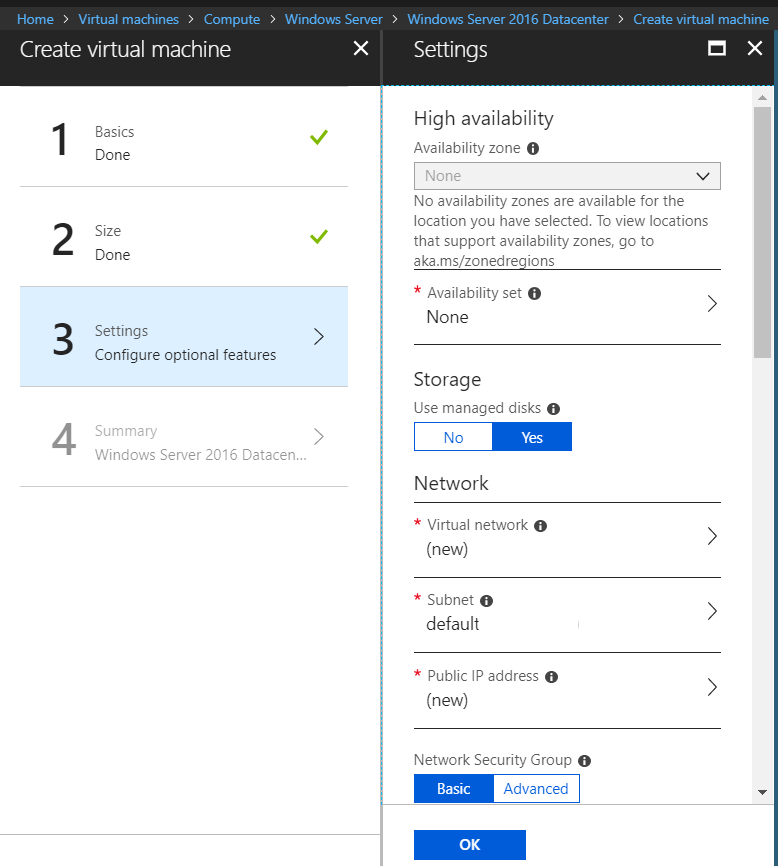
Select the inbound ports:
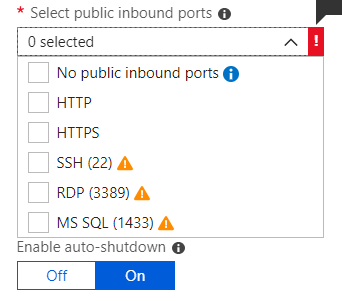
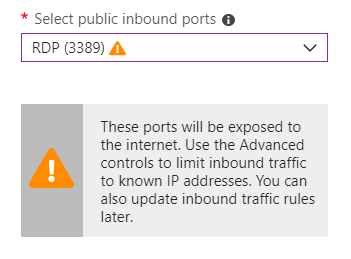
We will select RDP:
Note the additional settings:
On the Summary page, click Create: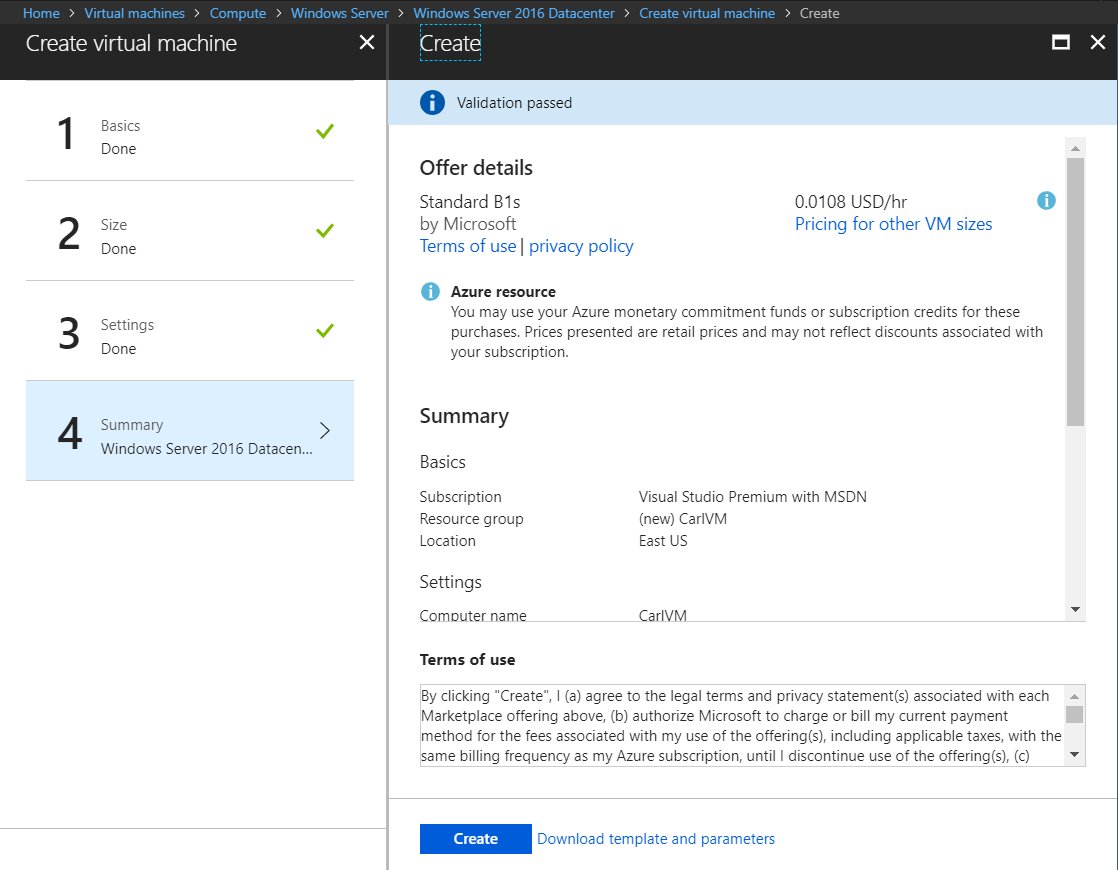
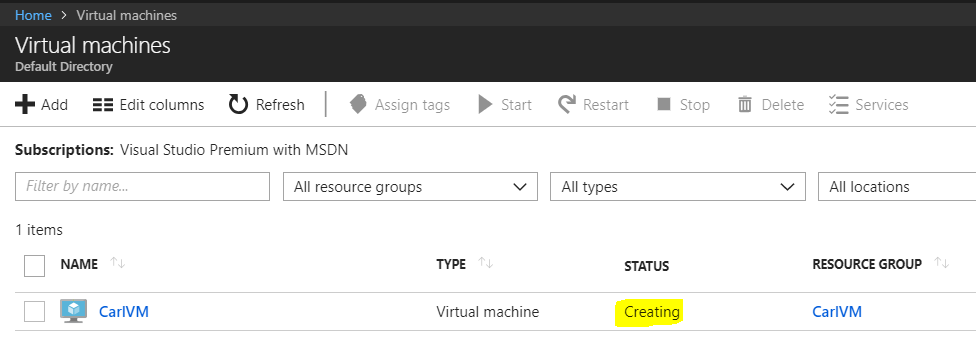
Now on the Virtual Machines page, you will see the status as “Creating”:
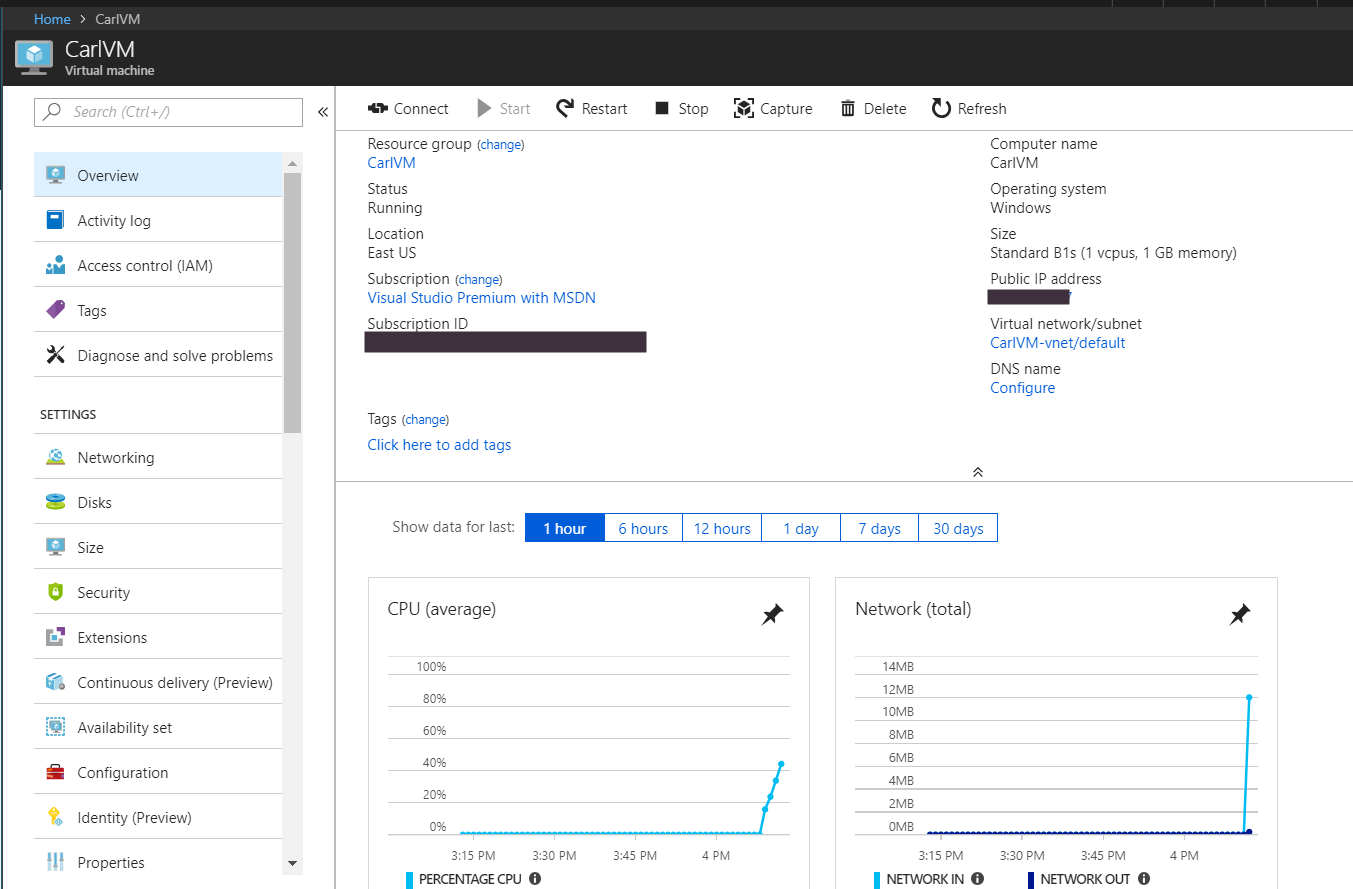
Once complete, select the VM. You will see:
To connect to the machine, click on Connect:

Click Download RDP File:

This will download:
![]()
Open the file. This will connect to the public IP/port:
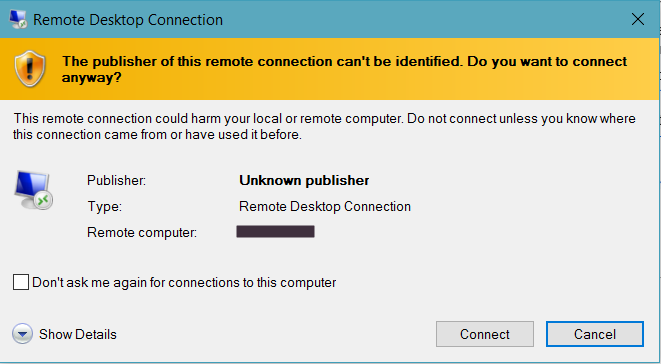
Click connect and log in using the credentials you provided above:
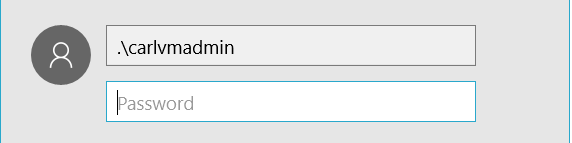
You will then be able to connect to the machine:
I AM SPENDING MORE TIME THESE DAYS CREATING YOUTUBE VIDEOS TO HELP PEOPLE LEARN THE MICROSOFT POWER PLATFORM.
IF YOU WOULD LIKE TO SEE HOW I BUILD APPS, OR FIND SOMETHING USEFUL READING MY BLOG, I WOULD REALLY APPRECIATE YOU SUBSCRIBING TO MY YOUTUBE CHANNEL.
THANK YOU, AND LET'S KEEP LEARNING TOGETHER.
CARL
