In this post, we will look at how to create a new branch in GitHub from Visual Studio.
Method 1 – Creating a Branch in GitHub.com
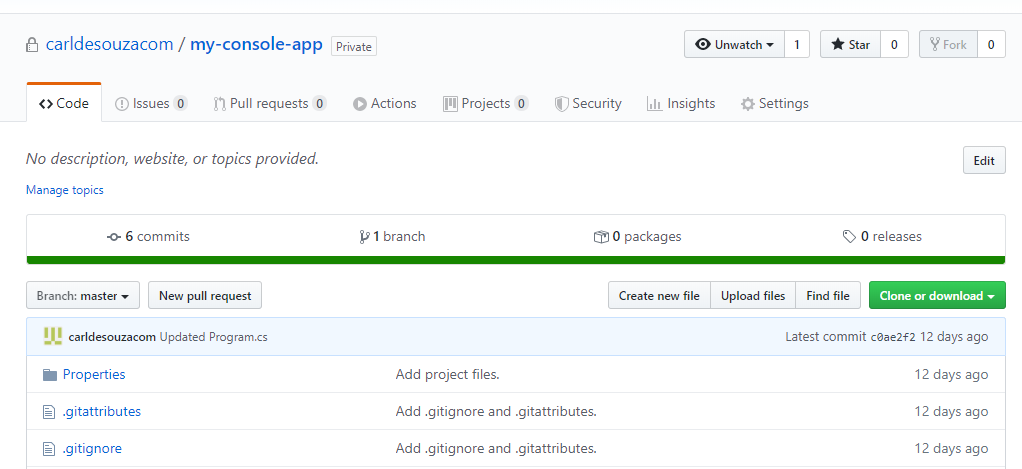
Let’s look at our GitHub repo for out app called my-console-app:
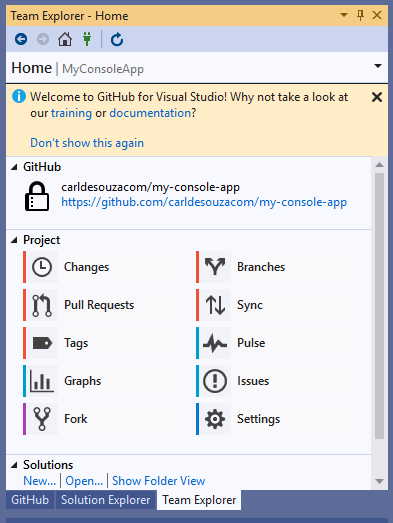
In Visual Studio, we have a project that points to this GitHub repo:
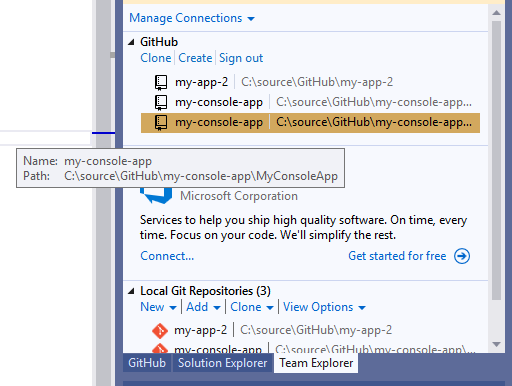
In the bottom right, we see we are connected to the Master branch:

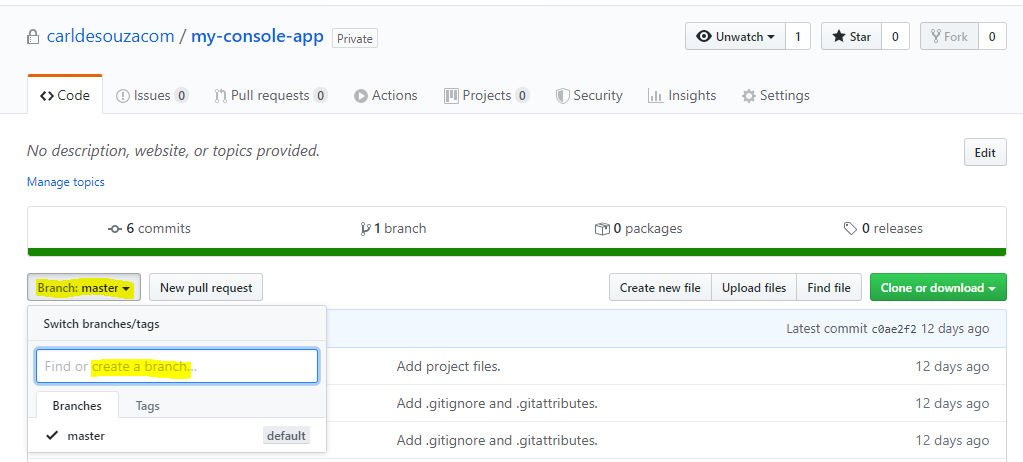
From GitHub, we can create a new branch by clicking on Branch: Master and enter a new branch name:
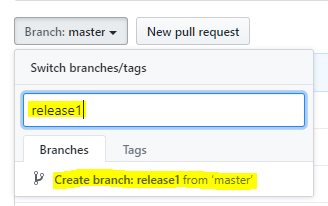
Enter a name and click Create branch:
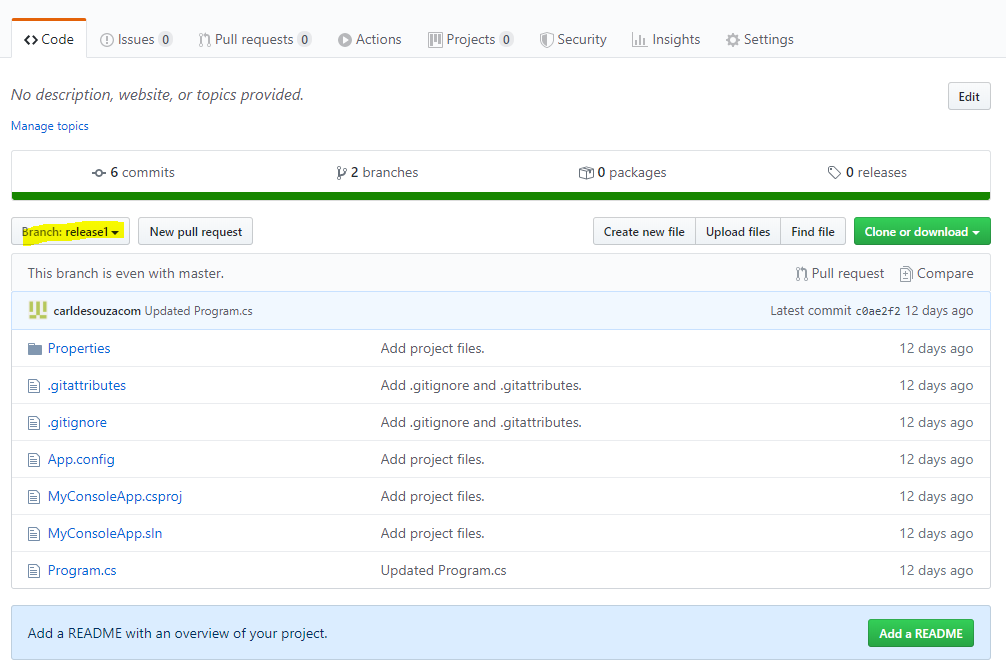
We are now in Release1:
Now, if we go to Visual Studio, the new branch won’t be there. We will need to Sync. Press on the Home icon, then Sync:
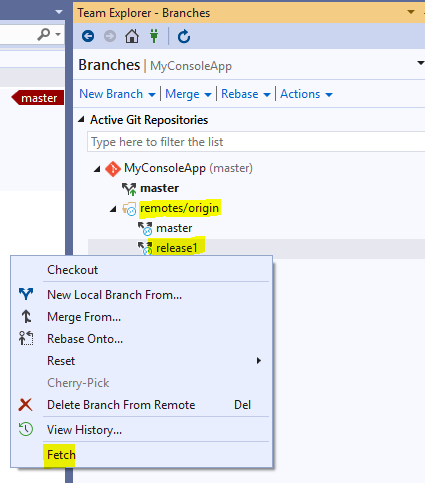
Double click to make it the current branch:

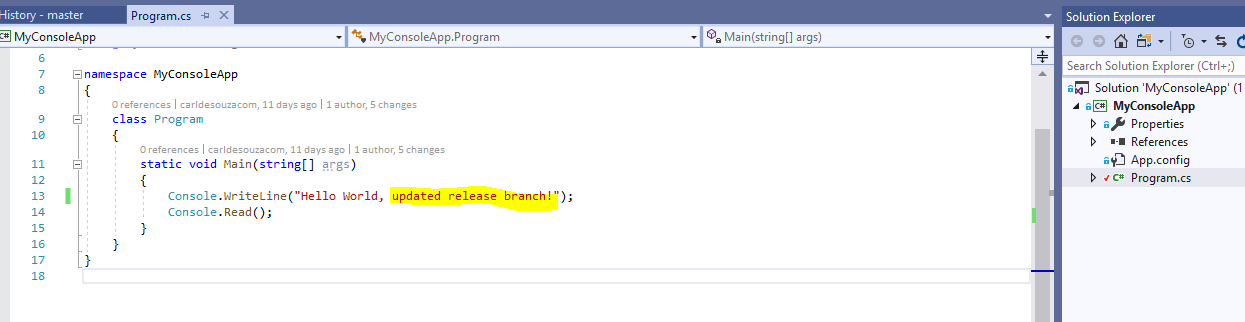
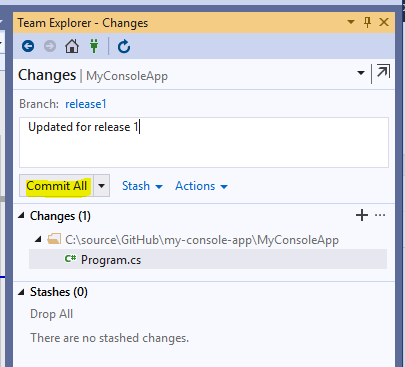
Let’s update the Release1 branch in VS:
And under Changes, press Commit:
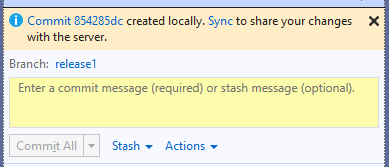
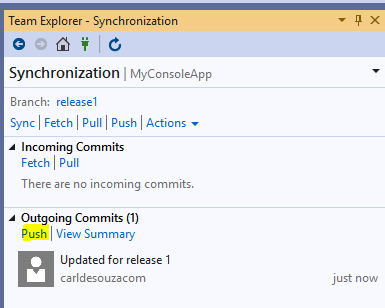
This commits the change locally. Now press Sync to send to GitHub:
And Push:
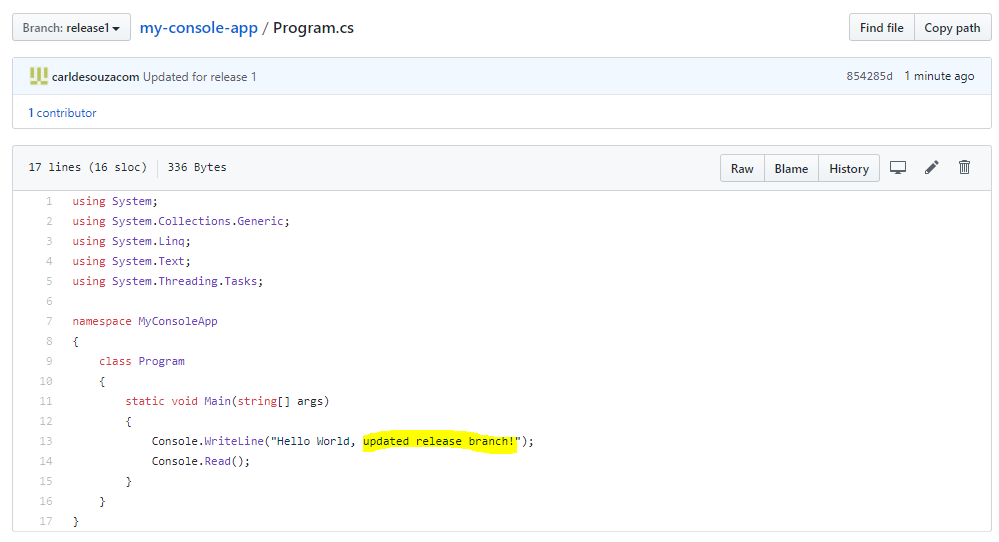
GitHub is now updated:
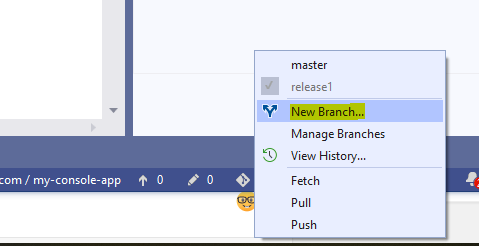
Method 2 – Creating a Branch in Visual Studio
Let’s create Release2 in Visual Studio.
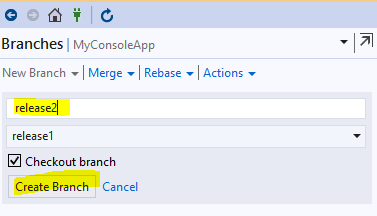
We now see:
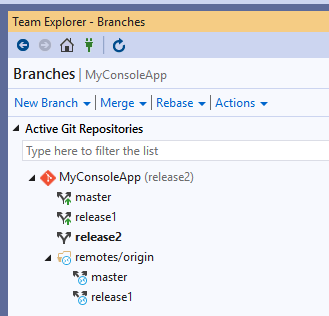
In GitHub, there is no Release2 branch:
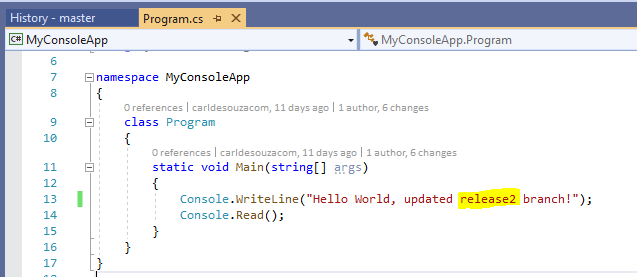
Update the code:
Commit locally:
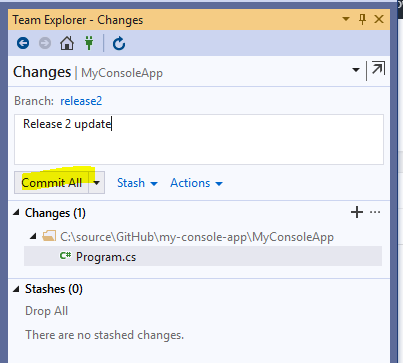
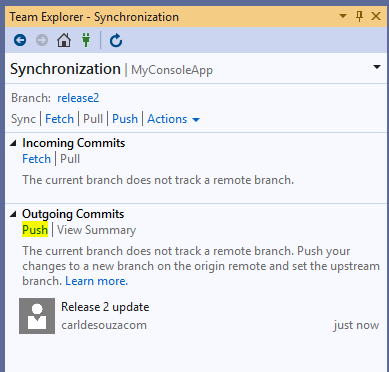
Note the message. Click Push:
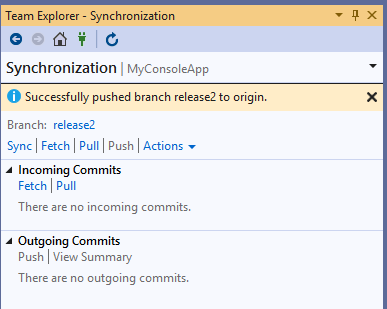
We see success:
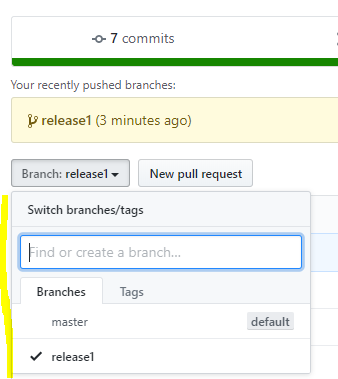
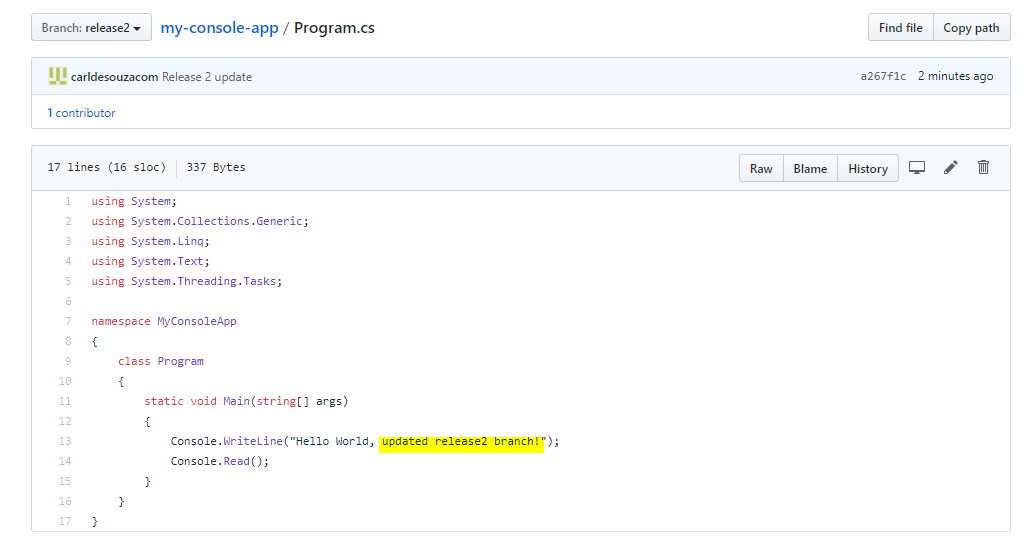
In GitHub, we see Release2 created:

I AM SPENDING MORE TIME THESE DAYS CREATING YOUTUBE VIDEOS TO HELP PEOPLE LEARN THE MICROSOFT POWER PLATFORM.
IF YOU WOULD LIKE TO SEE HOW I BUILD APPS, OR FIND SOMETHING USEFUL READING MY BLOG, I WOULD REALLY APPRECIATE YOU SUBSCRIBING TO MY YOUTUBE CHANNEL.
THANK YOU, AND LET'S KEEP LEARNING TOGETHER.
CARL
