The Microsoft Power Platform has exciting new capabilities with its Power Virtual Agents, used to build intelligent bots, and Power Automate, used to write no-code flows and integrations. What’s also exciting is the ability to call flows from bots in order to help bots answer questions and provide information to a customer/user.
As I previously promised after the Ignite 2019 announcements, we will now look at how to create a Power Virtual Agent, and integrate it with Power Automate. In this example, we will use Power Automate to get today’s weather for a given city, so when a user asks the bot what the weather is like, it will answer with the temperature in real-time. And it’s so easy, anyone can do it. Let’s do it.
First, go to https://powerva.microsoft.com/ and sign in. Note Power Virtual Agent is in preview at the time of writing:
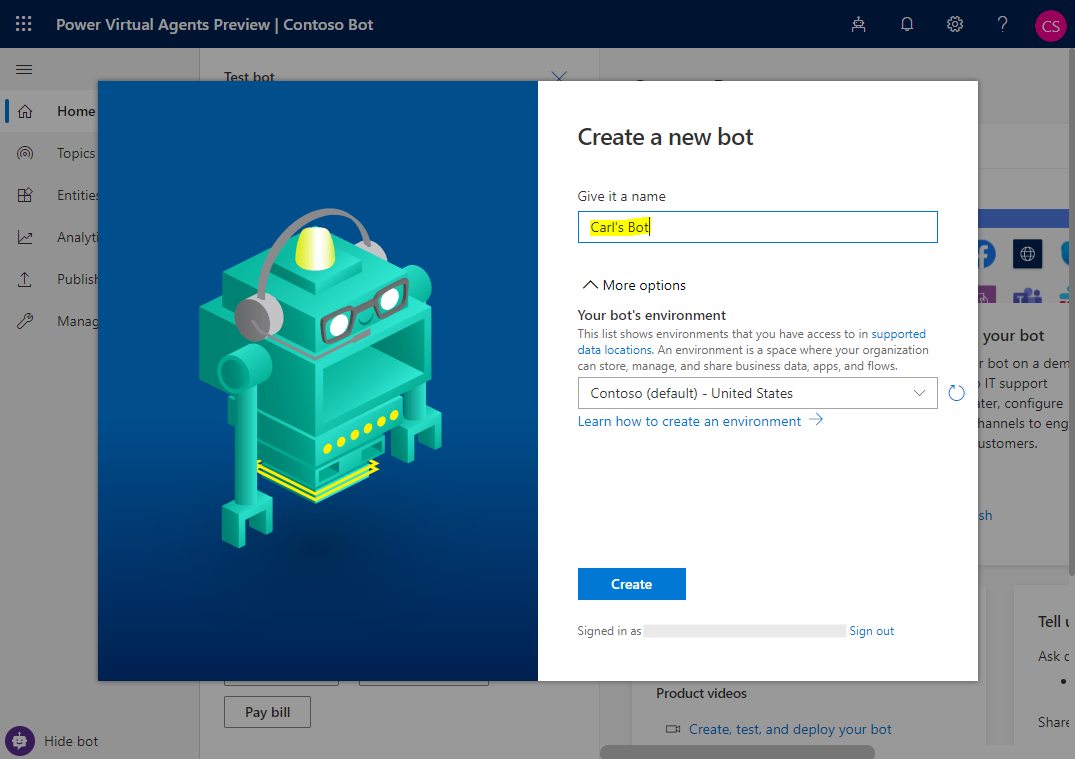
You will see below. Give the bot a name. We will call ours Carl’s Bot. Note the bot’s environment will be my Contoso demo environment:
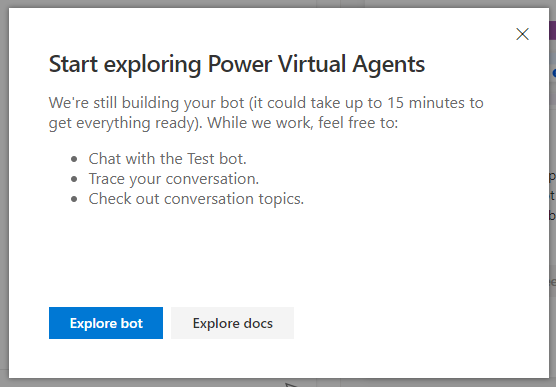
You will see below, with the options to Explore bot and Explore docs:
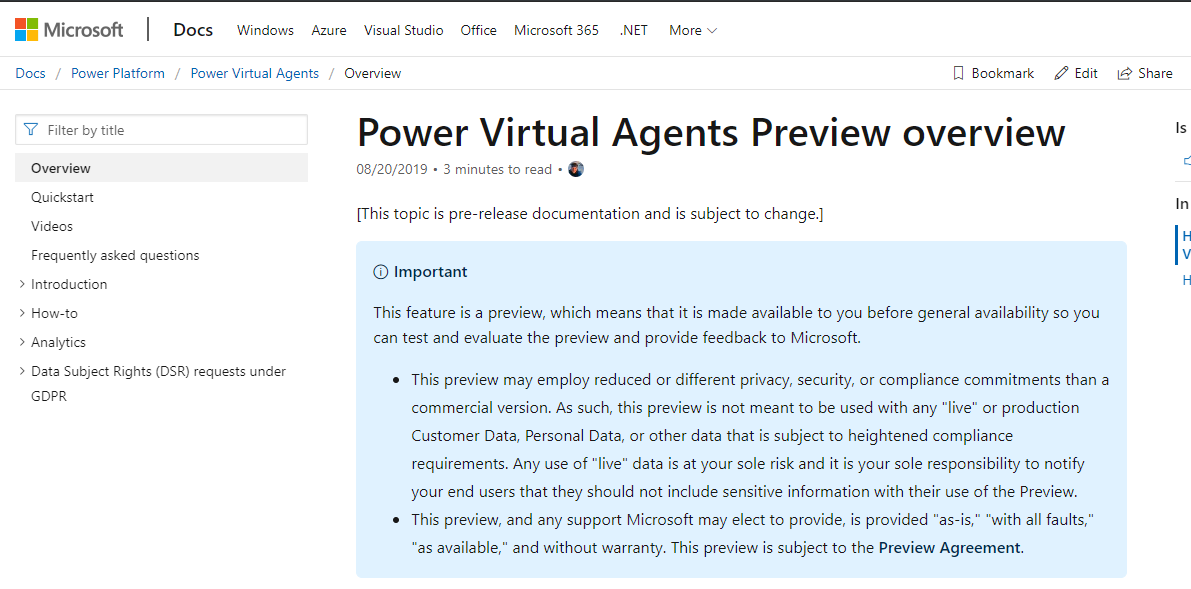
Explore the docs takes you here – https://docs.microsoft.com/en-us/power-virtual-agents/overview. which is the Power Apps Virtual Agent documentation:
Clicking on Explore bot takes us to the bot itself:
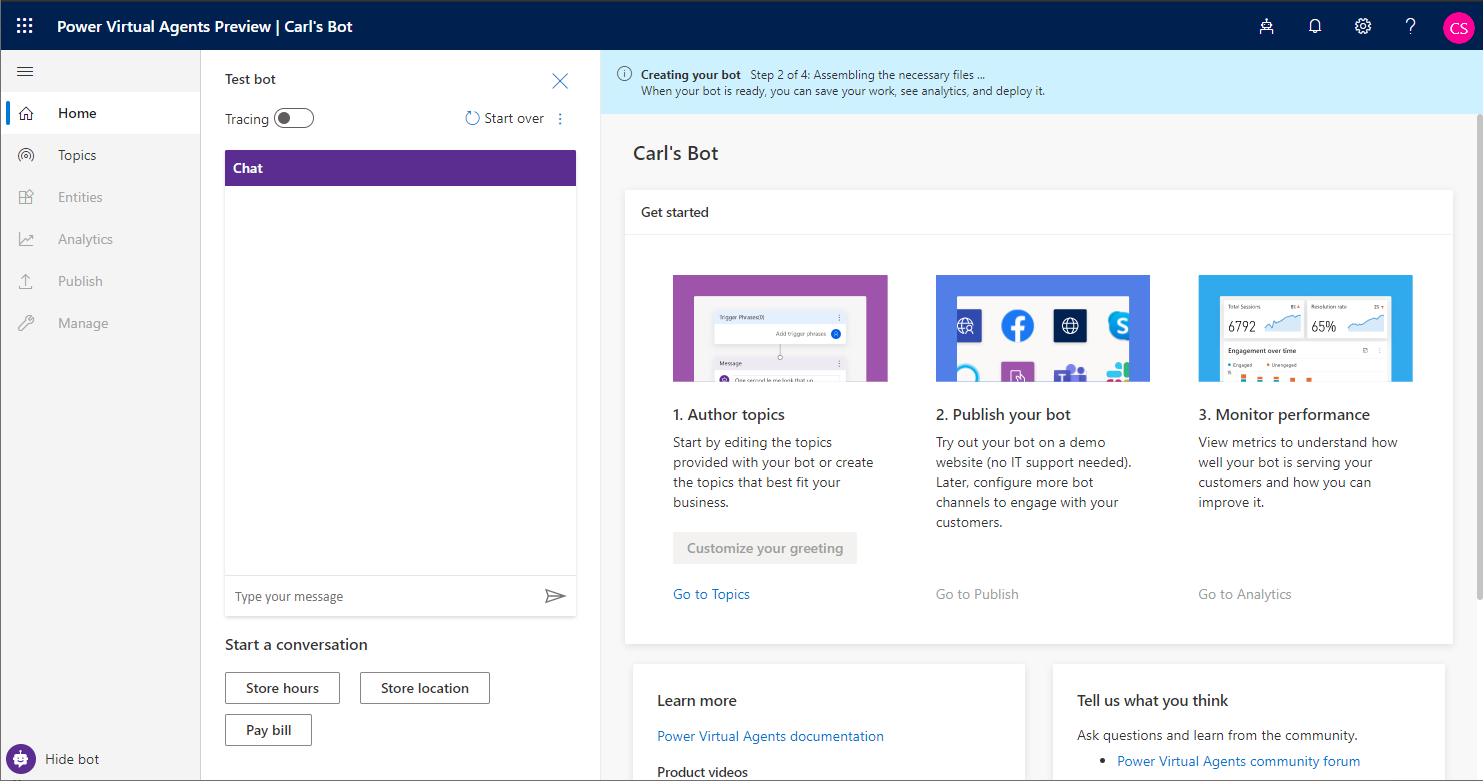
We can see the bot is still being created:

Once complete, you will see “You can now use Power Virtual Agents with full functionality”:
![]()
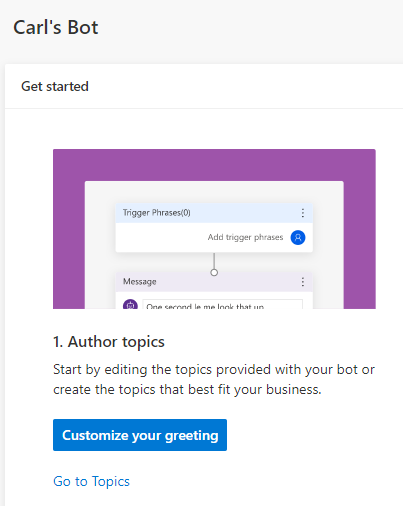
Let’s start with a Bot greeting. Click on Customize your greeting:
On selecting this, we see our chat bot on the left, and the flow of our interaction on the right. We see several Trigger Phrases and Messages created. These trigger phrases include “Hello”, “Good morning” etc. When a user enters one of these phrases into the bot’s chat, the bot is programmed to respond with its Messages, shows below as “Hi! I’m a virtual agent. I can help with account questions, orders, store information, and more”, etc: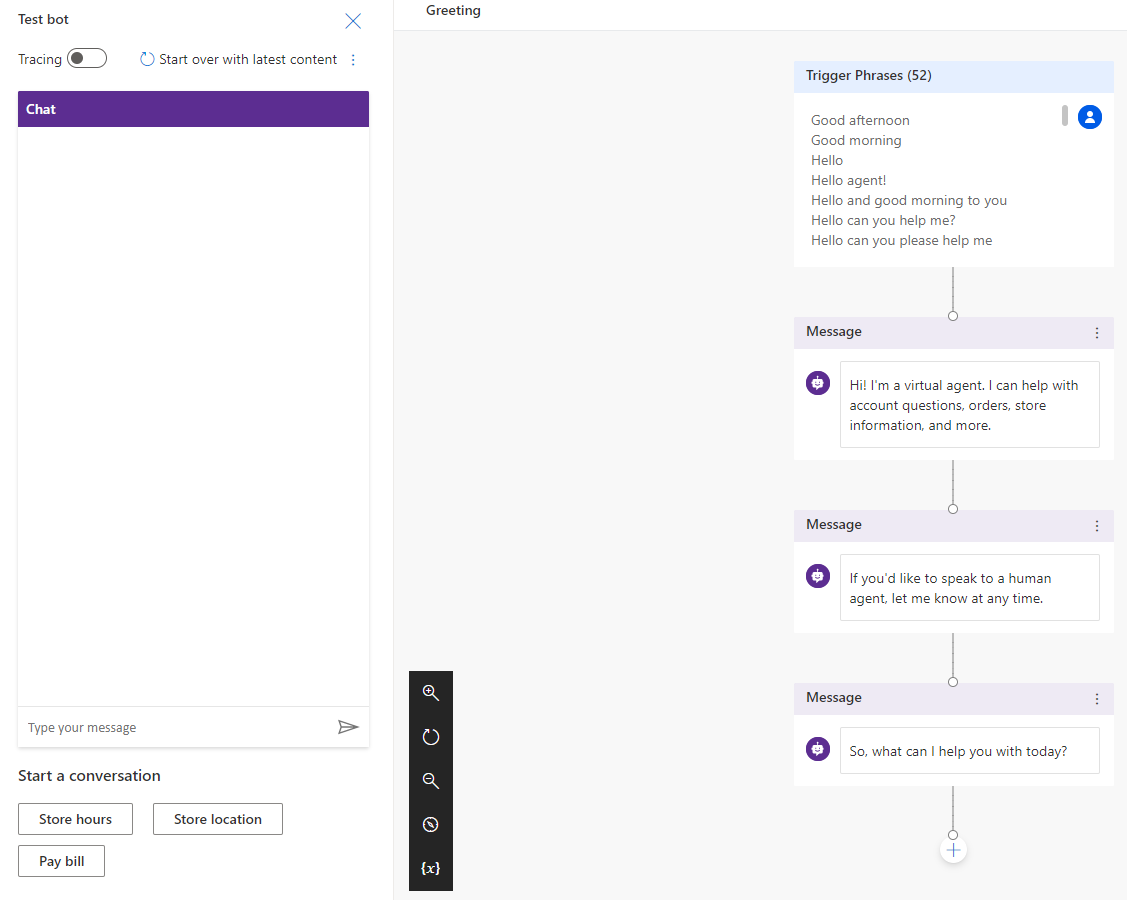
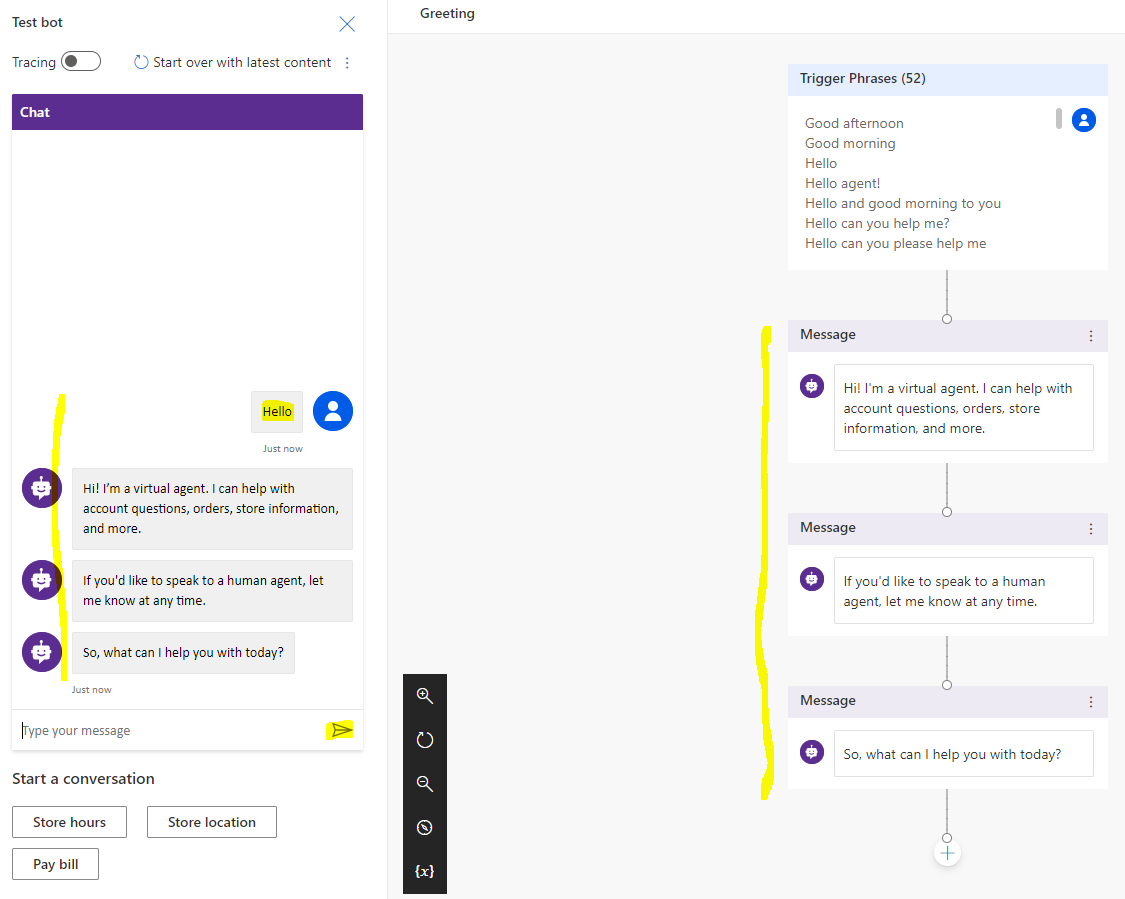
If we enter Hello into our Chat, we can see the responses from the Bot match our messages:
Let’s click on Topics. These are the subjects our bot can answer questions on:

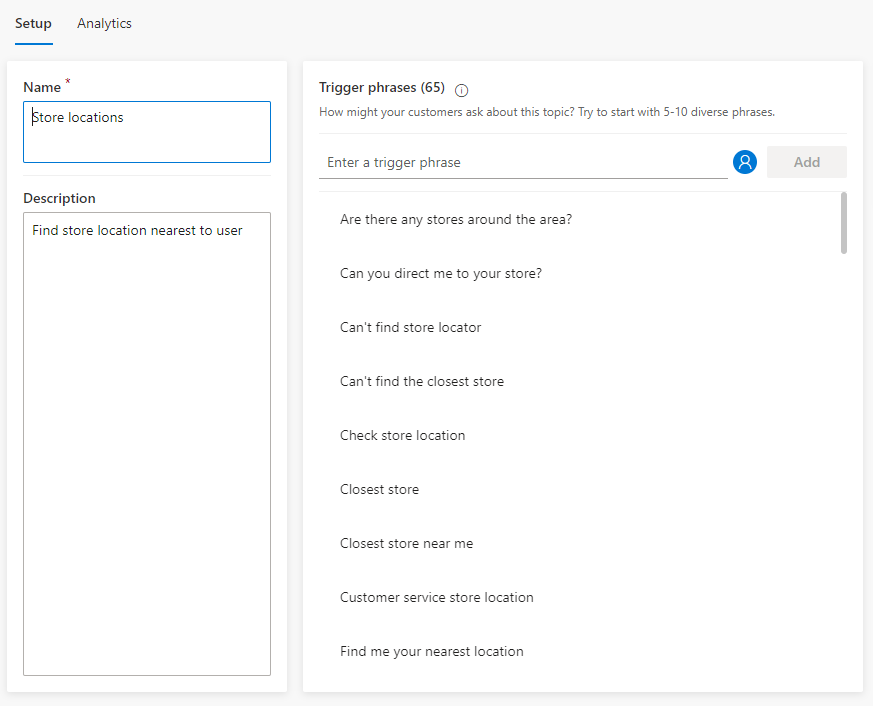
For example, if we select Store Locations, we see there are several questions regarding store locations, such as “Are there any stores around the area?”:
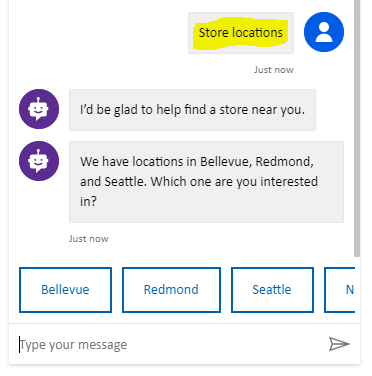
Le’ts type Store Locations into the bot to see what is returned. We see the bot is asking us additional questions to be able to accurately answer our question:
To configure how these answers work, on the right, for this topic, click on Authoring Canvas:

We can see when the phrase is triggered (e.g. “Check store location”), we have a message returned (“I’d be glad to help find a store near you”) and it is asking a question in return (“We have locations in Bellevue, Redmond, and Seattle. Which one are you interested in?”) to help the user select the nearest store:
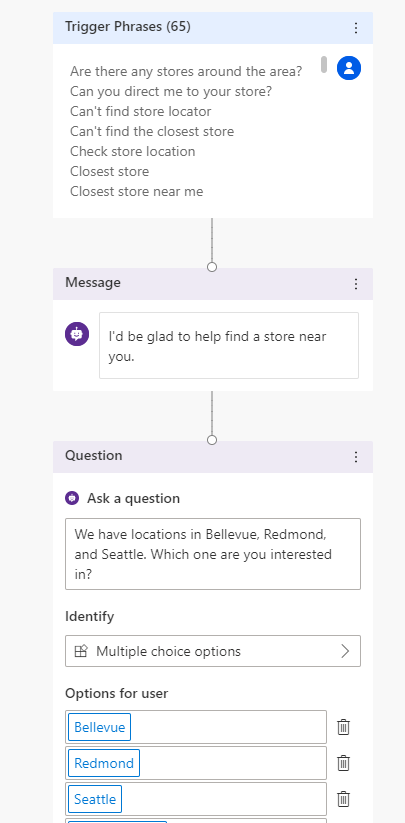
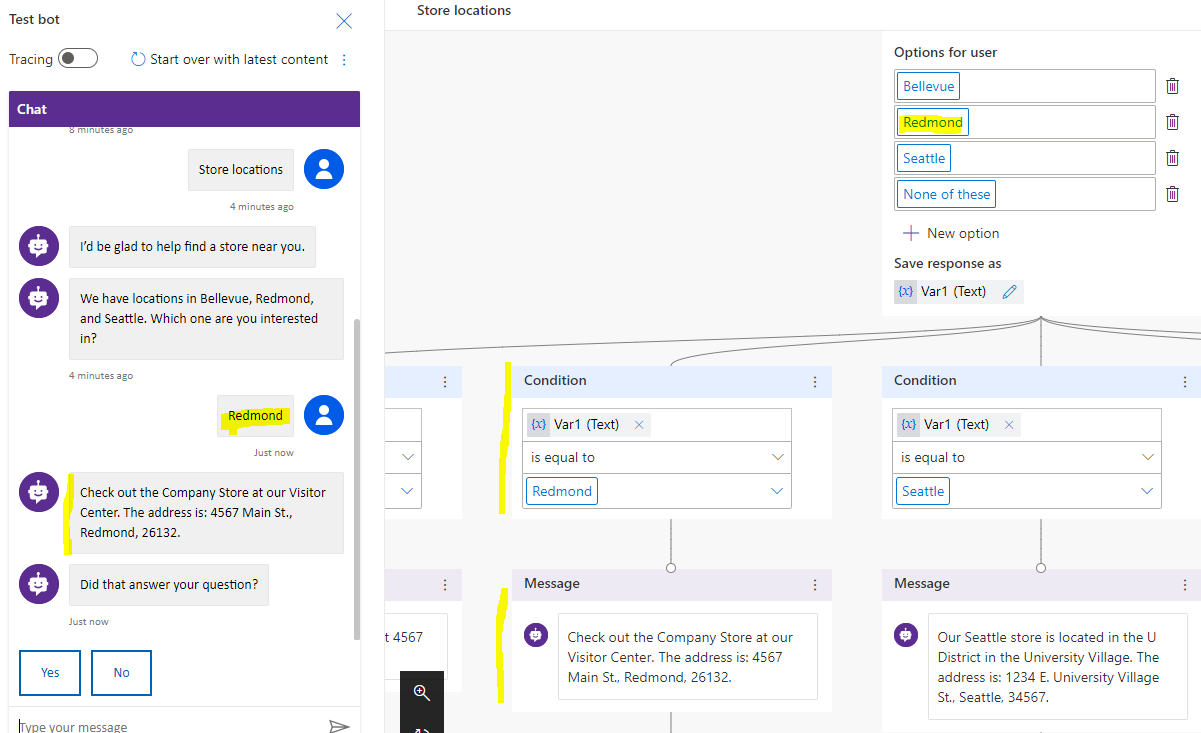
We can see the bot accepts certain locations as options that the user can select, in order to get the address of that store. Note that this is all configured without writing any code:
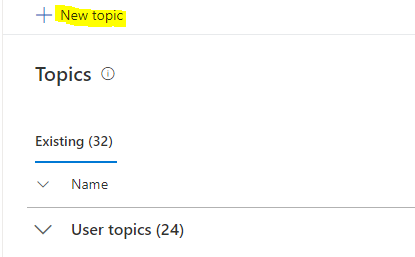
Let’s go through how to create a new topic. Our topic will be “Weather”, which will enable a user to ask the bot questions regarding the weather. Click on New Topic:
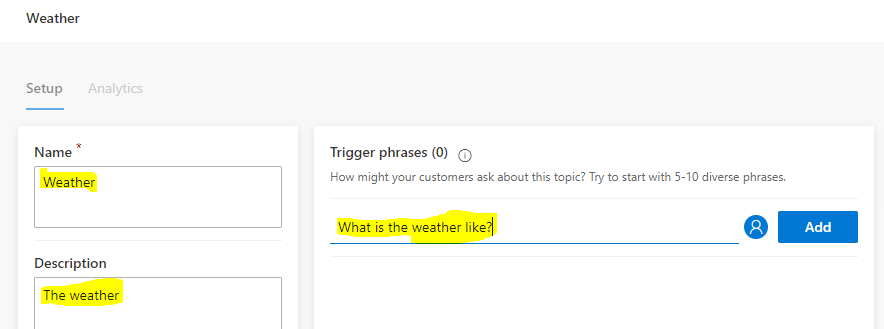
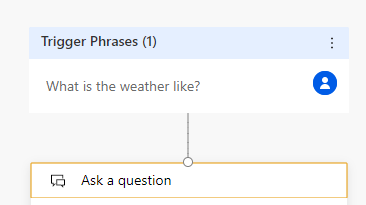
Set the name = Weather as below, and we will create our first question, “What is the weather like?”:
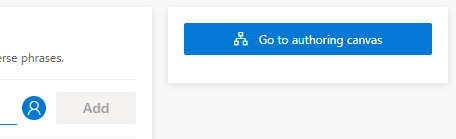
Click on Authoring Canvas, which will save the topic:
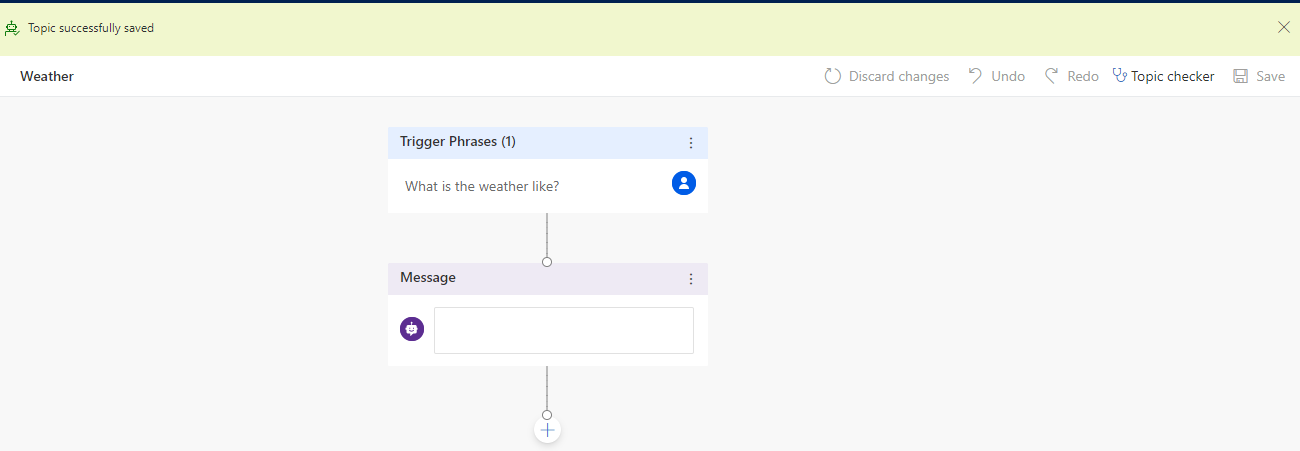
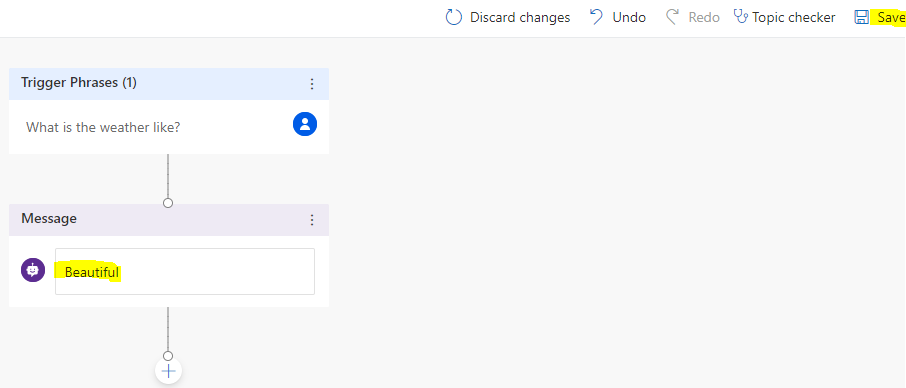
Now we need to configure what happens when this question is asked. We see we can add a message, which is the simplest response:
Let’s reply with the word “Beautiful” and click Save:
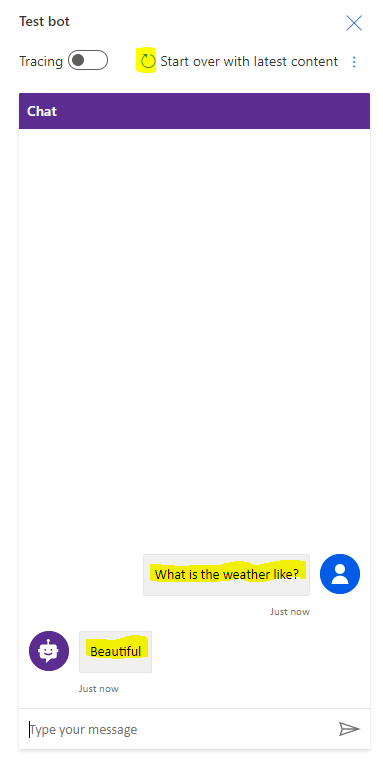
Now let’s test this. On the test bot, click Start over with the latest content: then type in the phrase “What is the weather like?”. We can see the response “Beautiful” is returned. Great, now we know our topic is working:
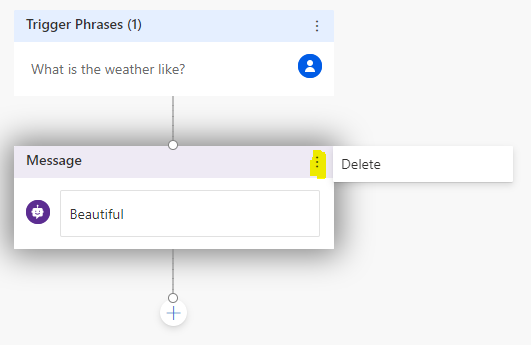
Now let’s use Power Automate to get the real weather based on a city that is entered by the user. Delete the response:
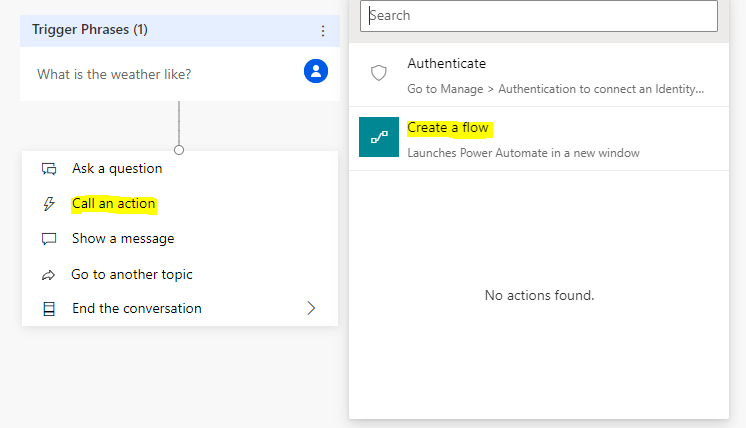
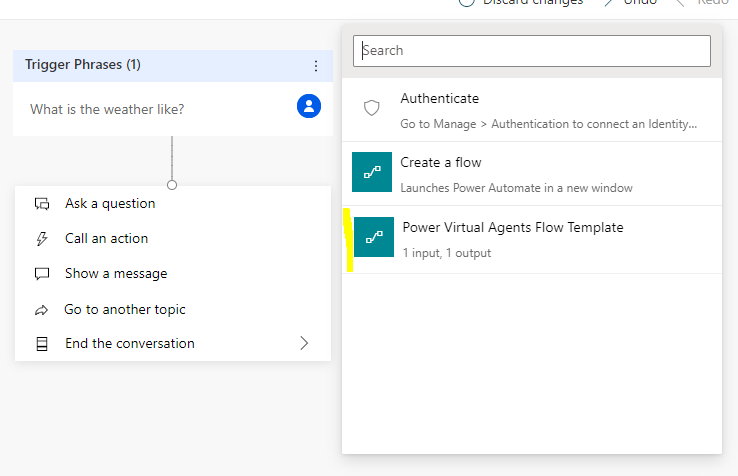
We will Call an Action, which will be our Power Automate flow. Click Create a Flow:
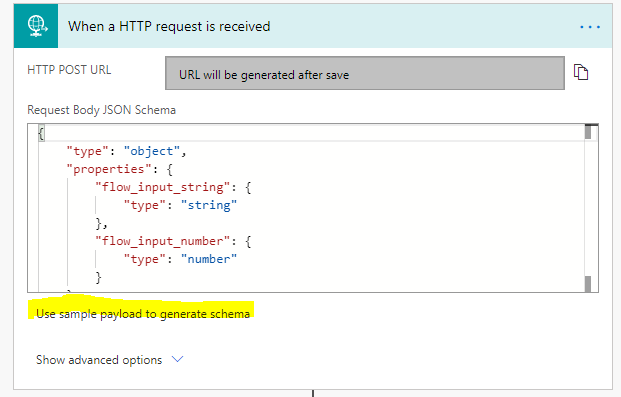
This provides us with an out of the box request and response. We will customize this. On When a HTTP request is received, select Use sample payload to generate schema. We will change the sample one to use one of ours that receives the weather city.
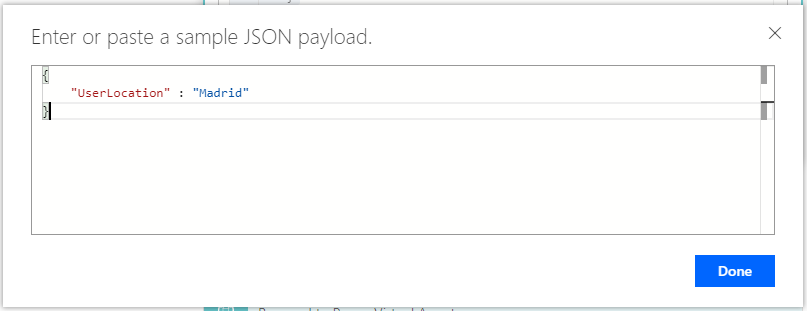
Enter the schema below, which basically says we will receive a UserLocation field, and click Done:
{
    "UserLocation" : "Madrid"
}
We see the schema has been generated:
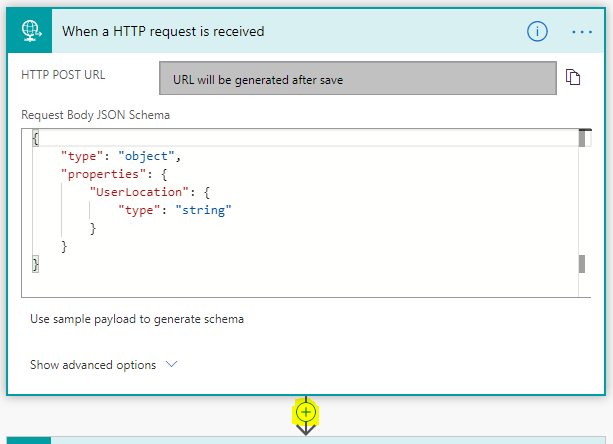
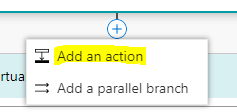
Now let’s click Add an action to after this.
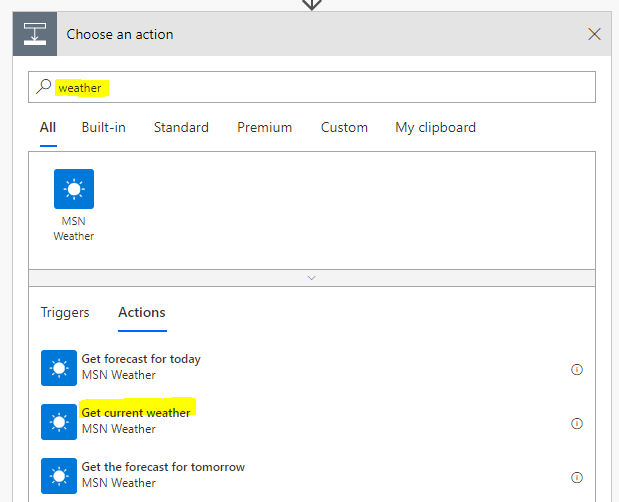
We will add an action to get the weather using the MSN Weather service. Select Get current weather as the action:
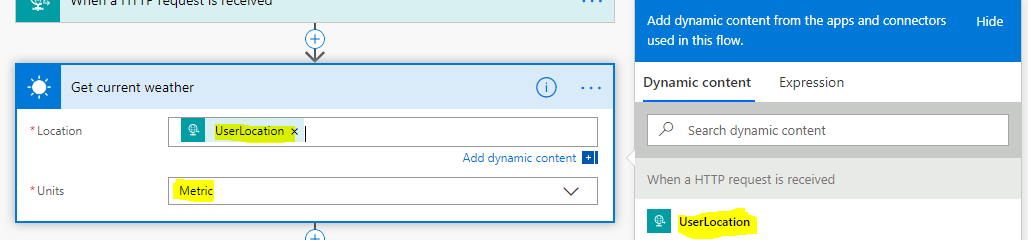
For the Location field, we will select the UserLocation from Dynamic content, and the Units = Metric or Imperial. We will use Metric for this example:
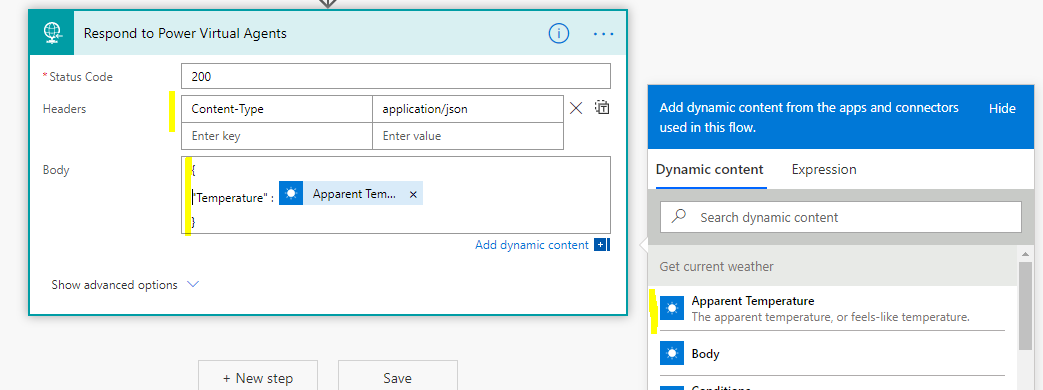
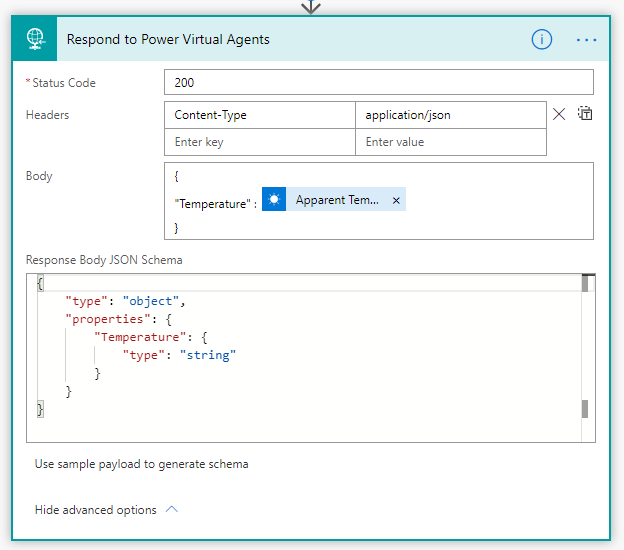
That’s all we need to do to get the weather. We now need to return this result to the bot. To do this, we will use the Respond to Power Virtual Agents. In the body, we will create JSON that has the field Temperature, and we will select from the Dynamic content Apparent Temperature, a field returned from the MSN Weather:
Now let’s select under Show advanced options, Use sample payload to generate schema:
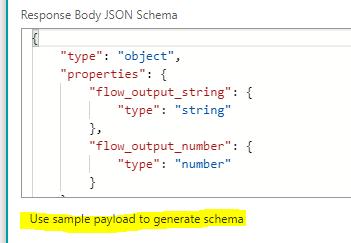
We will enter some sample JSON to generate our return schema, which is one field, “Temperature”, like below:
{
    "Temperature" : "80"
}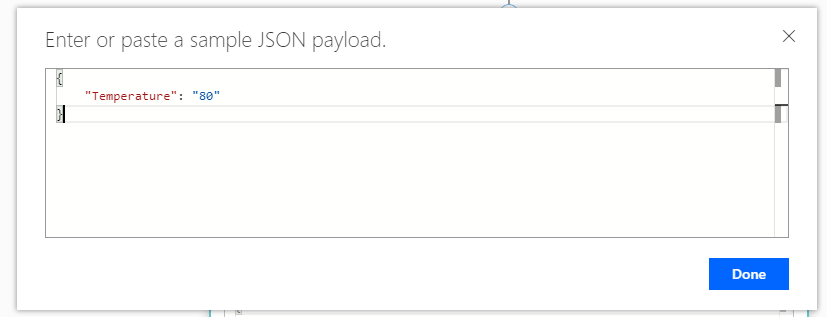
We now see below:
With the full flow looking like below:
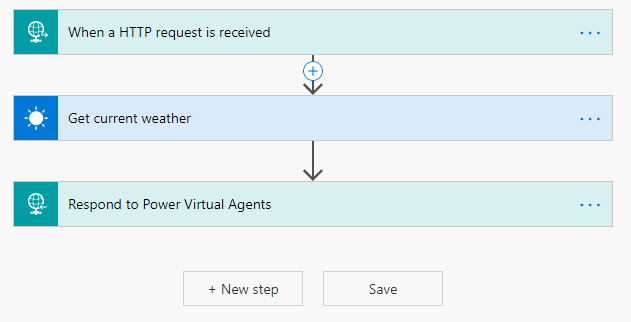
Save the Flow and note the name of it. At this point, we need to add our flow to a solution to use it.
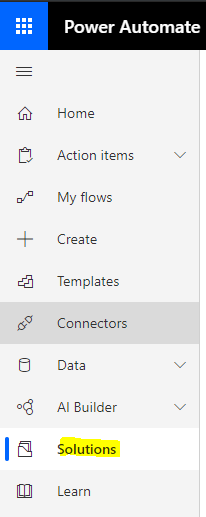
Let’s create a new solution to add the flow to:
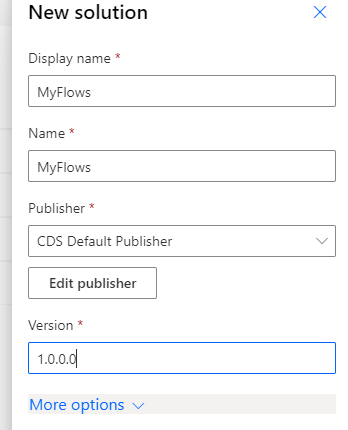
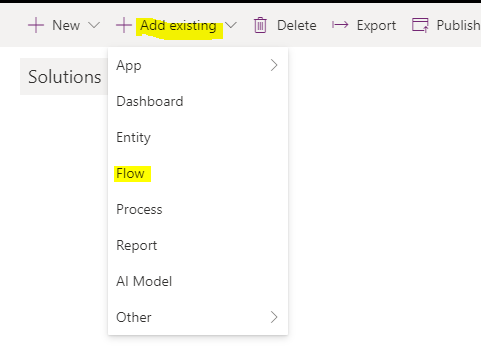
Click Add existing->Flow:
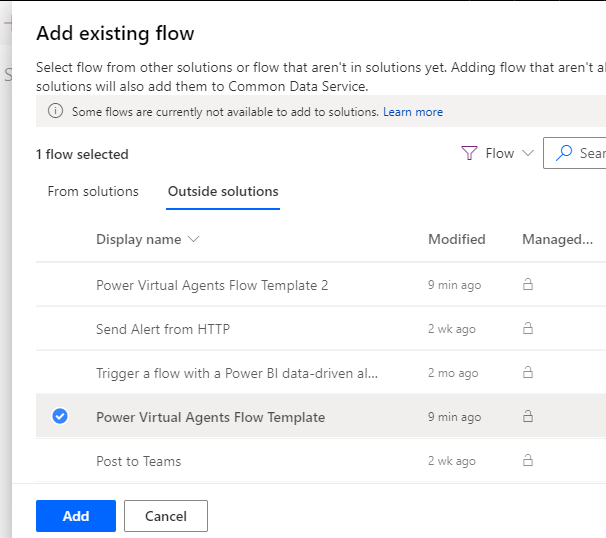
Select the new Flow created:
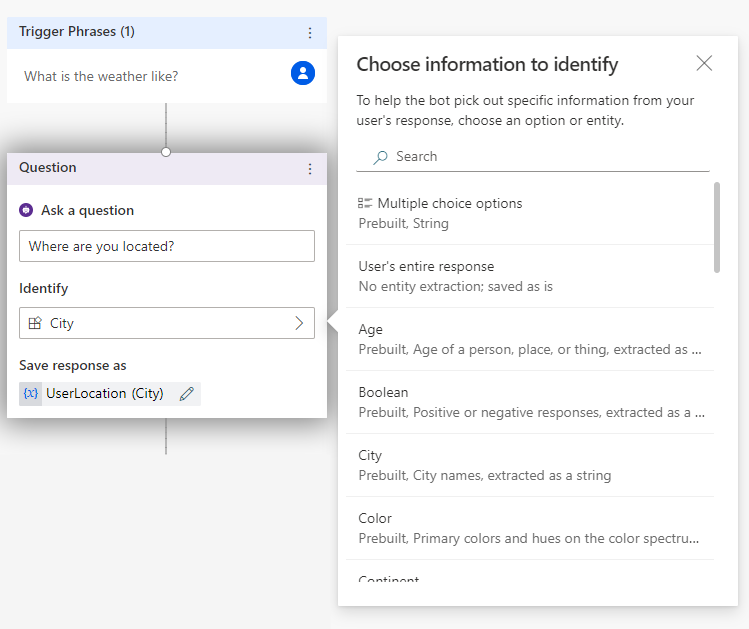
We are now ready to use our new flow with our bot. Go back to the bot topic authoring canvas, and we will add a question after our trigger phrase to ask the user what city they would like the weather for:
Our question will be “Where are you located?”, and we will select City from the prebuilt list:
Now let’s call an action. Select the flow we created, which in this case is called Power Virtual Agents Flow Template:
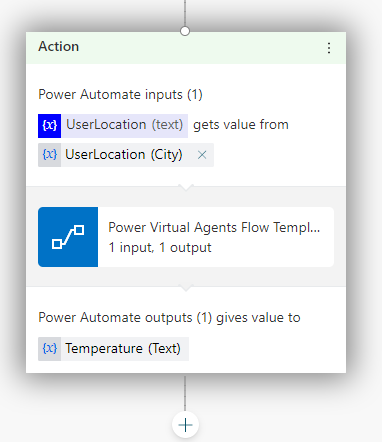
We will set the city to be called UserLocation, passed into our flow, and our output will be Temperature:
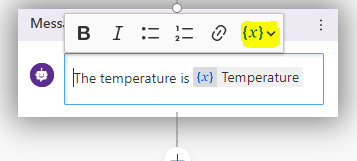
Finally, we will show a message to the user:
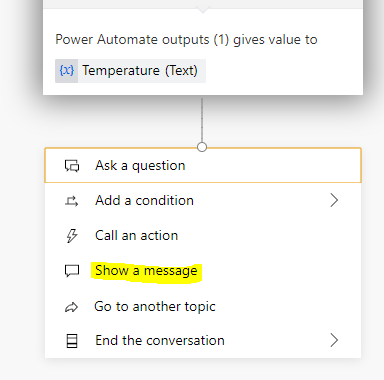
Displaying the temperature returned from the MSN Weather service:
Now we’re done. No code. Let’s test this.
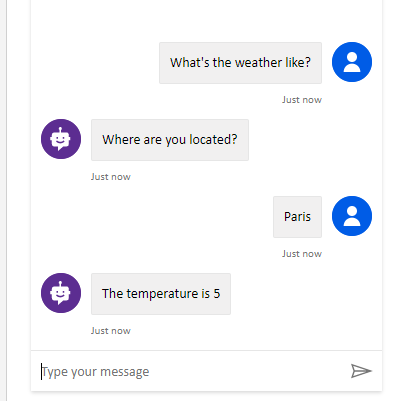
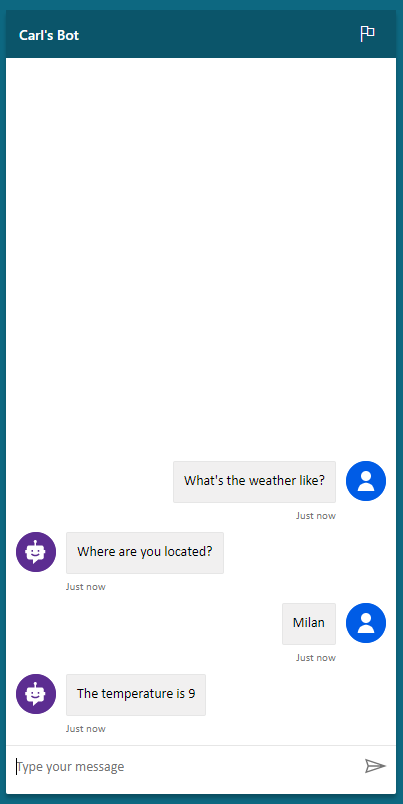
Ask the bot, “What’s the weather like?”. We are asked “Where are you located?”. We enter “Paris”. The weather in Paris is returned, “The temperature is 5”.
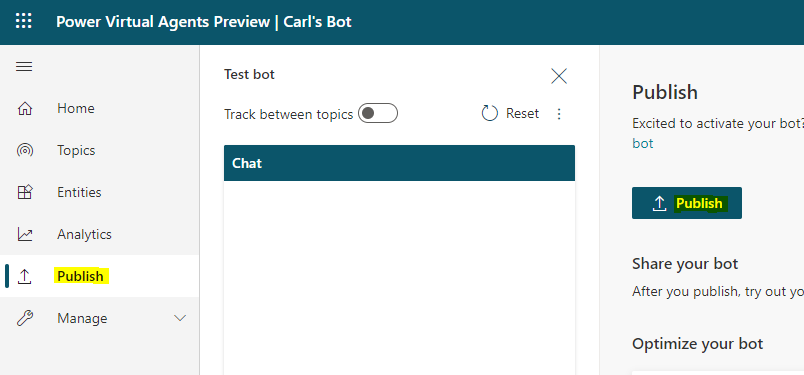
In our final step, let’s Publish the bot. Go to Publish and hit the Publish button:
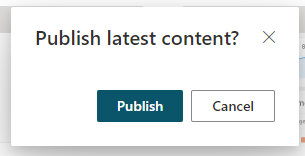
And Publish:
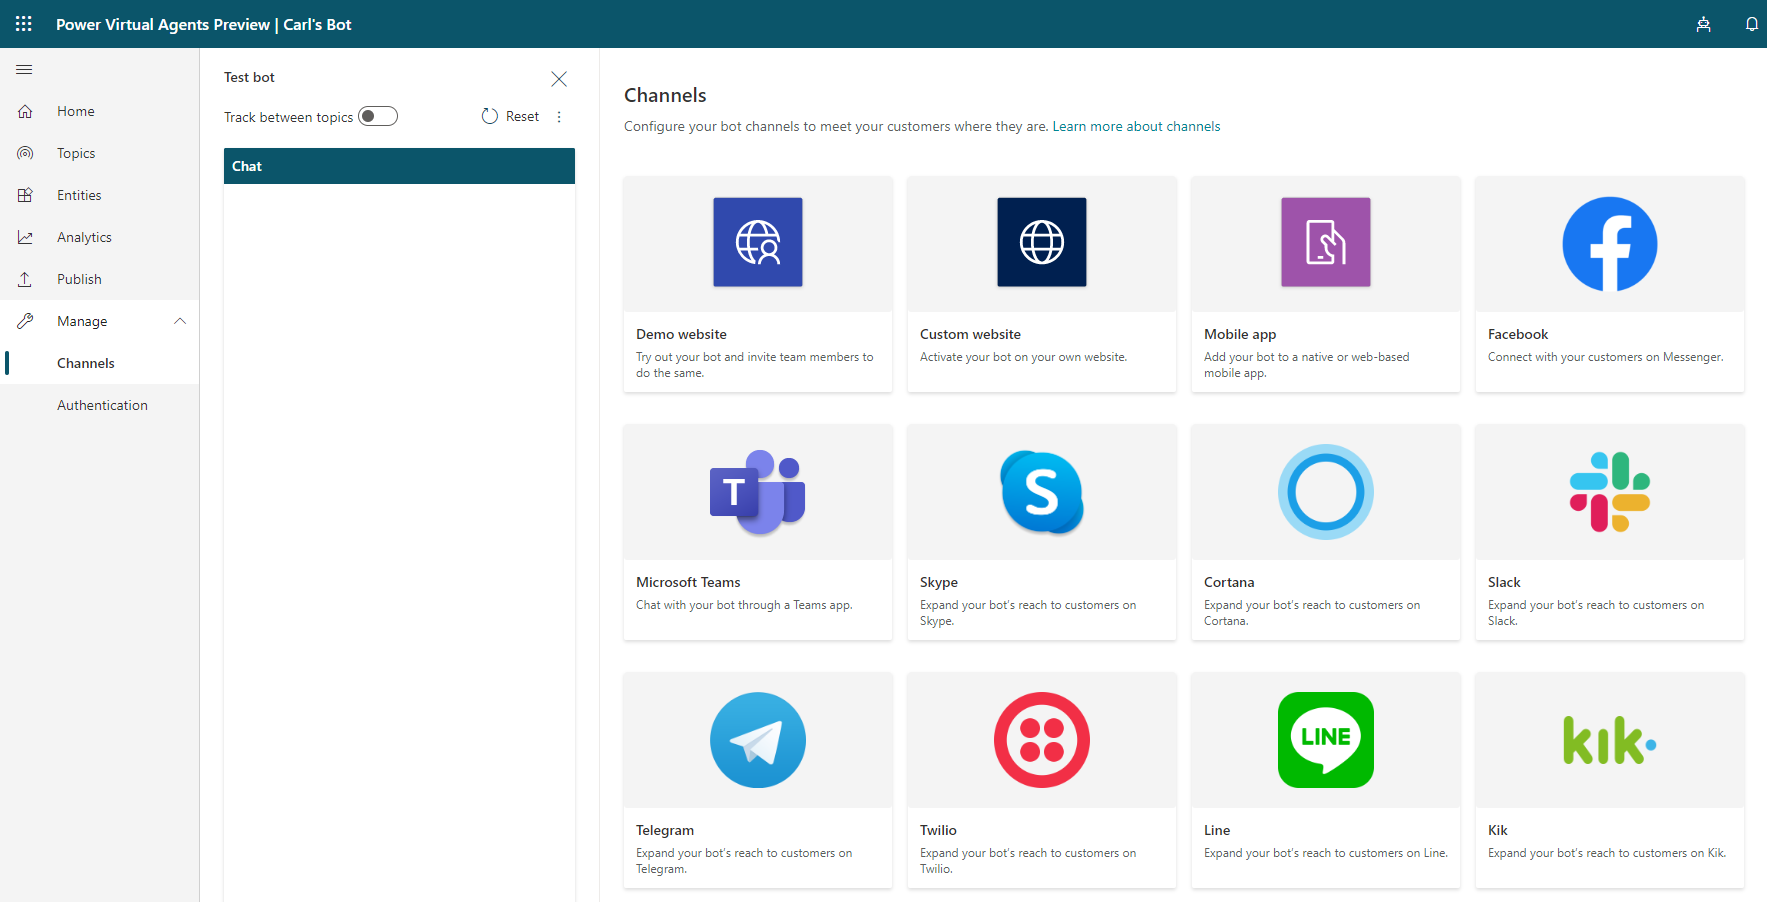
Now click on the demo website to see the bot in action:

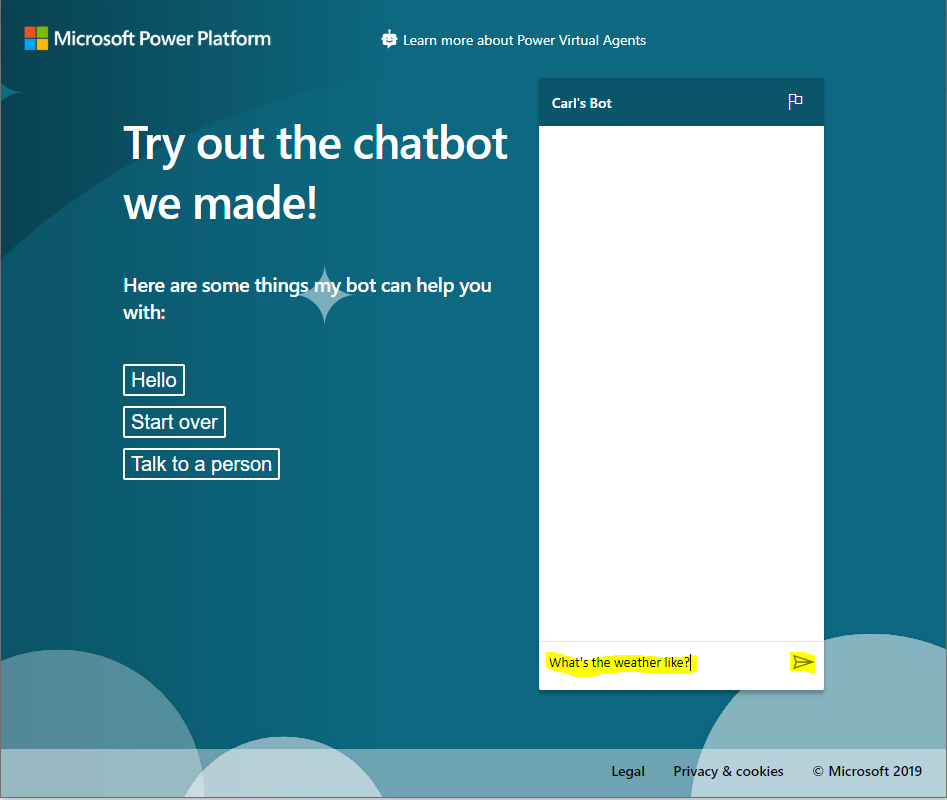
That’s it. You now have a working bot. Publish it out to multiple channels such as Microsoft Teams, Cortana, Websites, Mobile Apps etc.
I AM SPENDING MORE TIME THESE DAYS CREATING YOUTUBE VIDEOS TO HELP PEOPLE LEARN THE MICROSOFT POWER PLATFORM.
IF YOU WOULD LIKE TO SEE HOW I BUILD APPS, OR FIND SOMETHING USEFUL READING MY BLOG, I WOULD REALLY APPRECIATE YOU SUBSCRIBING TO MY YOUTUBE CHANNEL.
THANK YOU, AND LET'S KEEP LEARNING TOGETHER.
CARL
