Let’s follow on from the example of creating a new branch in Github.
We used 2 methods to create 2 branches, Release 1 and Release 2, from the Master branch. Let’s now create a branch of a branch. We will create Release 1a from Release1, and Release 2a from Release 2.
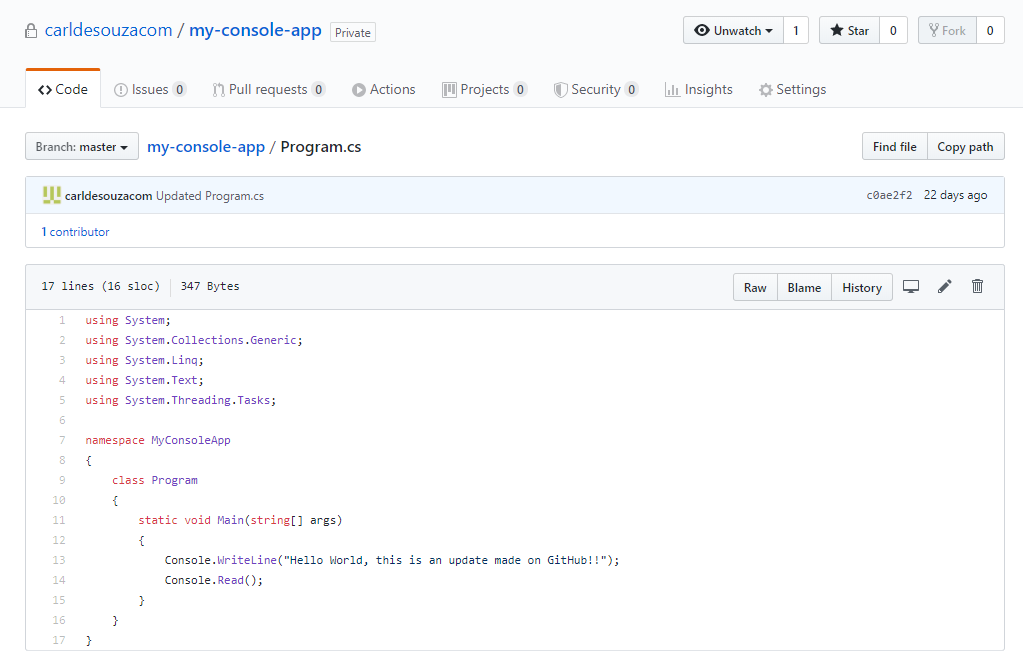
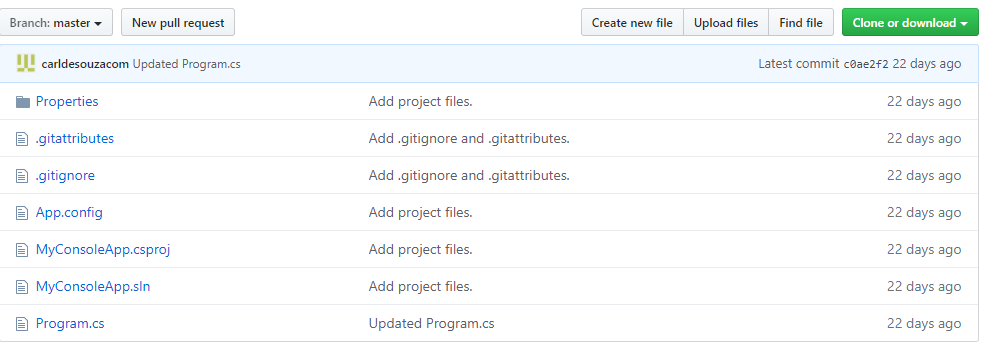
Master currently looks like this:
Method 1 – Visual Studio
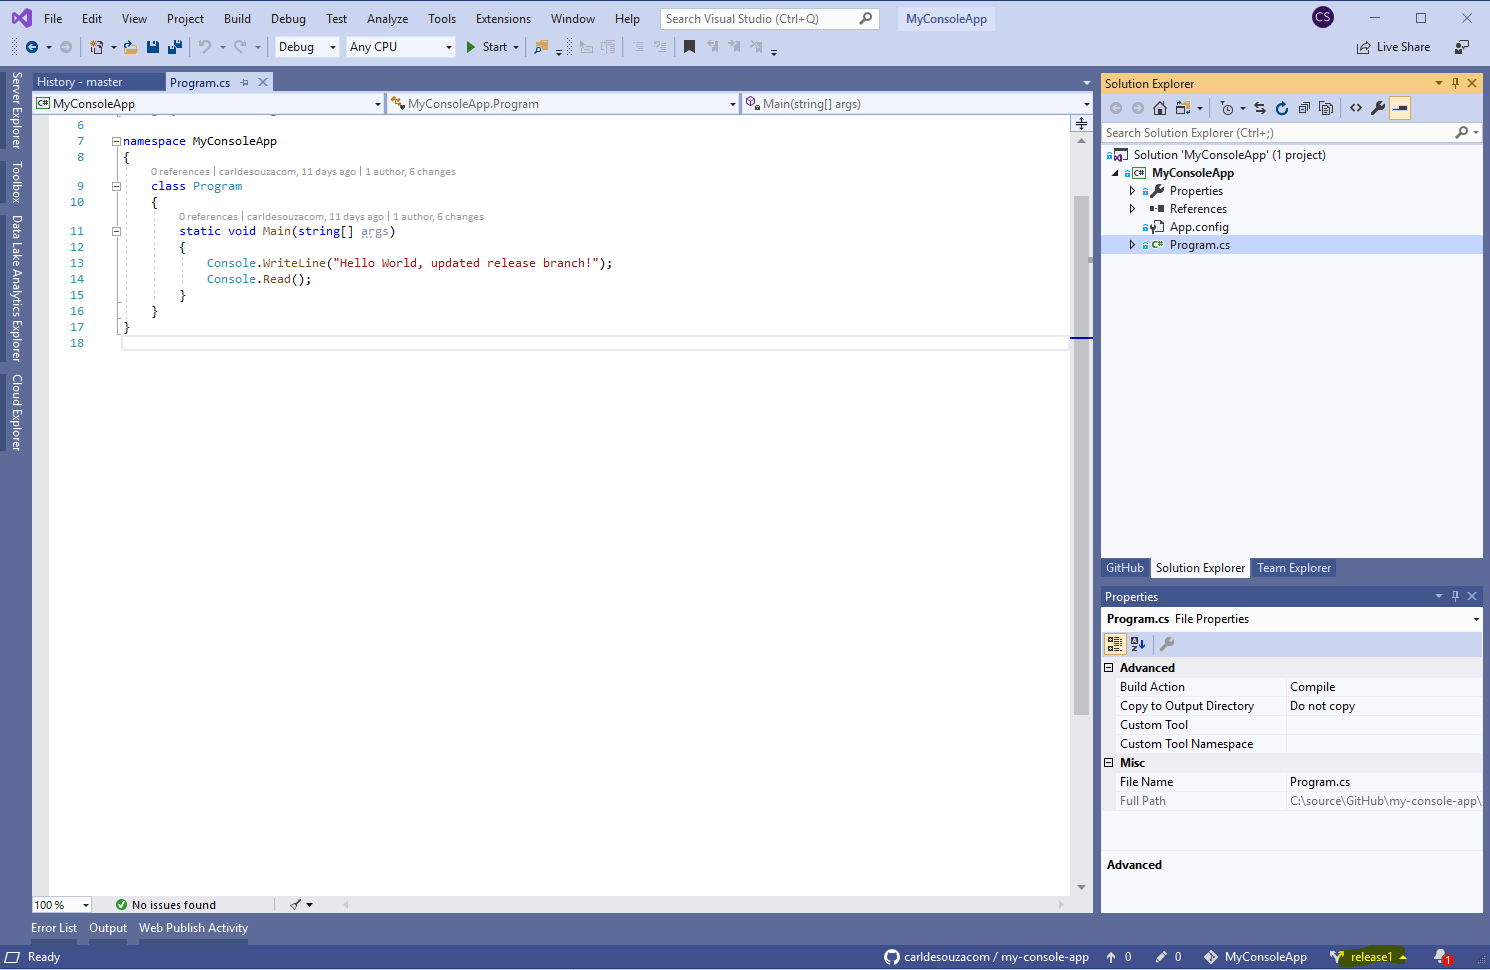
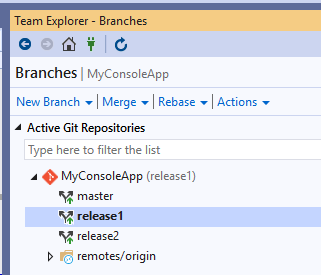
Here we are in Visual Studio in Release 1. We can see this in the bottom right:

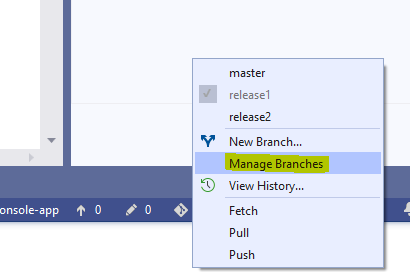
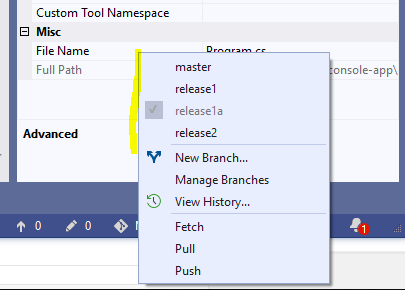
Now let’s go to Manage Branches:
We see the releases:
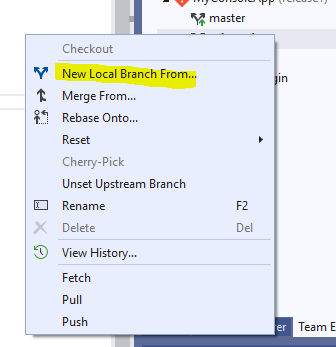
Click New Local Branch From:
Release1 is the from selected, enter release1a as the new release from release1:
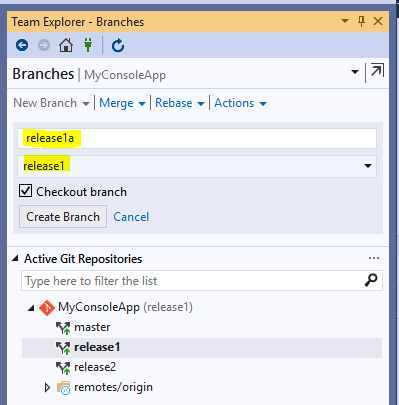
Click Create Branch.
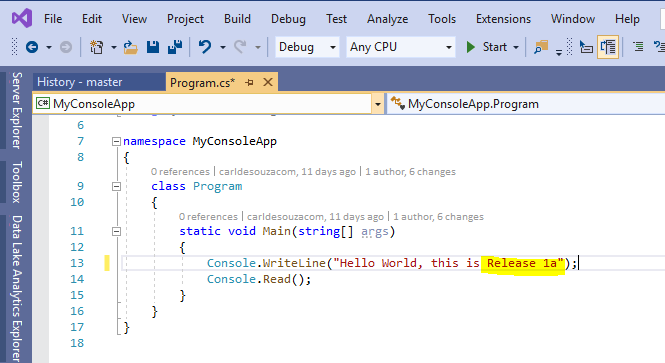
Update the code in release1a.
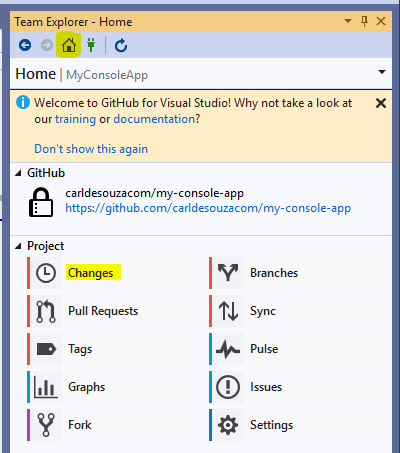
This branch is not in GitHub:

Select Home->Changes:
Enter commit text and click Commit All:

Sync with GitHub:
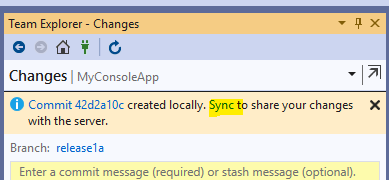
Click Push:

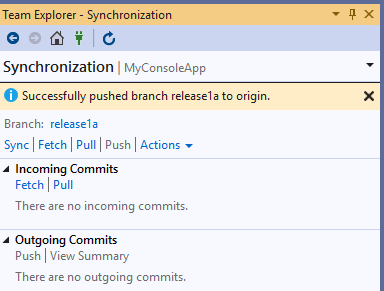
Pushed successfully:
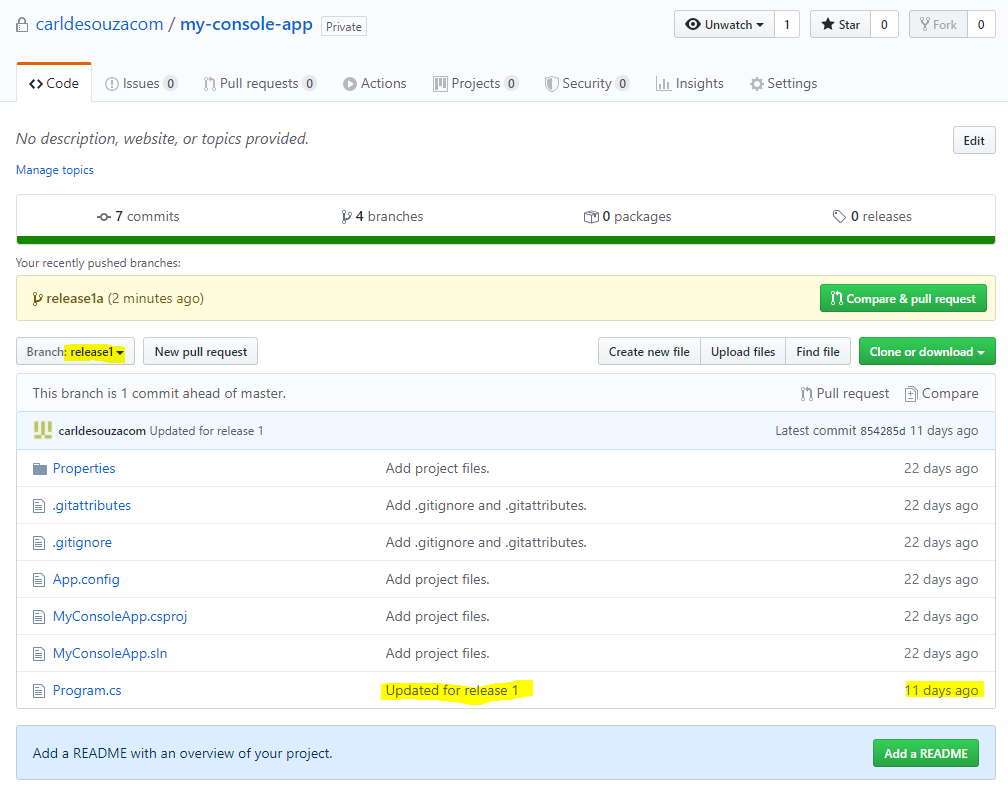
Release 1a is now created in GitHub:
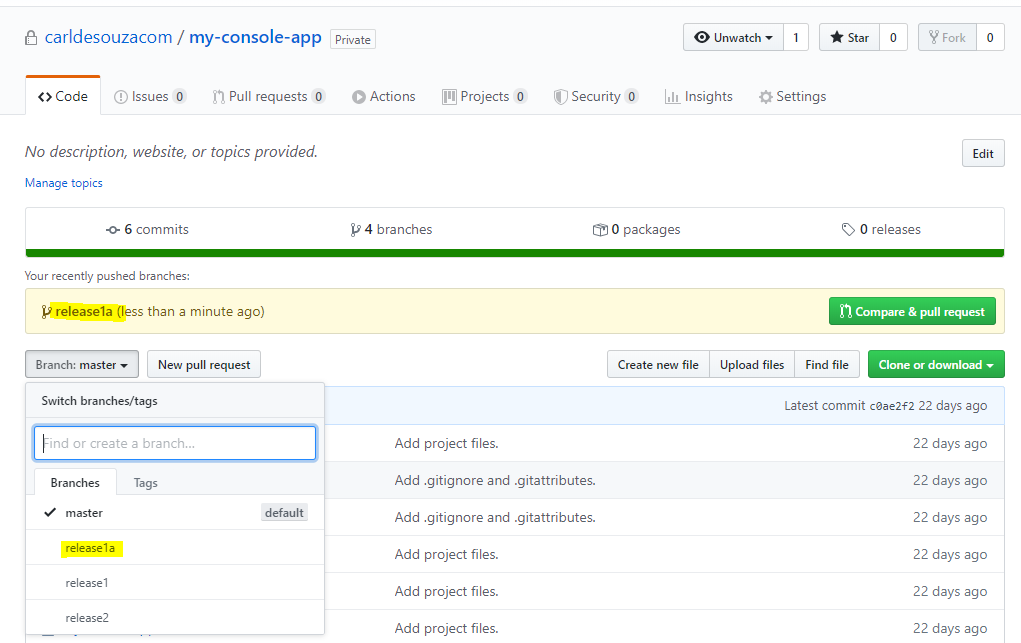
With the Program.cs file updated

Note release 1 is not updated:
Method 2 – GitHub
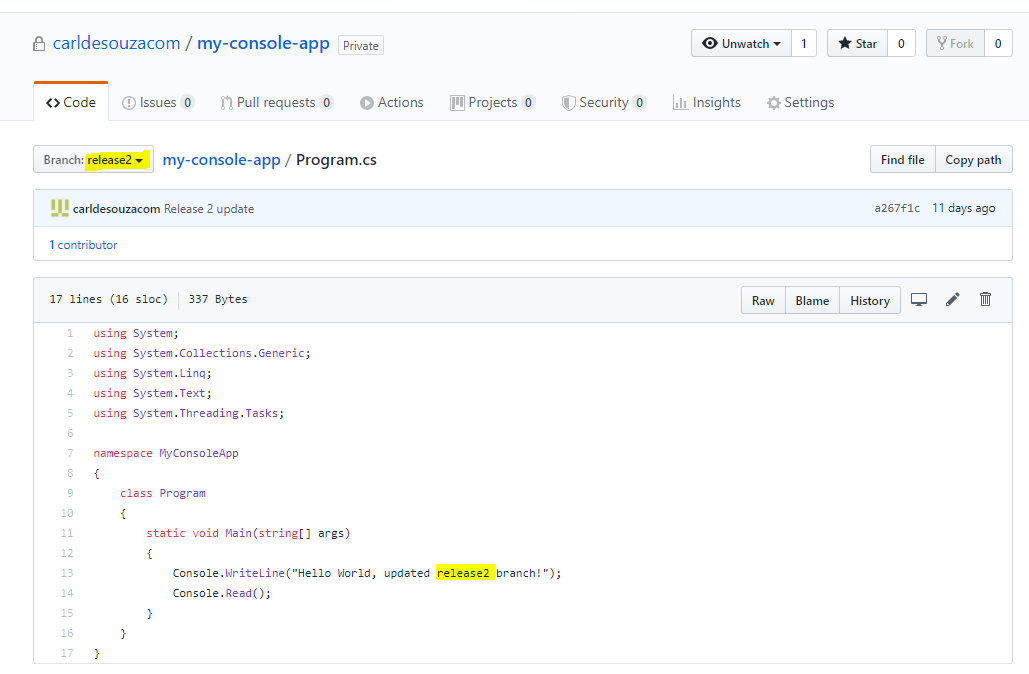
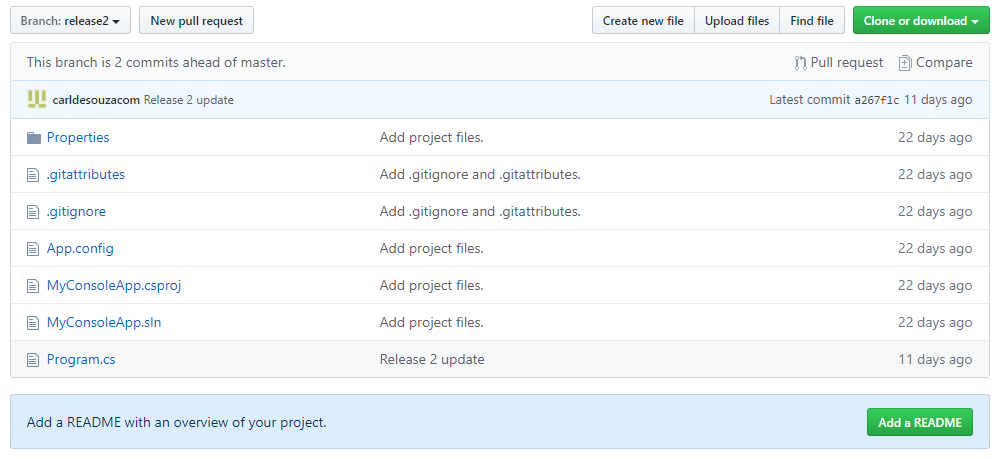
We are in Release 2 branch in GitHub. We see Program.cs has Release 2:
With Release 2 branch selected, create a new branch. We can see we are creating a branch from release2:
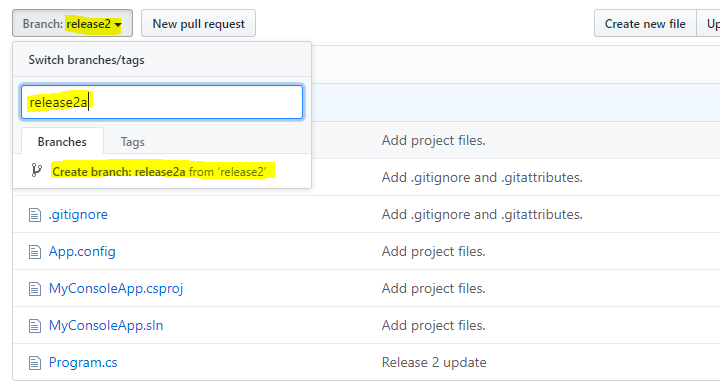
We see:
Now in Visual Studio, we do not see Release2a yet:
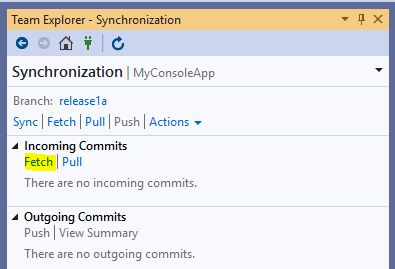
Select Sync:

And Fetch:
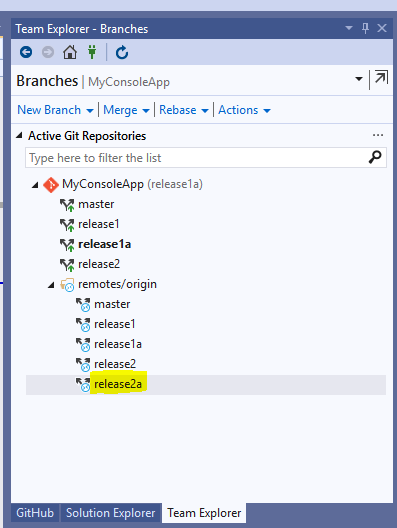
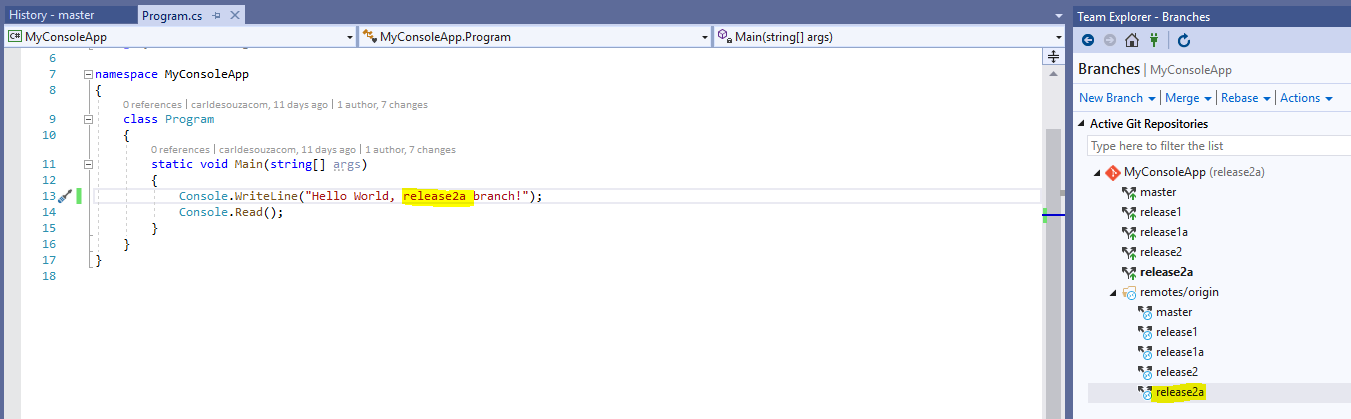
We see Release2a in remotes/origin:
Double click on Release 2a branch. It is now active:
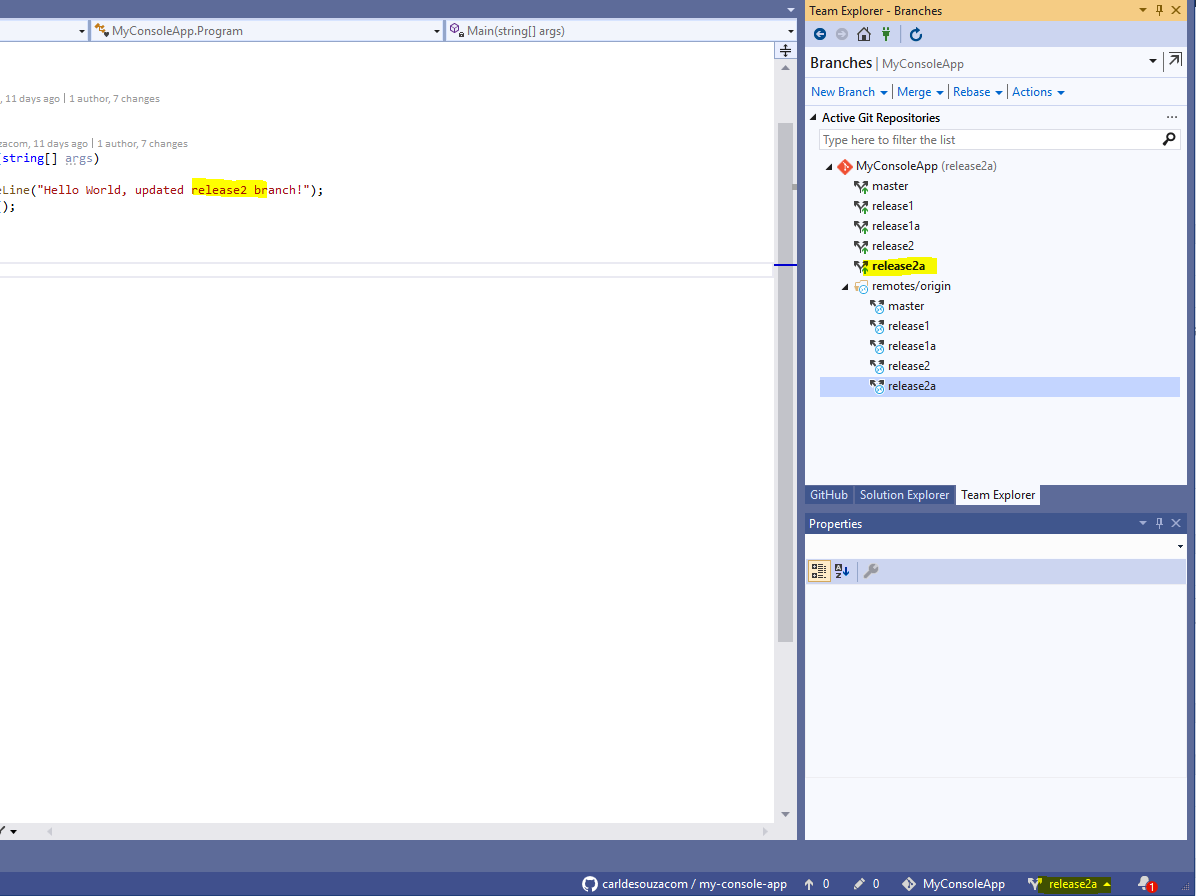
Update the program.cs code:
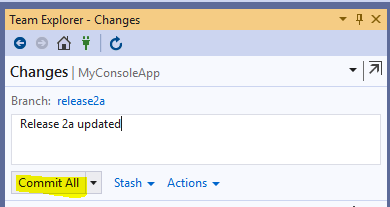
Commit:
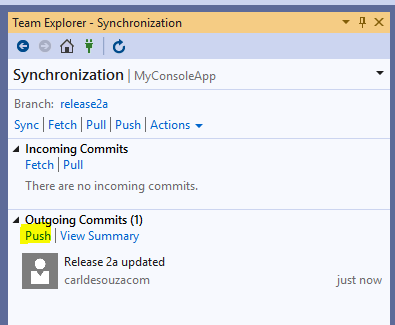
Sync with GitHub:
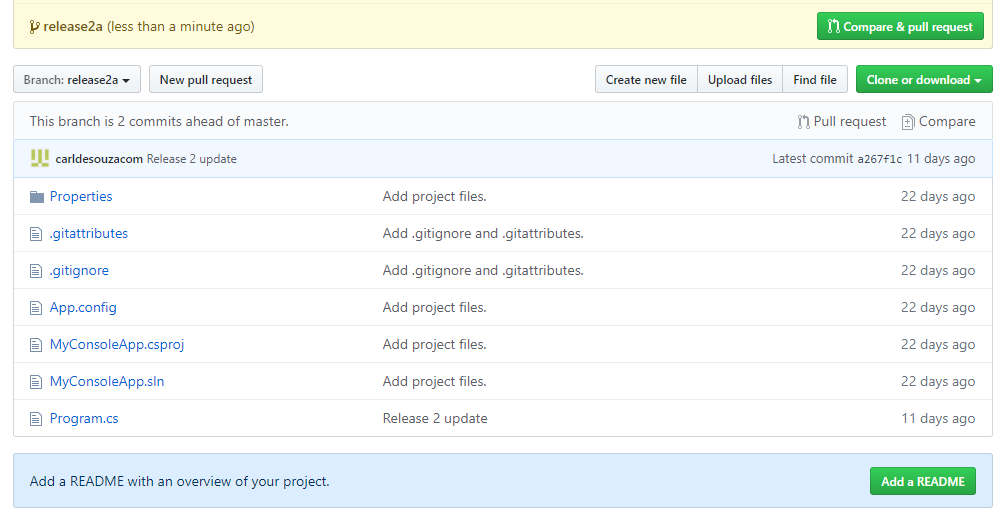
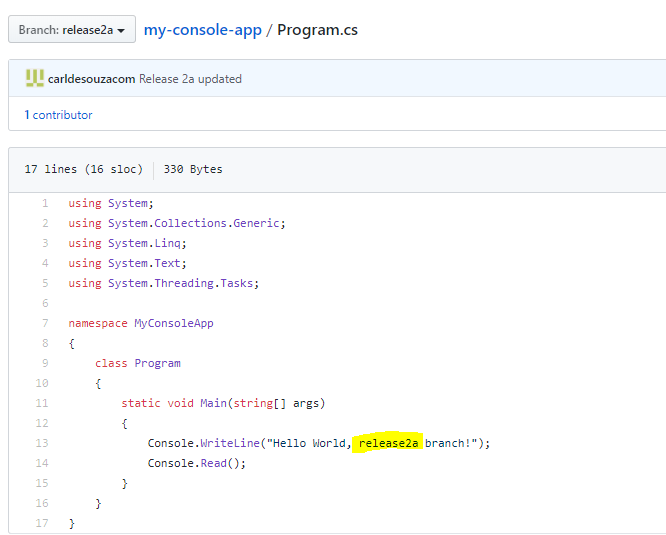
Release2a is updated in GitHub:
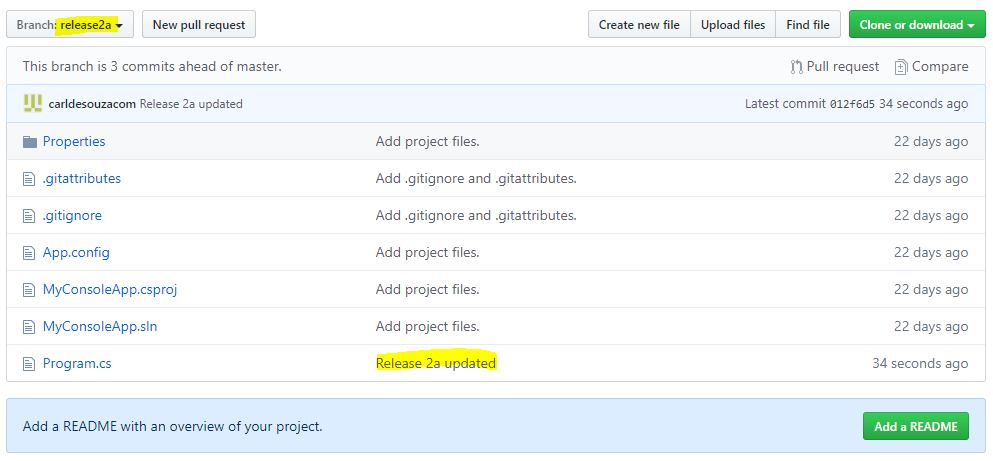
Program.cs us updated in GitHub:
Note Release 2 is not updated:
I AM SPENDING MORE TIME THESE DAYS CREATING YOUTUBE VIDEOS TO HELP PEOPLE LEARN THE MICROSOFT POWER PLATFORM.
IF YOU WOULD LIKE TO SEE HOW I BUILD APPS, OR FIND SOMETHING USEFUL READING MY BLOG, I WOULD REALLY APPRECIATE YOU SUBSCRIBING TO MY YOUTUBE CHANNEL.
THANK YOU, AND LET'S KEEP LEARNING TOGETHER.
CARL
