The PowerApps Component Framework (PCF) is a Microsoft framework for building custom components in PowerApps. Let’s go through what this actually means and how to build these components.
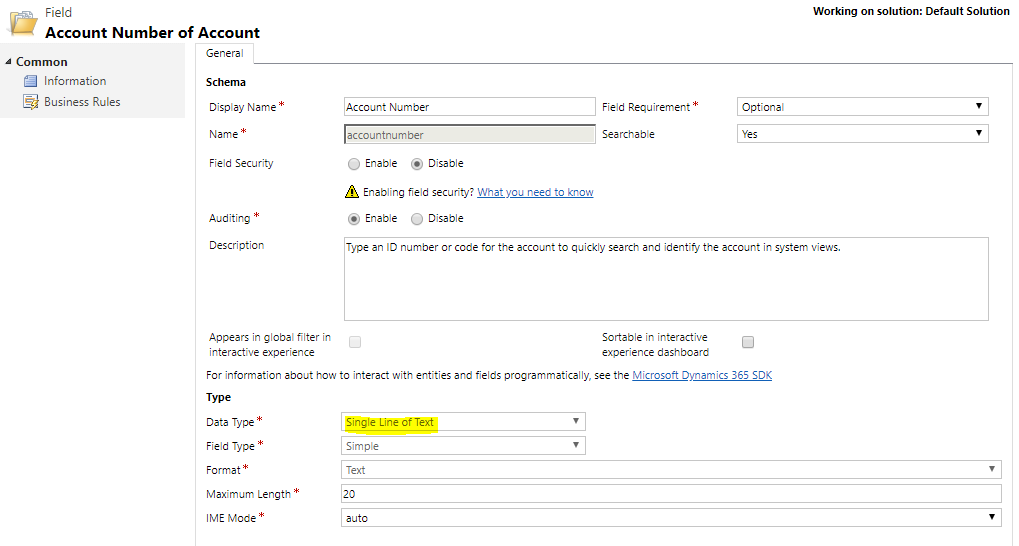
In PowerApps and Dynamics 365, fields have types, such as Single Line of Text, Whole Number, Currency etc. For example, if we open our Account entity, we can see there are many fields, and these fields have different types:

We can open a field and see the field type, e.g. Account Number is a Single Line of Text field:
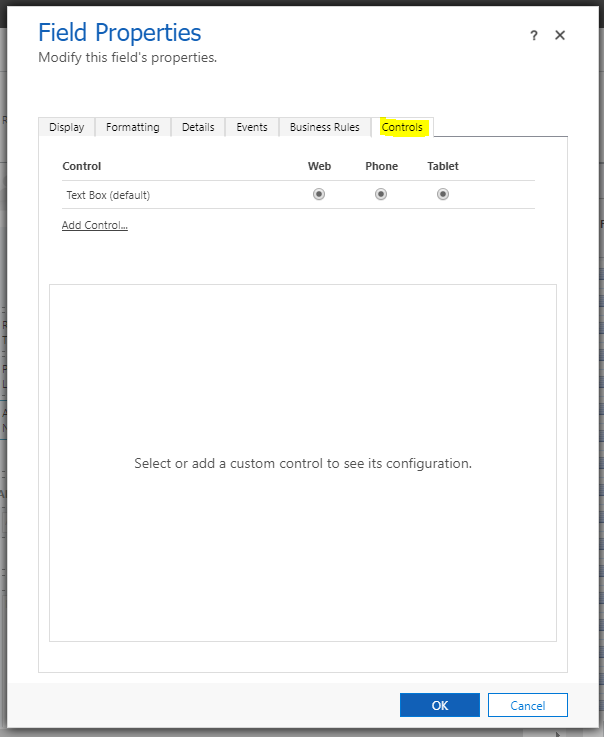
If we open an Account form, and add the Account Number field, on going to the properties we can see the Control used is set to Text Box:
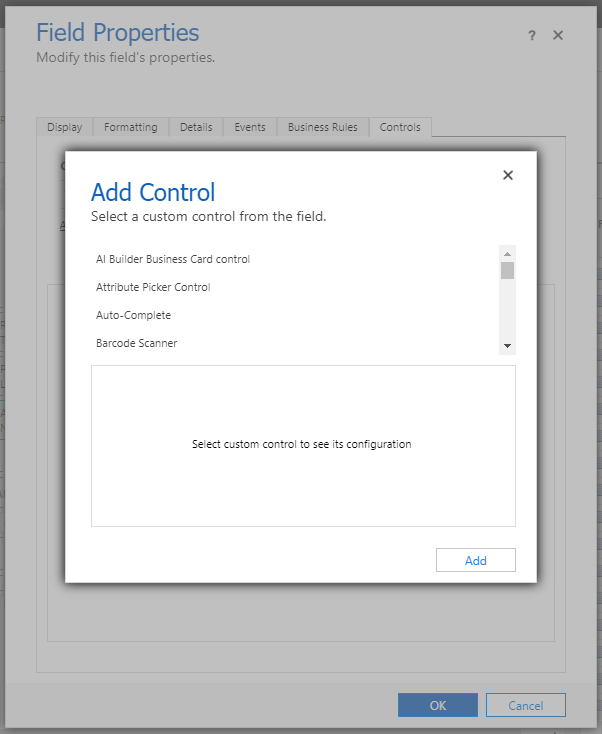
Clicking Add Control, we can change the control to be a different type, such as Auto-Complete and Barcode Scanner:
This is great, but what if the type of control we require doesn’t exist, and we would like to add our own? This is where the PCF comes in. The PowerApps Component Framework allows us to build our own controls, which opens PowerApps controls to interesting use cases. Let’s look at how to create our own control. We will start with the setup.
The first thing we will need is Node.js. Installing it is straight forward – follow the steps described here.
After installing Node, install Visual Studio Code or Visual Studio.
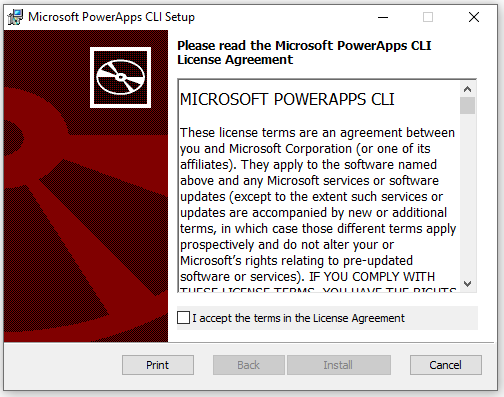
Next, we need to download the PowerApps CLI. To do this, go to https://docs.microsoft.com/en-us/powerapps/developer/component-framework/get-powerapps-cli and click on Microsoft PowerApps CLI:

This will download the MSI file:
![]()
Click Install:
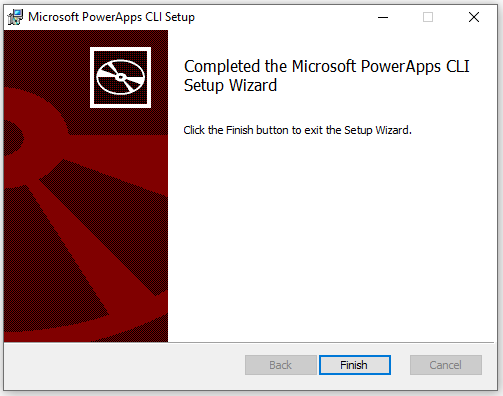
And then Finish:
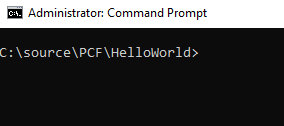
We can now create our PCF project. To organize my controls, I have a folder called PCF, and within that folder I have a folder called HelloWorld. Our PCF project will be called HelloWorld. Open a Windows command prompt and navigate to that directory:
Next, we will run the following command to create the control. The format of the control is:
pac pcf init –namespace <specify your namespace here> –name <put component name here> –template <component type>
So in our case we will run:
pac pcf init --namespace HelloWorldNamespace --name HelloWorld --template field
Note, if you try this command and nothing happens, you may need to reboot your PC, and/or reinstall Node or the PowerApps CLI, then reboot and try again.
You will see below:

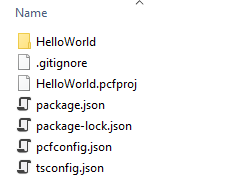
This creates the following files in the directory:
Next, type the following command to get the dependencies:
npm install

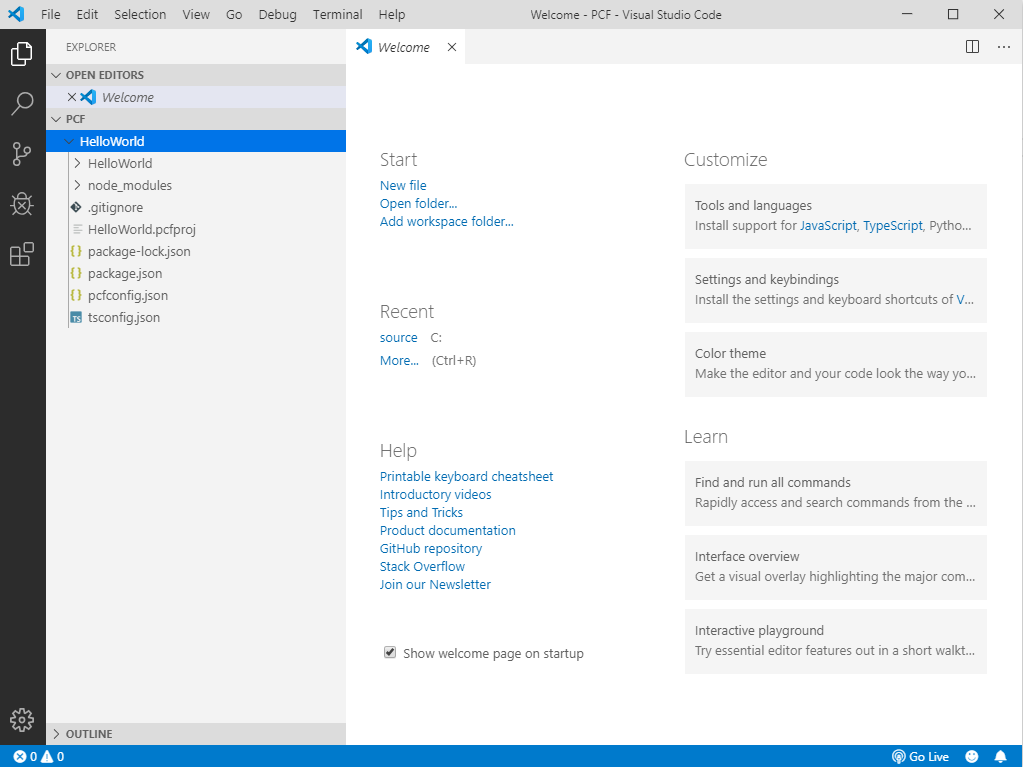
Now at this point, there is nothing we have actually created. However, the solution created contains sample PCF control code. To look at it, we let’s open Visual Studio Code.
There’s a couple of easy ways to do this, either type code . into the command prompt from the directory you want to open:
![]()
Or click Open Folder and select the HelloWorld folder:
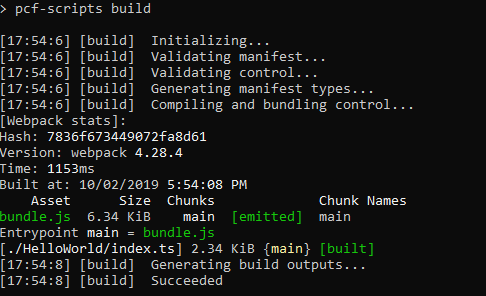
To run, in the command bar, type:
npm run build
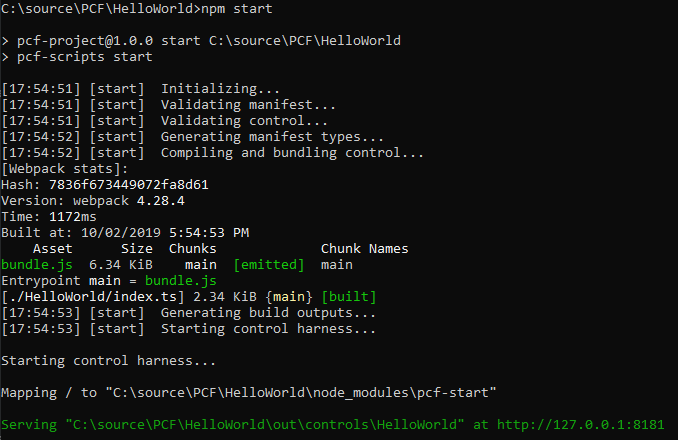
Now run:
npm start
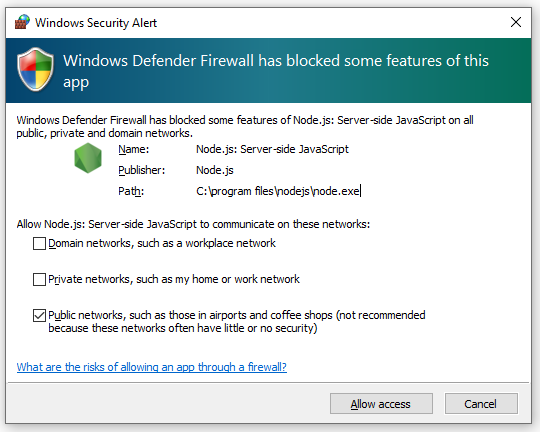
You may need to allow access based on your firewall settings:
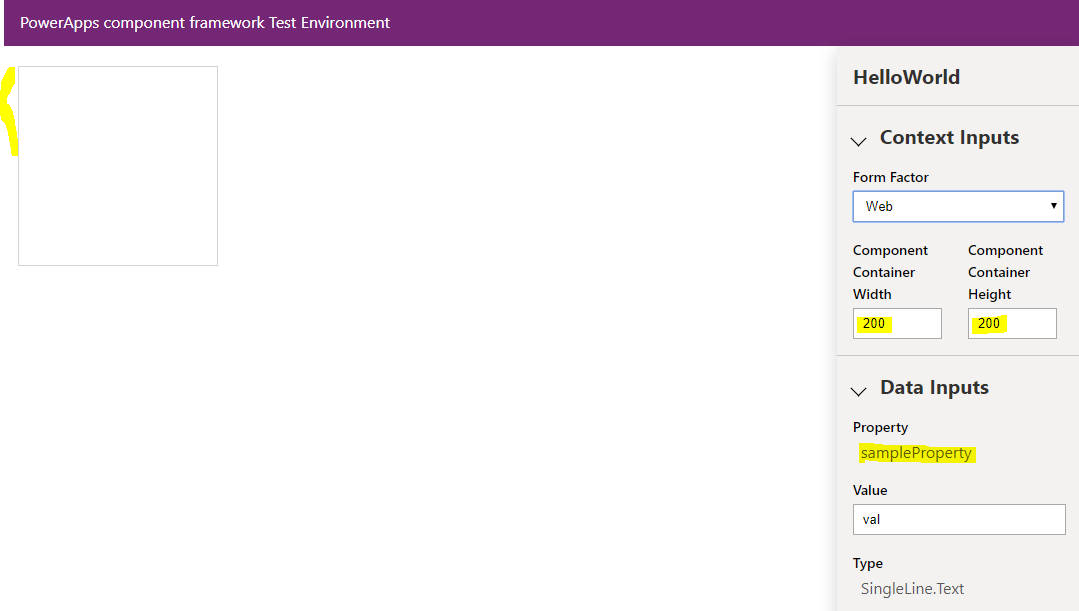
This opens a web browser to a local IP address, in my case http://127.0.0.1:8181/:
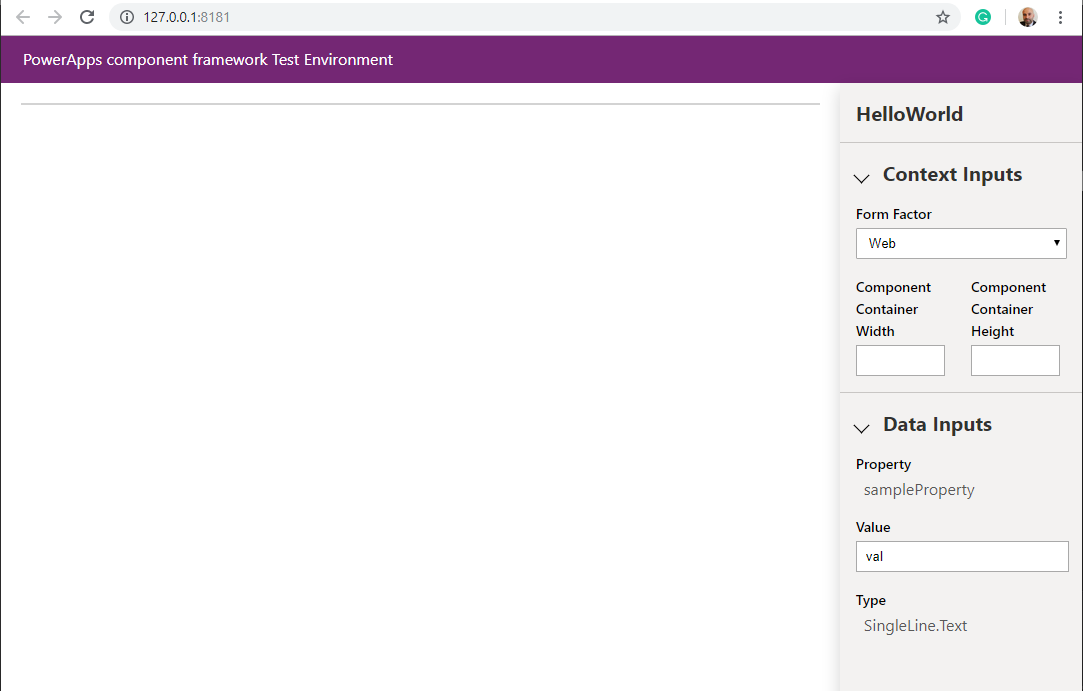
There are some things we can note so far. If we change the width and height of the container, we can see a box appearing in the white space. Also, we have a sampleProperty appearing under Properties. This is in our sample project created:
In the next post, we will go through installing a sample component.
I AM SPENDING MORE TIME THESE DAYS CREATING YOUTUBE VIDEOS TO HELP PEOPLE LEARN THE MICROSOFT POWER PLATFORM.
IF YOU WOULD LIKE TO SEE HOW I BUILD APPS, OR FIND SOMETHING USEFUL READING MY BLOG, I WOULD REALLY APPRECIATE YOU SUBSCRIBING TO MY YOUTUBE CHANNEL.
THANK YOU, AND LET'S KEEP LEARNING TOGETHER.
CARL

Hi Carl,
How can we programmticaly set the “component container width” from “index.ts” file, so that when we run it the box will be already in the size specified in the index file?
wow nice post on PCF. always you keep the content very simple.
keep it up
Hi Carl, When I created Package Solution and trying to import it is giving me error
“You can only import solutions with a package version of 9.0 or earlier into this organization. Also, you can’t import any solutions into this organization that were exported from Microsoft Dynamics 365 2011 or earlier.”
Please let me know how to handle the above error
Do yoou have anyy video of that? I’d love to find out more details.
[…] https://carldesouza.com/creating-a-custom-component-using-the-powerapps-component-framework/ and https://carldesouza.com/walkthrough-of-creating-the-microsoft-powerapps-pcf-sample-component/ […]