Here I will go through a basic example of using SQL Server Integration Services (SSIS) to create an integration. I am using SQL Server 2012 with Visual Studio 2013.
To get started, first download SQL Server Data Tools (SSDT) from the Microsoft website here. Install the file.
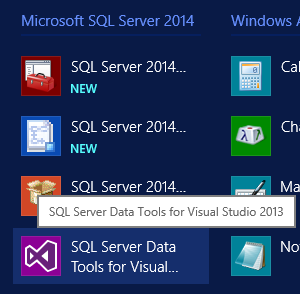
Next, go to Start->Microsoft SQL Server->SQL Server Data Tools for Visual Studio 2013:
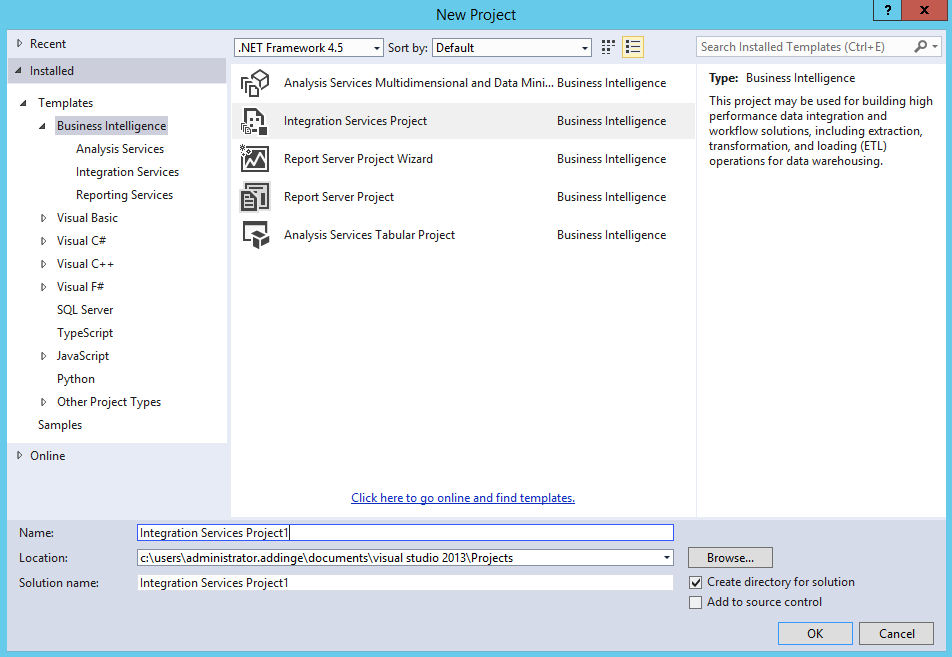
This will open Visual Studio. Under Business Intelligence, select “Integration Services Project” and click OK:
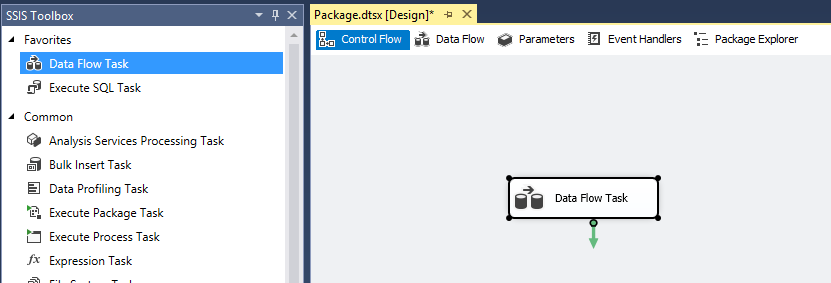
Double click to open Package.dtsx:

Drag across a data flow task:
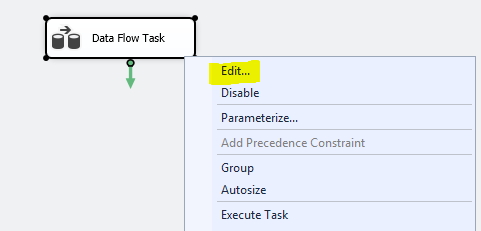
Right click the Data Flow Task and click “Edit”:
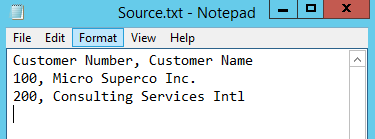
This opens the Data Flow tab. In this demo, we are going to integrate a text file called “Customers.txt” with a SQL database table called “Customers”.
The customers.txt file looks like this:
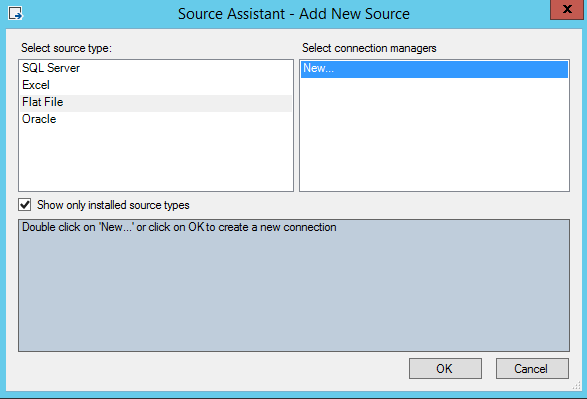
Drag across Source Assistant. Select New. Our source file will be a text file, so select Flat File and New:
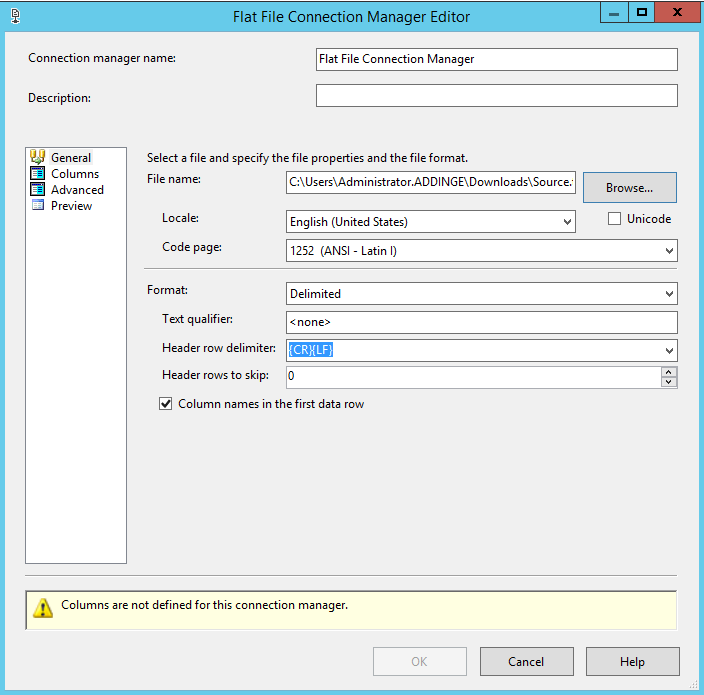
Select the source file. Note SSIS has defaulted “Column Names in the first row”. Confirm the Format is correct (Delimited).
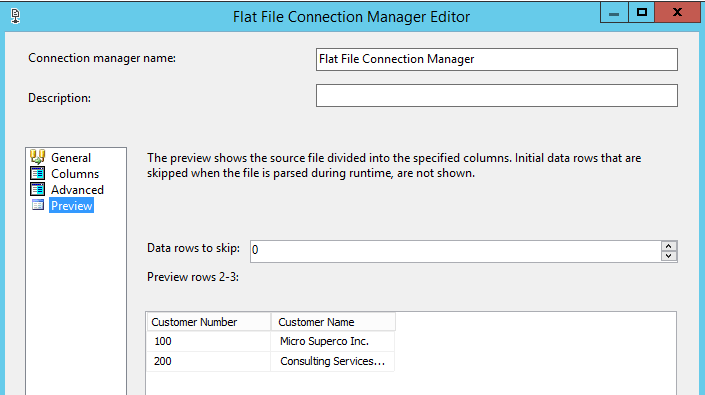
Click on Preview to see how the data will look:
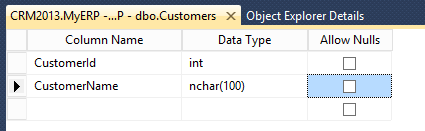
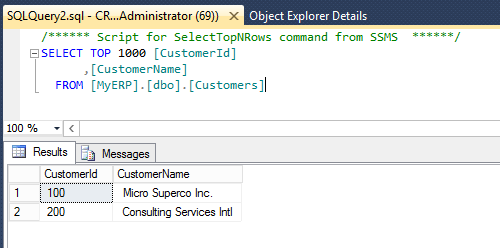
For the destination, in my SQL database called MyERP, I have a table called Customers. This table holds all customers for my ERP. The table consists of a CustomerId and CustomerName fields:
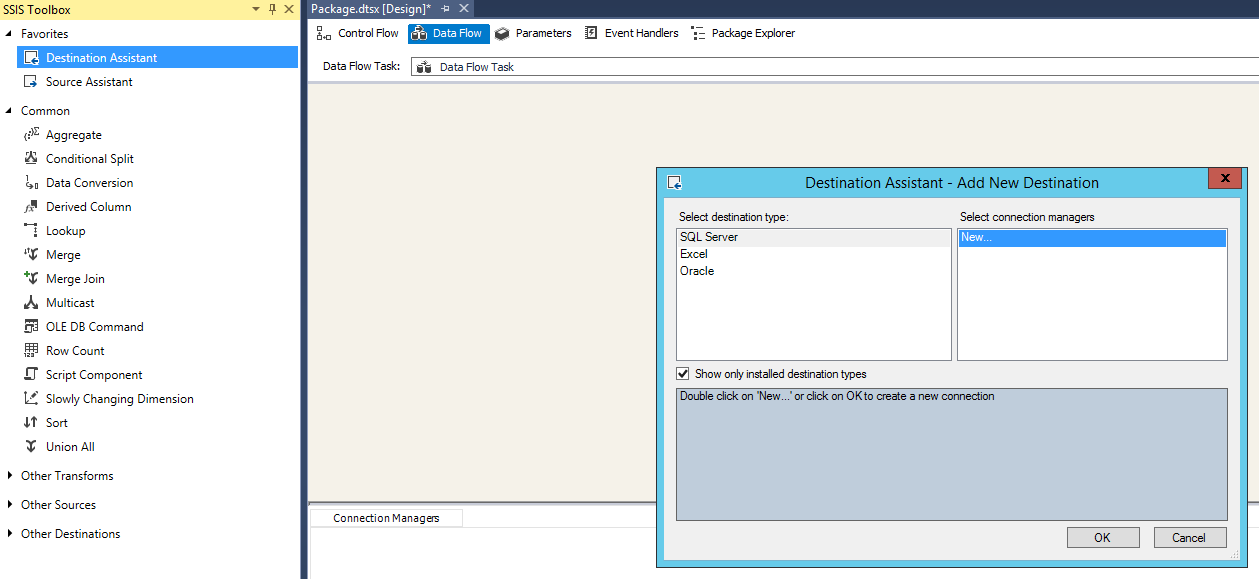
Drag across Destination Assistant and choose “SQL Server”:
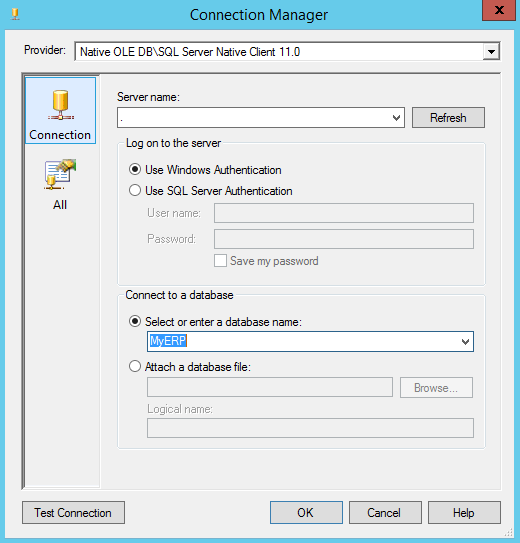
In Connection Manager, select the SQL Server and the database:
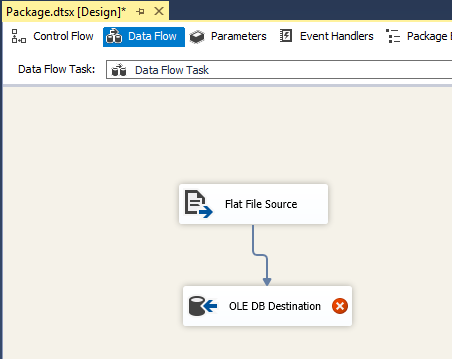
Click OK. Next, drag across the blue arrow from the source to the destination:
Right click on the destination and select the table below as “Customers”. We had not specified what our destination table was:
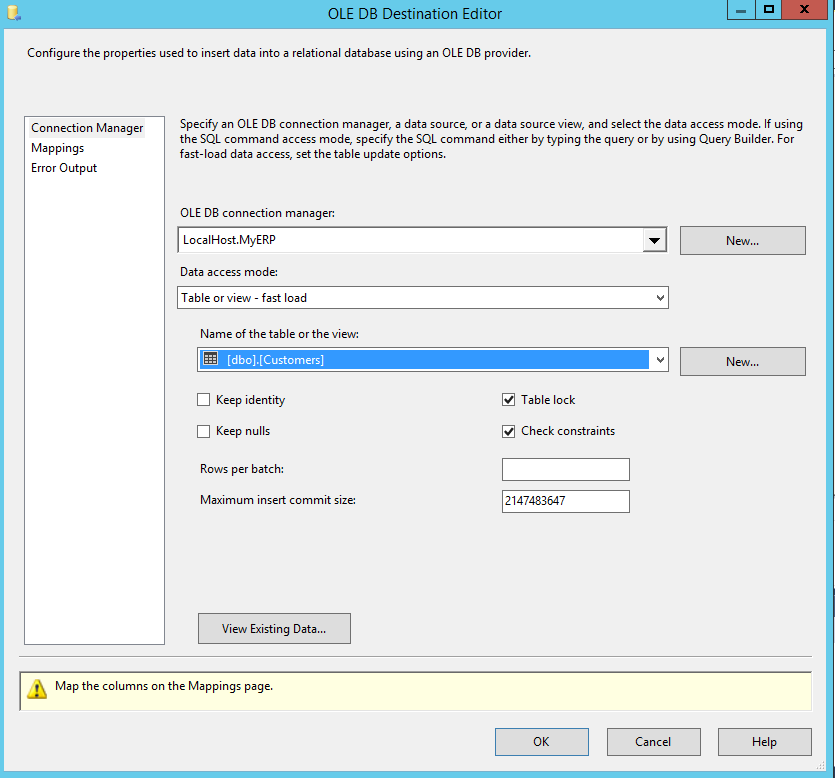
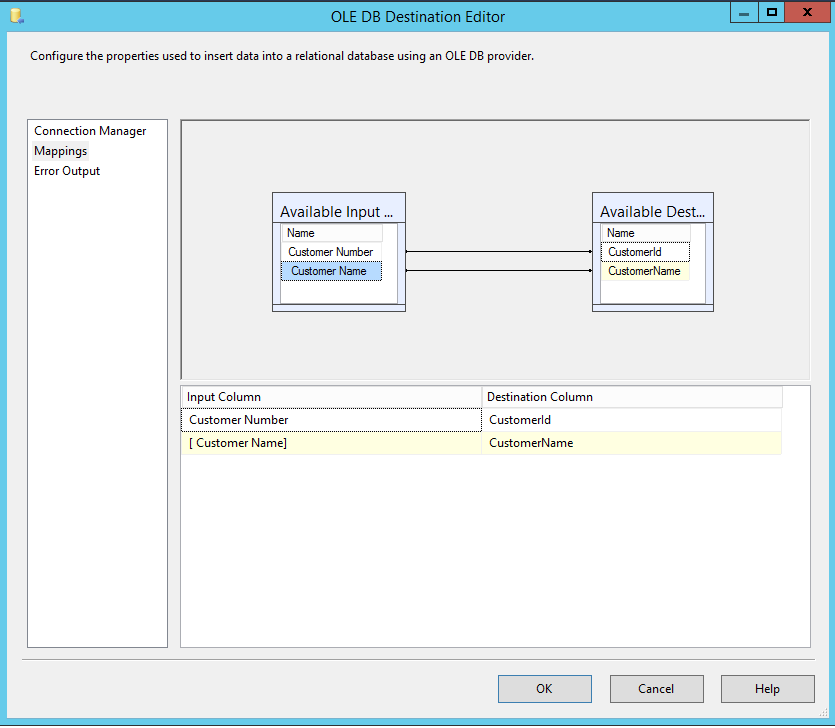
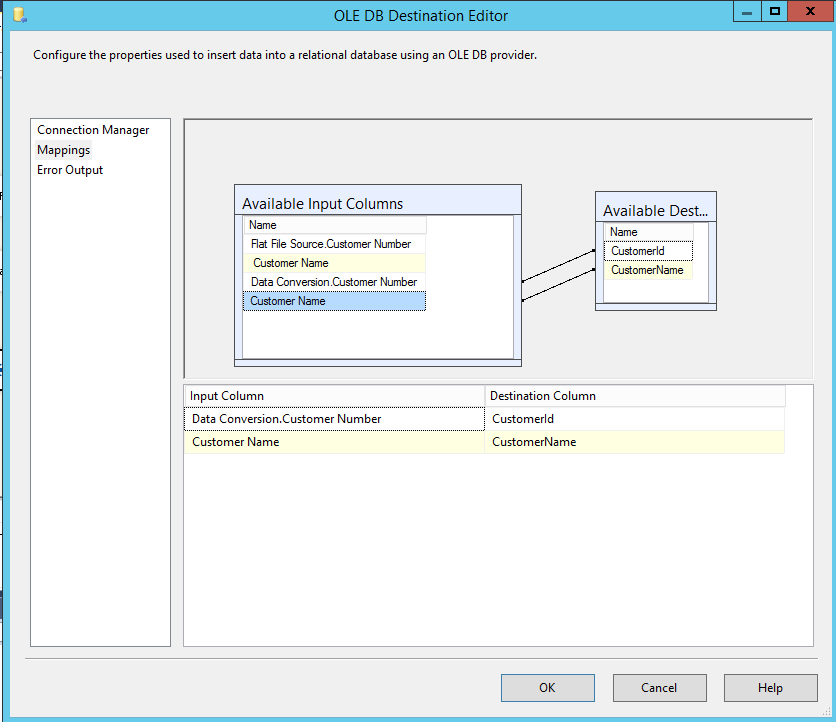
Click on Mappings. This is where the source and destination mappings are done. You can see our source file has “Customer Number” and our destination has “CustomerId”. Drag the source field into the destination. Do the same with the Customer Name:
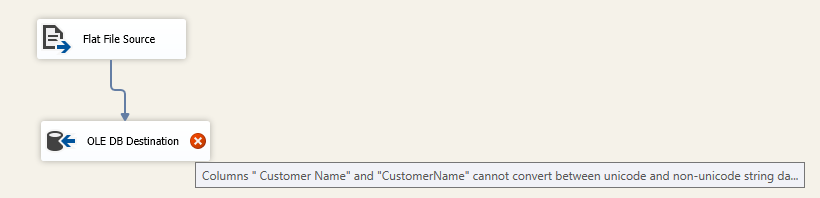
Click OK. You can see there is an error on the Destination component. We will need to add a Data Conversion task to handle the different data types.
Drag across a Data Conversion task and select all the available input columns. Select Unicode as the data type for the Customer Name:
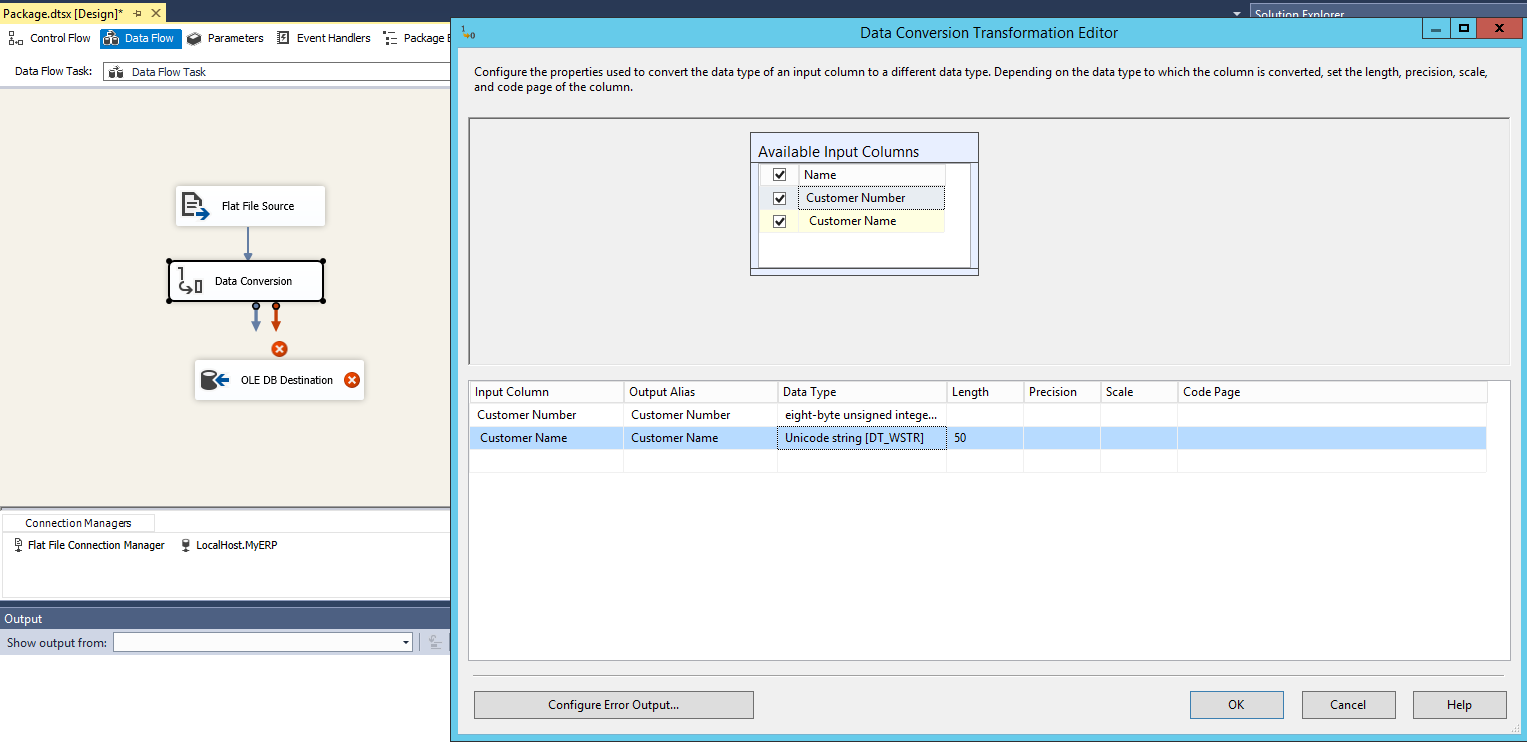
Connect the Data Conversion task to the Destination. Map the fields again and click OK.
Build the project:
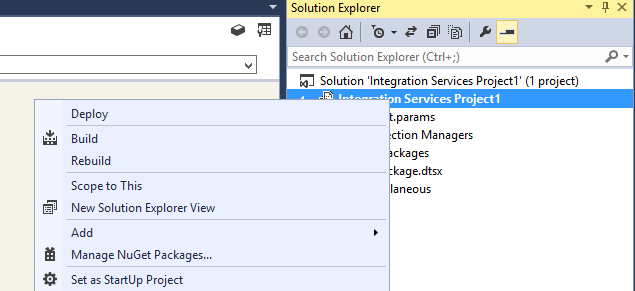
If there are no errors, click to Deploy the project:
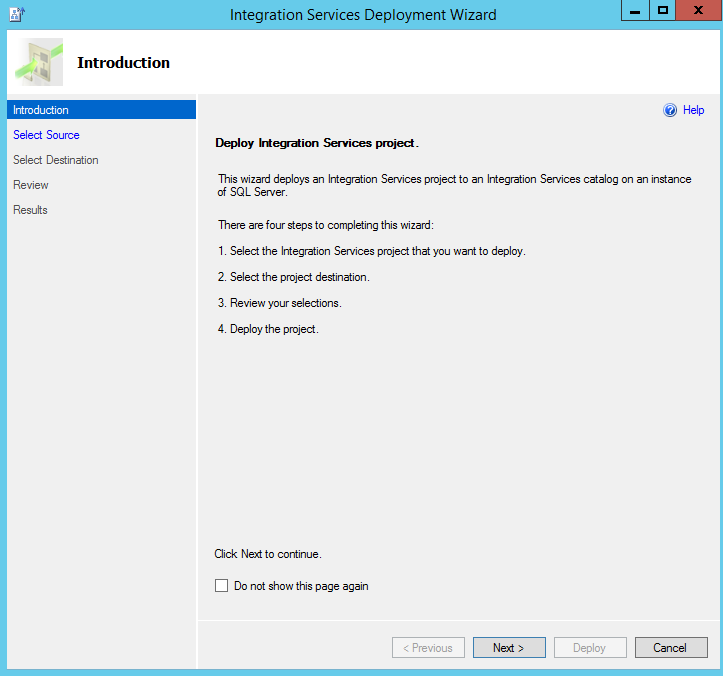
Select the server. You may get this mesage:
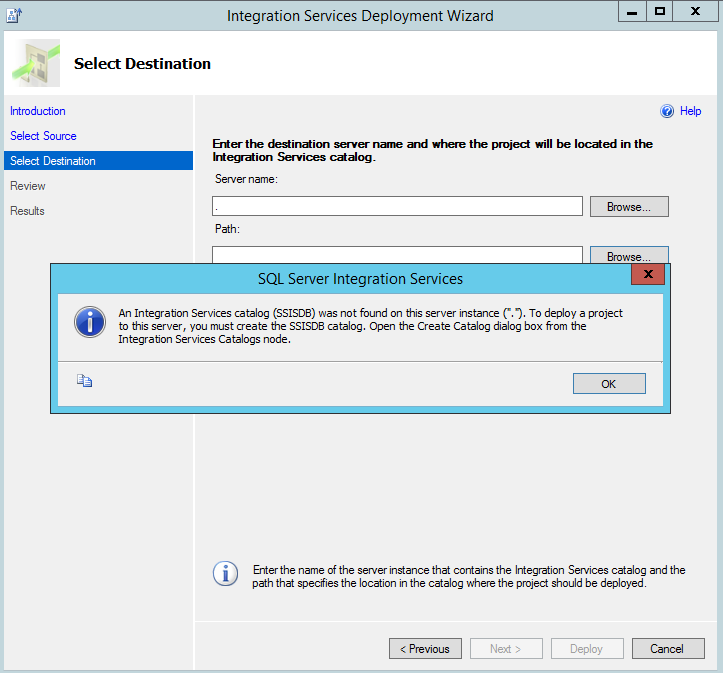
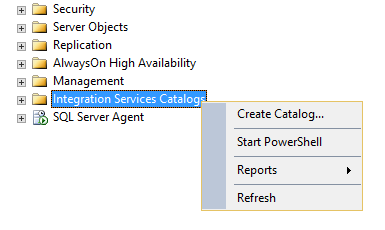
If so, you will need to create a catalog. Go to SQL Server Management Studio and select “Create Catalog”:
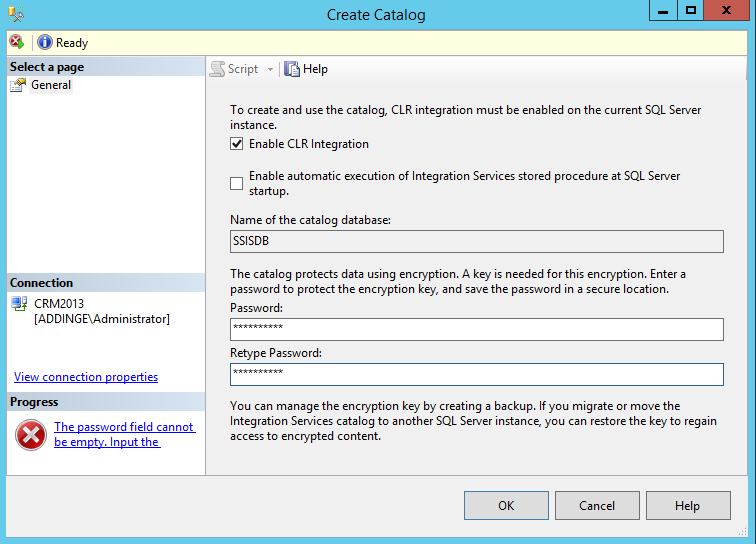
Select Enable CLR Integration. Enter a password and click OK:
Optionally, right click and create a folder:
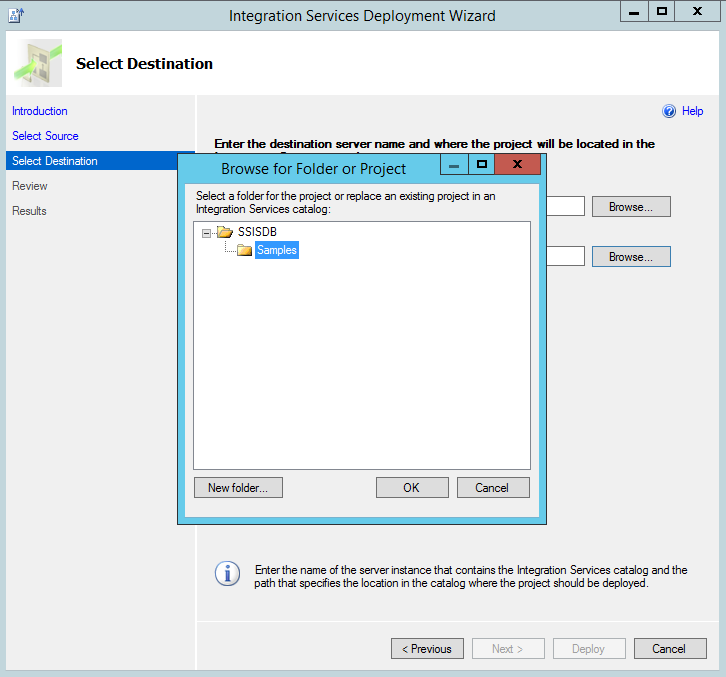
Back to the deployment, right click and select the new folder Samples:
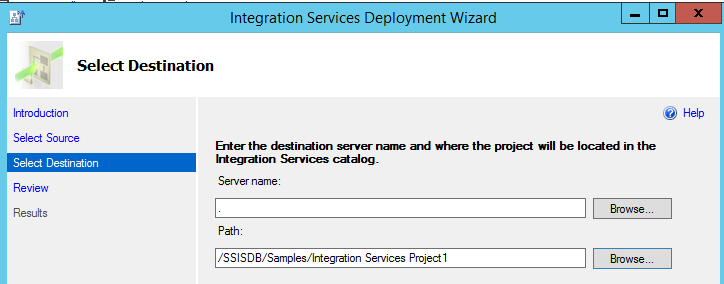
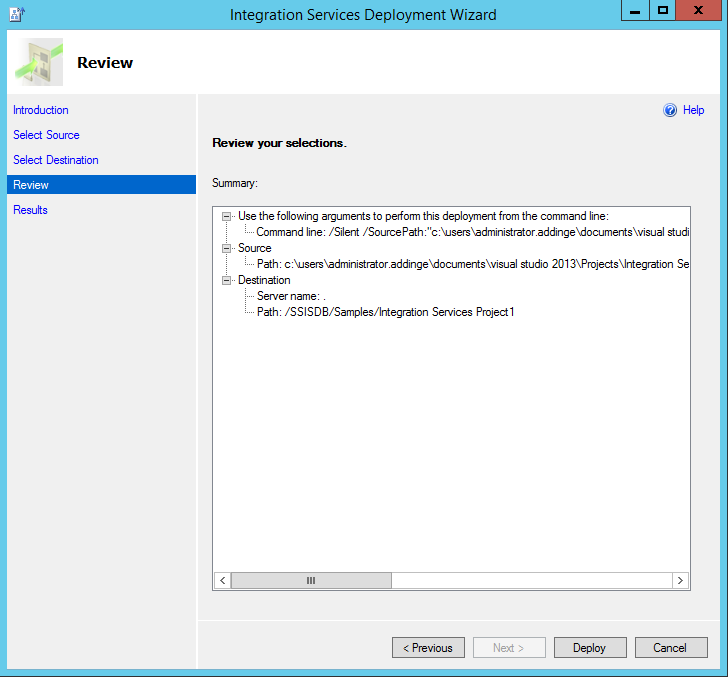
Click Next and Deploy:
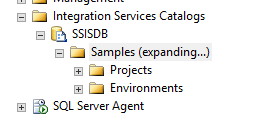
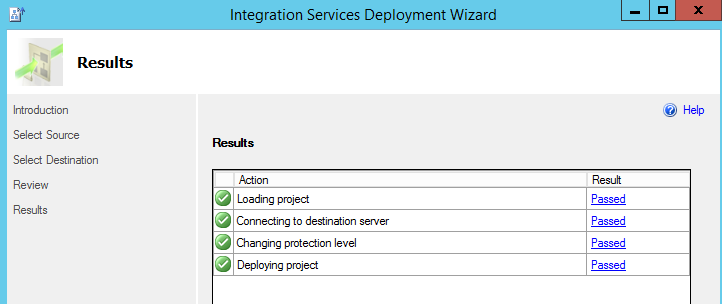
Once deployed, you will see something like this:
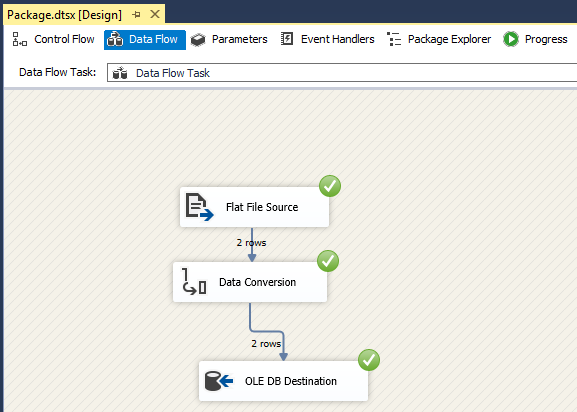
To run the package, press Start in Visual Studio. If successful, you will see green checks on each task:
If you go to SQL, you will see the our destination table has now been populated:
That was a simple example of how to use SSIS to create an integration.
I AM SPENDING MORE TIME THESE DAYS CREATING YOUTUBE VIDEOS TO HELP PEOPLE LEARN THE MICROSOFT POWER PLATFORM.
IF YOU WOULD LIKE TO SEE HOW I BUILD APPS, OR FIND SOMETHING USEFUL READING MY BLOG, I WOULD REALLY APPRECIATE YOU SUBSCRIBING TO MY YOUTUBE CHANNEL.
THANK YOU, AND LET'S KEEP LEARNING TOGETHER.
CARL


